Good morning!
I am happy to announce that my weekly Art Journal Video #12 is posted out on YouTube! 🙂
Here is a list of supplies that I used in today’s layout:
- Book pages
- Ranger Collage Glue Stick
- Golden Acrylic Paint: Teal, Naphthol Red Medium, Cadmium Yellow Medium Hue
- Liquitex White Gesso
- Fineline Bottles: one filled with black acrylic and one filled with white acrylic
- Black Sharpie, Fine Point
- White Signo Pen
- Archival Ink Pad
- Ranger Dylusions Numbers Stamp from the Basic Backgrounds – DYR34568
- Sentiment printed from computer onto regular printer paper
- Scissors
 When I set out to get started on this week’s spread, I really only had two things in mind, I had some pages from a specific book that I wanted to use, and I was really excited about using a new Teal acrylic paint that I had picked up from my local art supply store. The book that I had found was a 1915 encyclopedia that I had picked up for a few dollars from my local Goodwill.
 Being a self-profession bibliophile, I have a very hard time ripping pages out of books, ESPECIALLY OLD books. However, this book was in such dis-repair with torn pages, a broken spine, and just an all around mess that I felt that by using the pages in some of my art projects would be a great use of this long forgotten little treasure! Plus the cover is a DIVINELY BEAUTIFUL leather that I have hopes for recreating my own art journal from.Anyway, back to today’s spread…In addition to my book pages, and my new teal paint, I really wanted to keep today’s layout quick and simple. With the busy holiday season upon us, we have so much that we are trying to do. I wanted to prove to myself that I could still make time for art journaling even when life is crazy busy hectic!
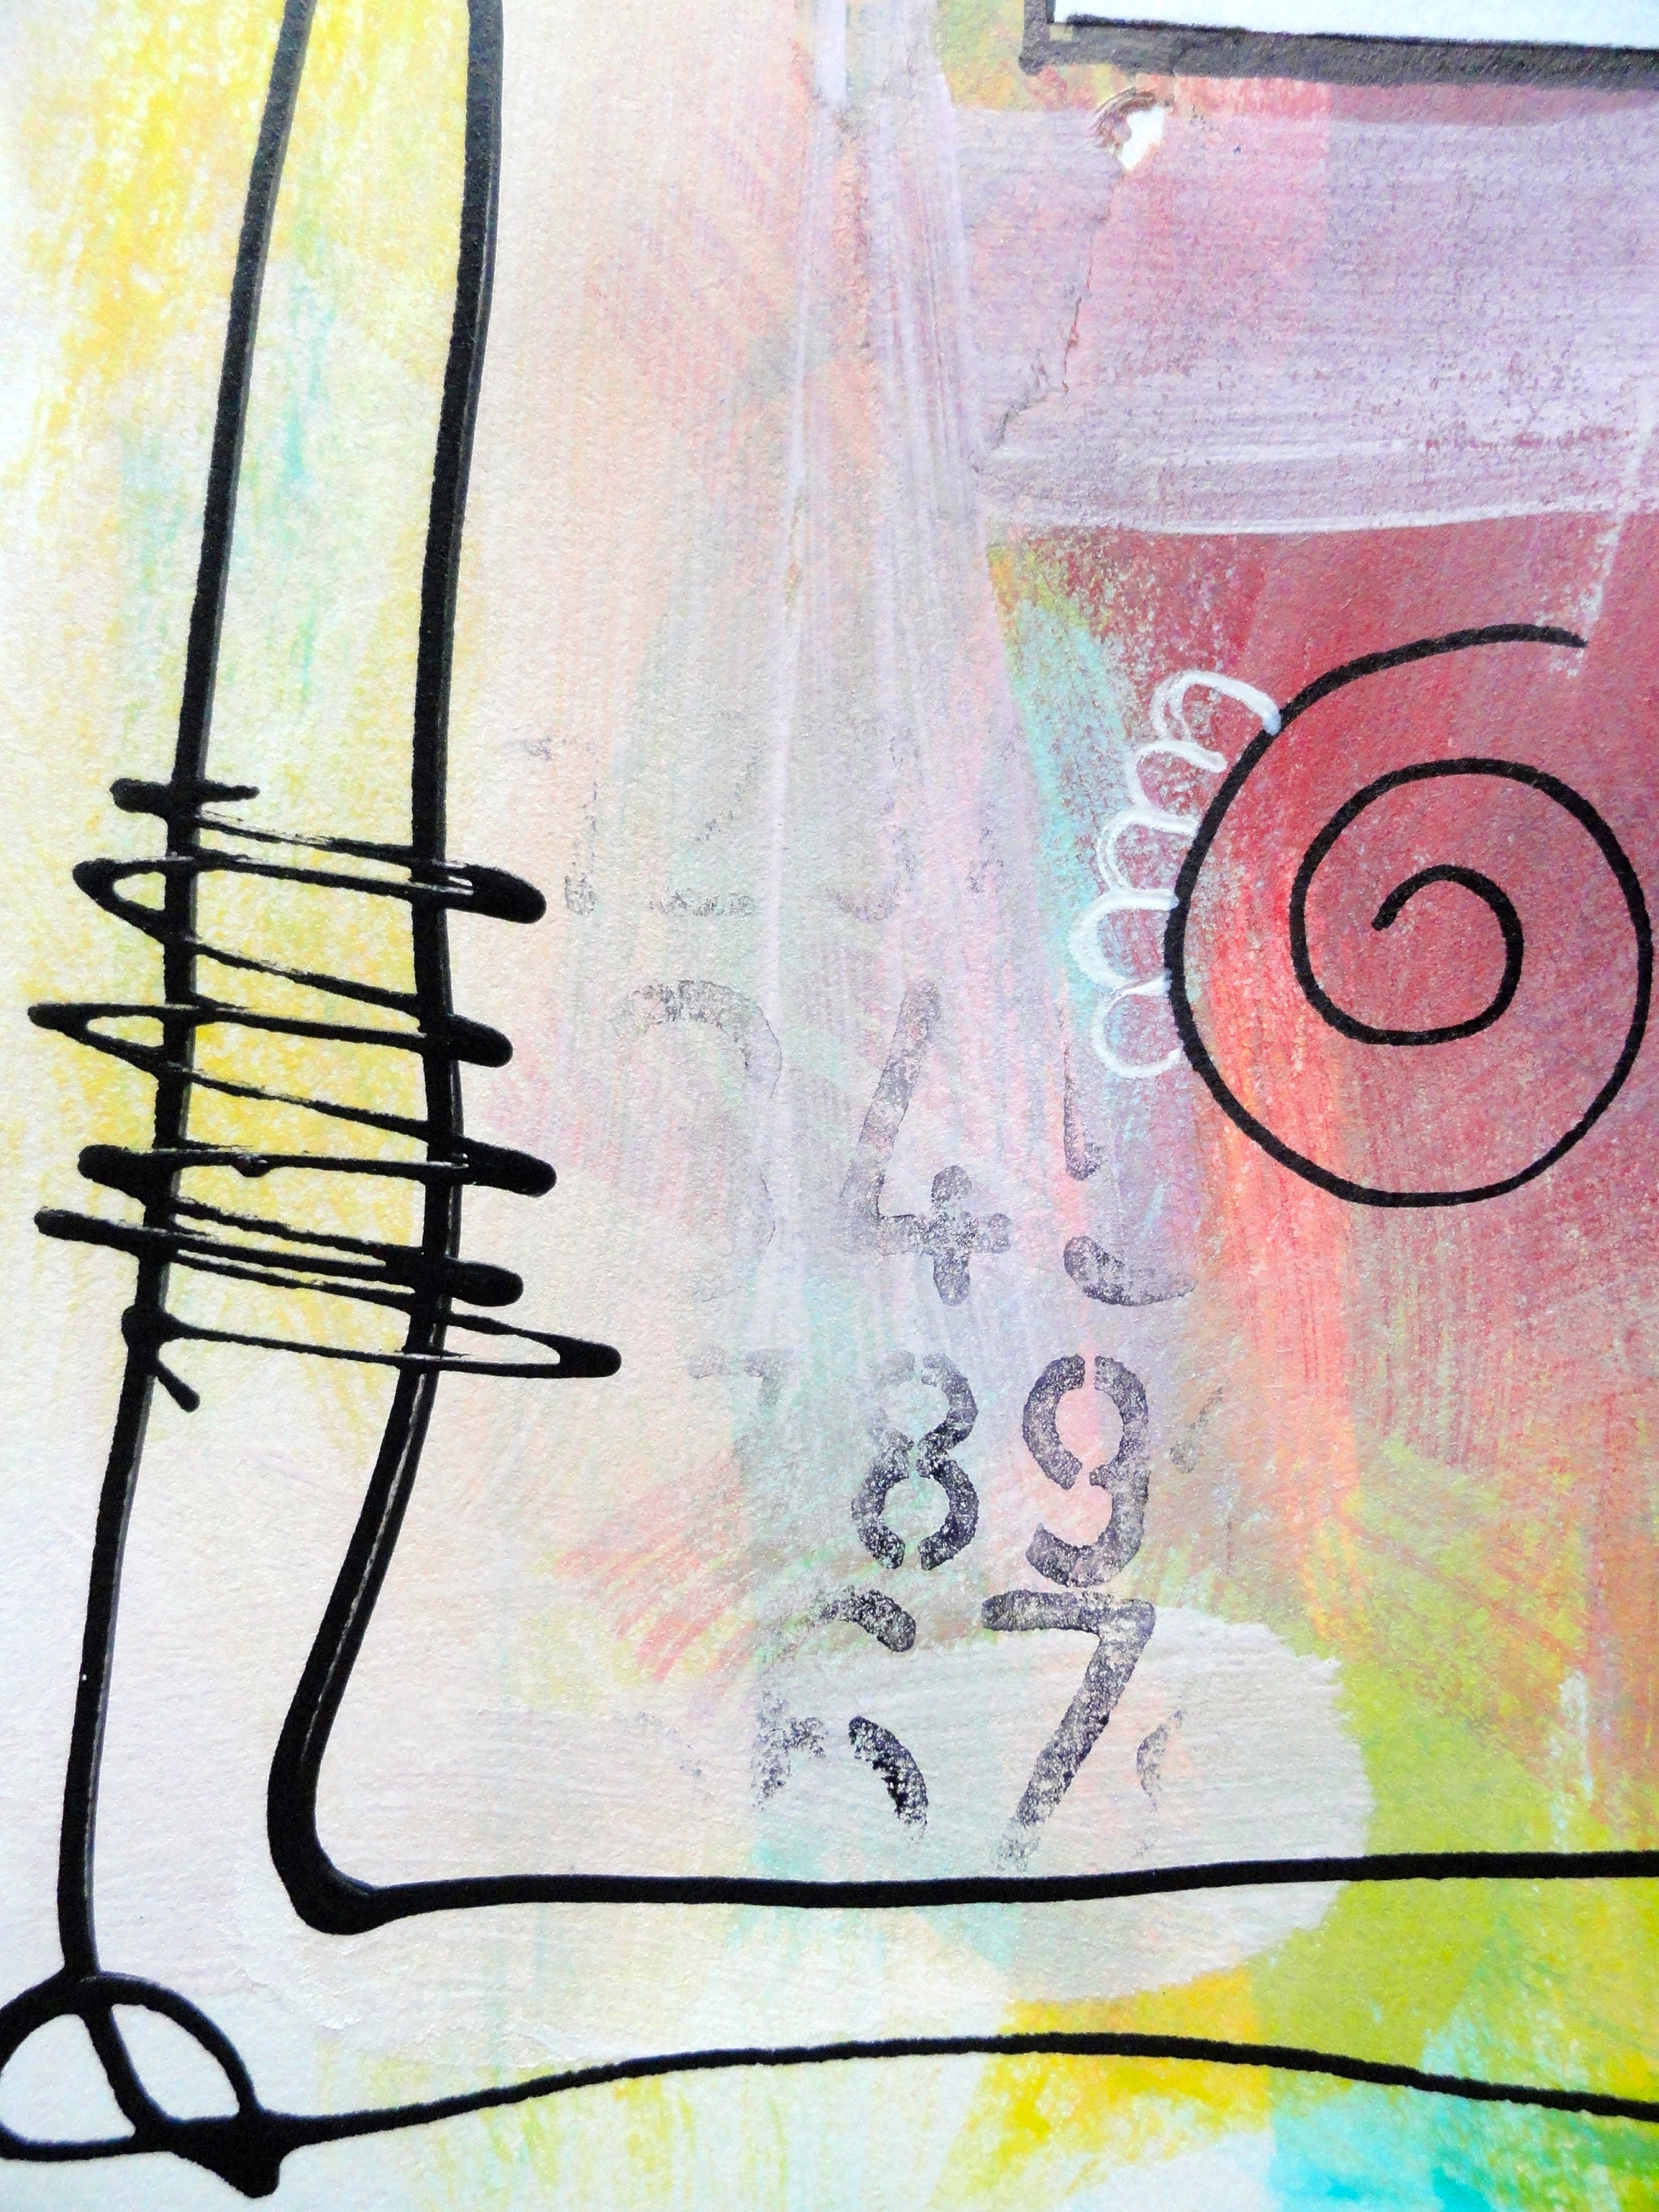
 I love all of colors of this week’s spread, and I don’t usually mute my backgrounds down, but if you watched the video you might have noticed that it was done entirely on accident. I had made marks on my page using white gesso, and because I did not like it I used a heavily watered down brush to disperse the gesso, and in doing so muted the entire page down just a little. I really REALLY like how that turned out…I may have to do that more often!
On a side note, whenever I make a mistake, I like to call it an “OFI” (pronounced owe-fee). This stands for opportunity for improvement! This gesso incident was a perfect example of an OFI!! 😉
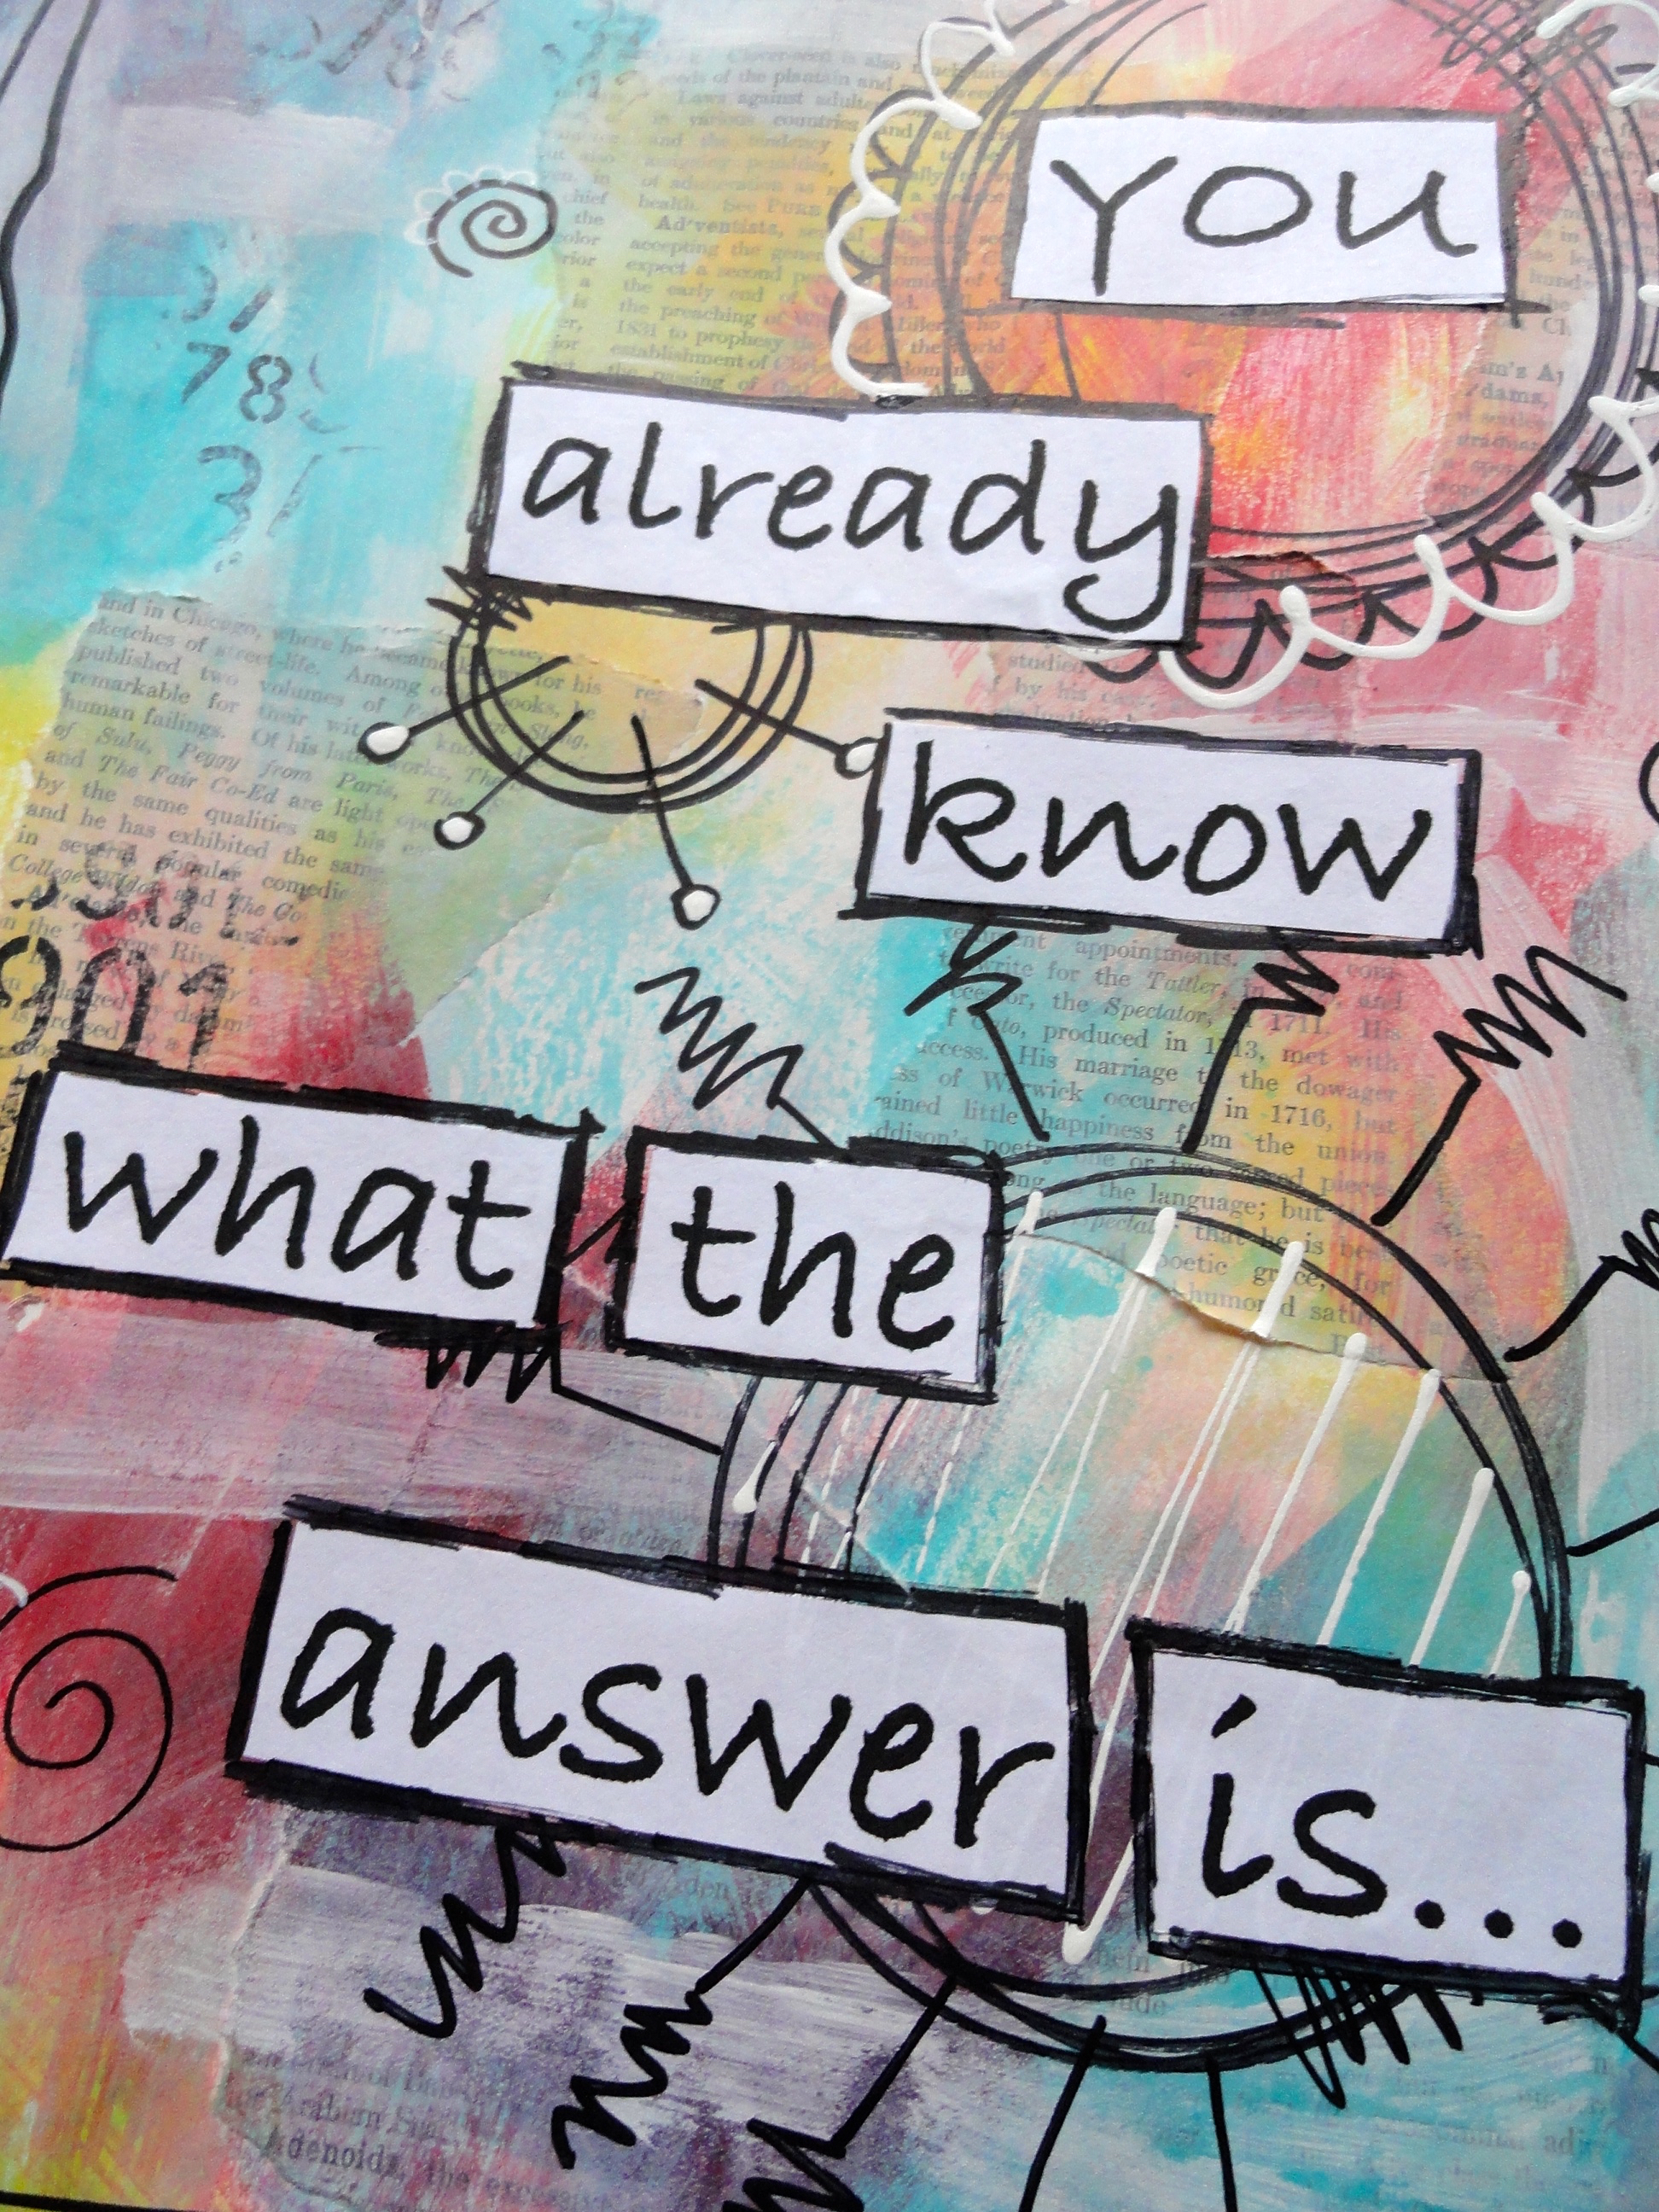
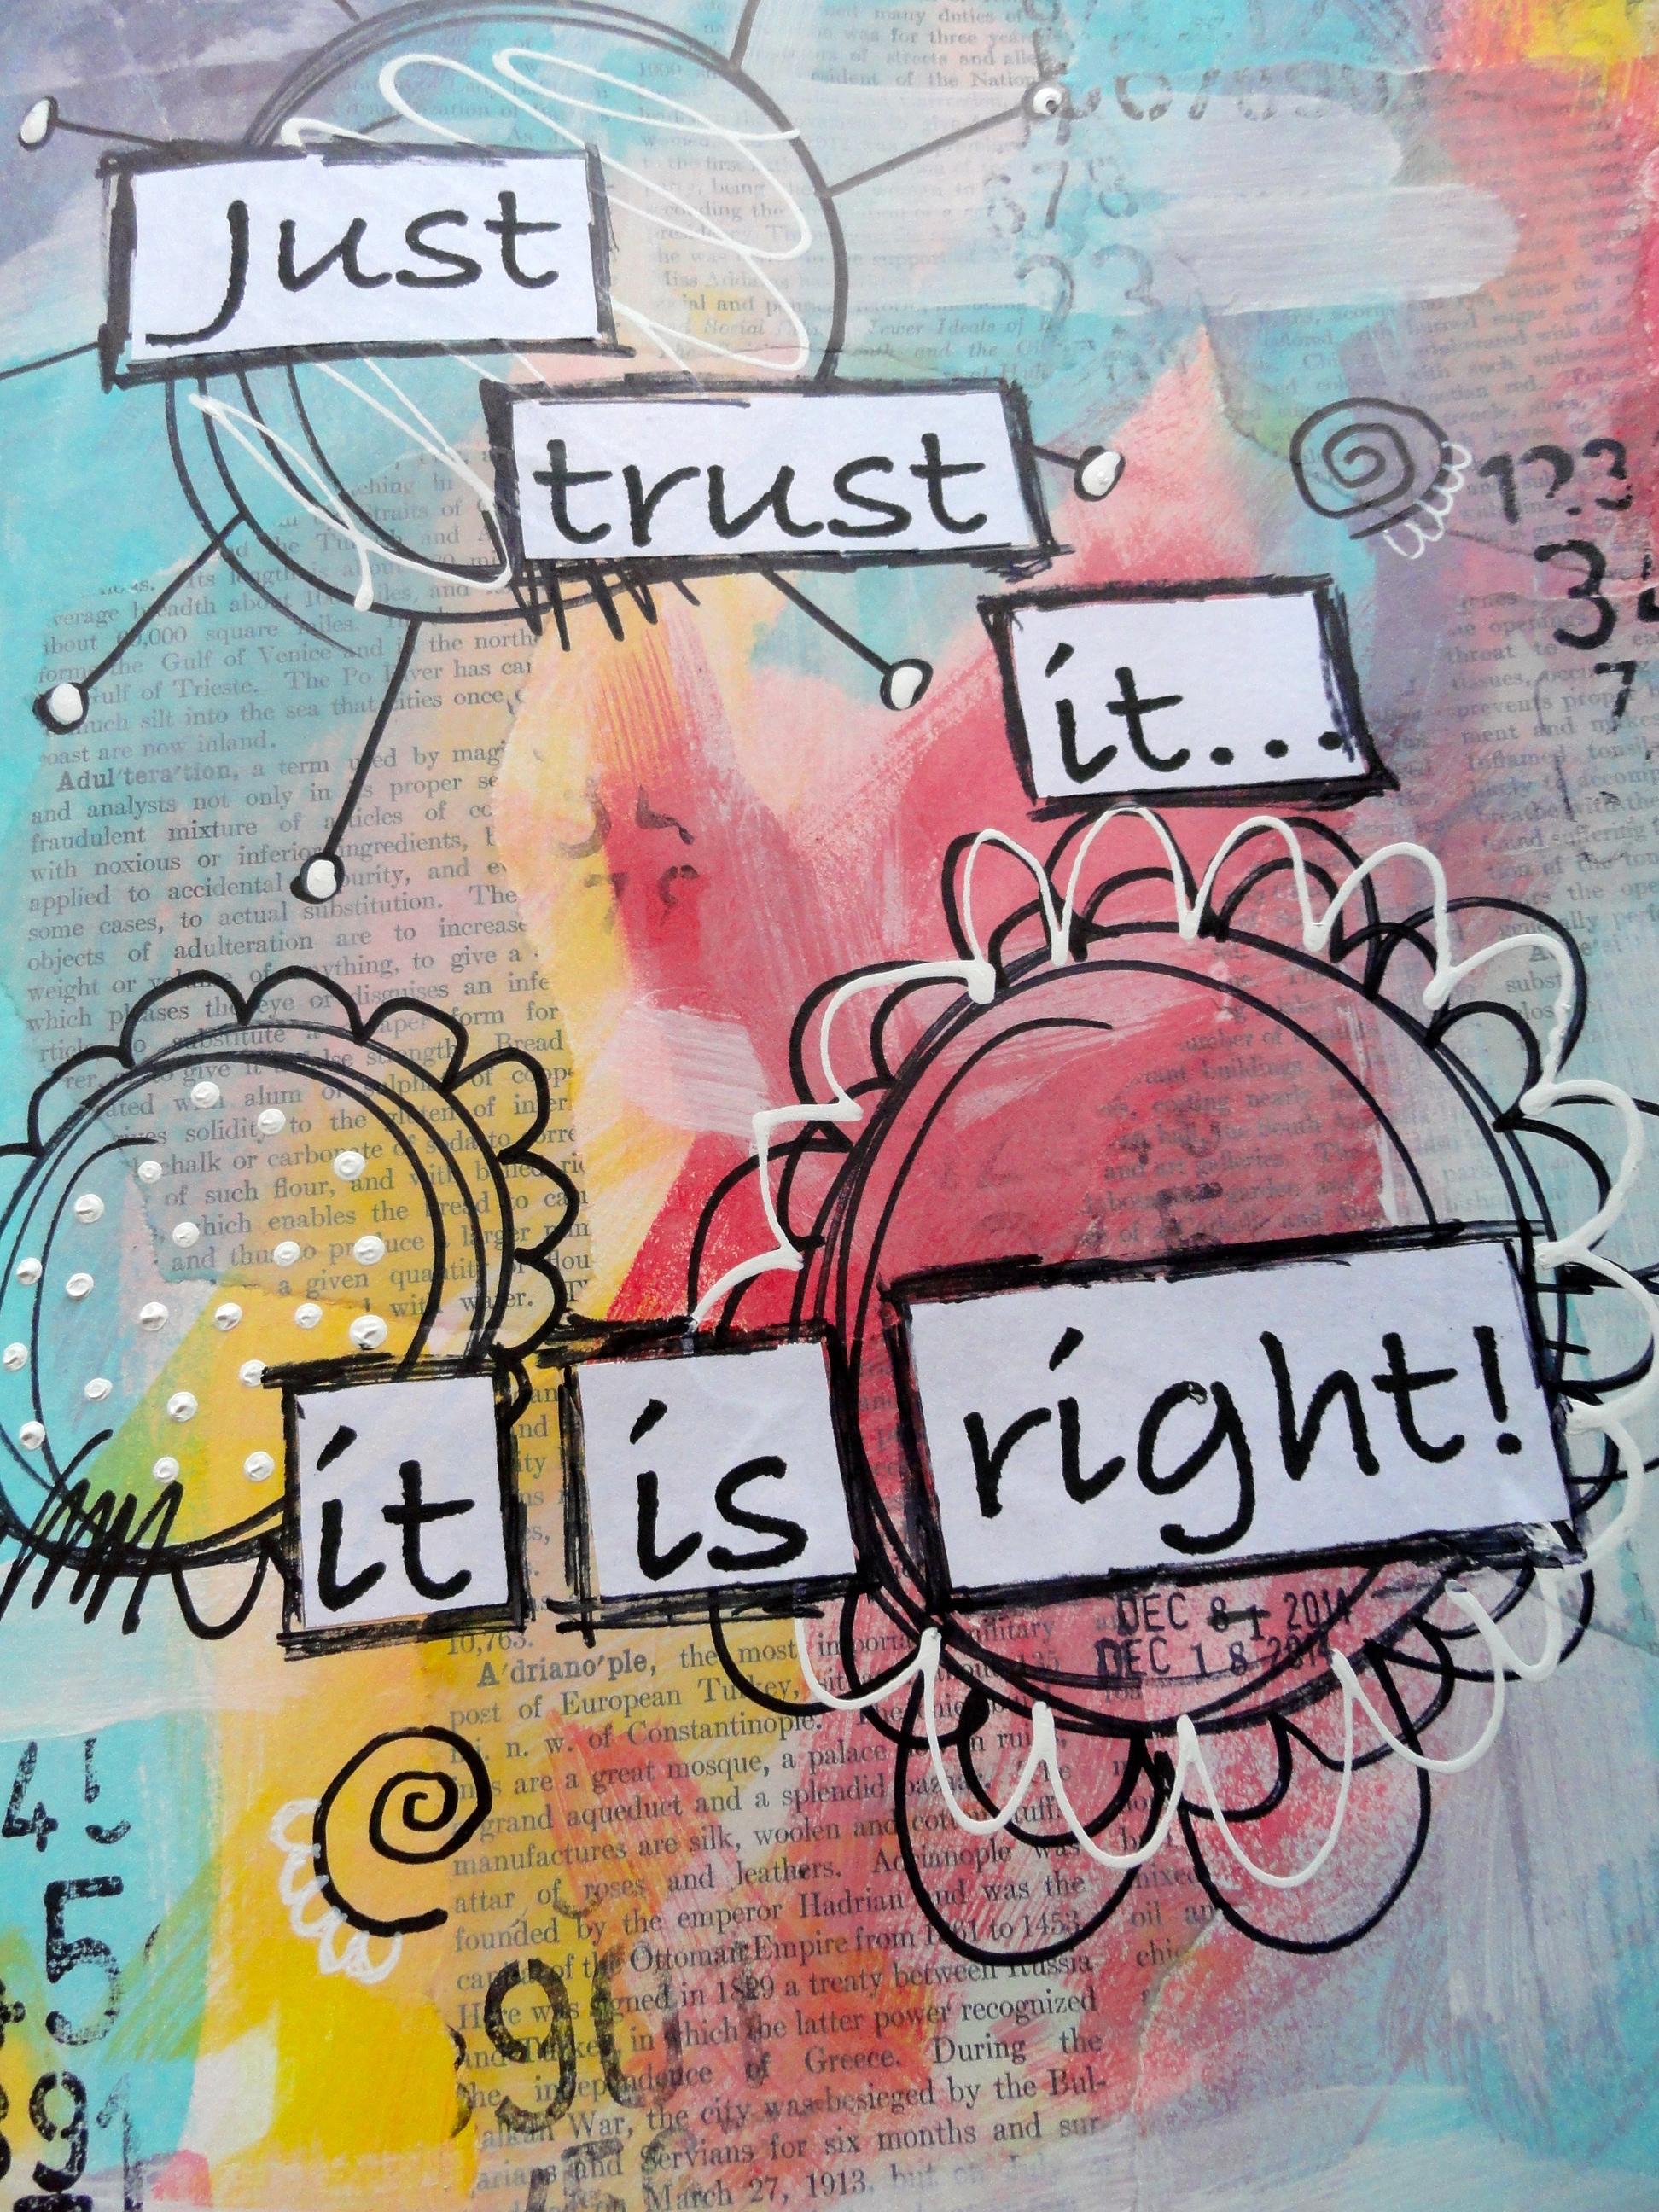
I also was having some trouble coming up with a sentiment for this week, so I started to look around my art studio and came across some “Truth Cards” that I had created a few months ago. When I came across the truth card that had these words on it,
“You already know what the answer is…Just trust it…it is right.”
I knew in a moment that that was it! I could stop looking!! I needed to hear this message in exactly that moment!!
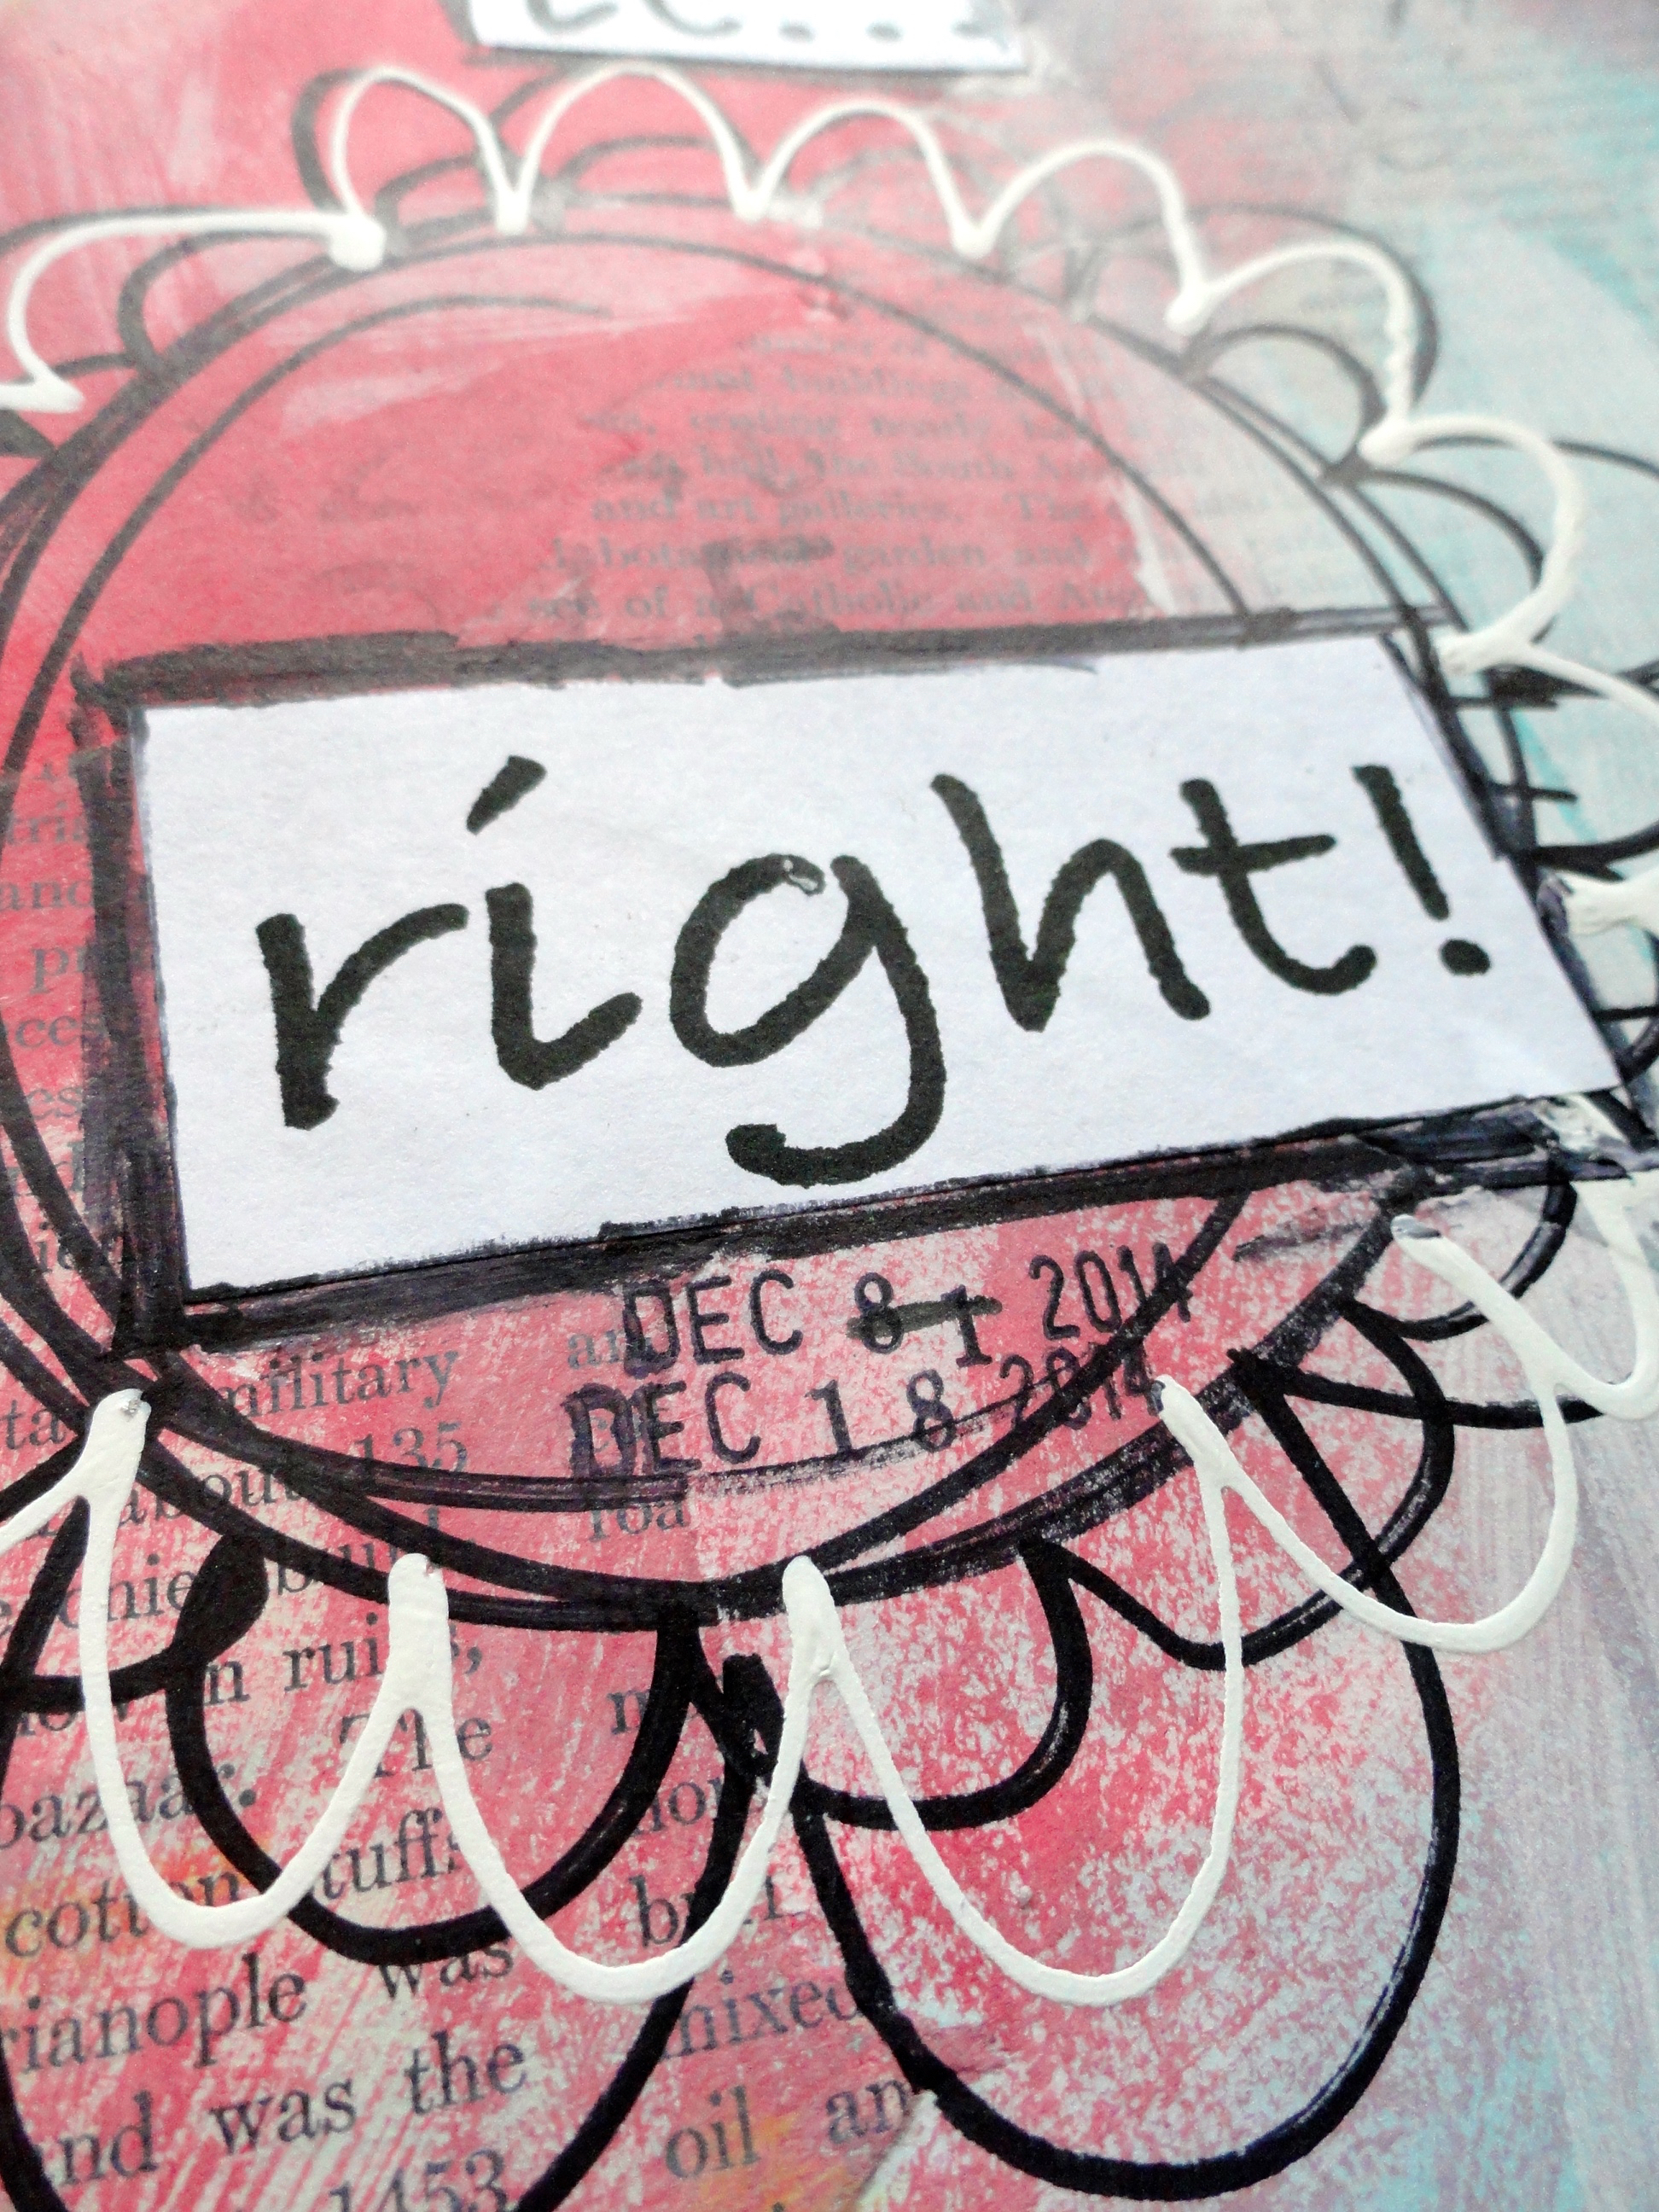 So, what do you think? I would LOVE to hear your thoughts on this week’s art journal!
Also, if you have any ideas, or techniques that you might like to see me try in one of my future layouts, please let me know in the comment section and I will see what I can do to be accommodating! Also, I really do LOVE answering any questions you may have about art journaling, mixed-media, or anything you might have seen me do here! Please feel free to ask questions in the comments, and I will try and get back to you in a timely manner!!
Until next time!
Here is to a BEAUTIFULLY CREATIVE week! 😉


