Tag Archives: Art Journal

Weekly Art Journal #4 Video

Good morning!

I am happy to announce that my weekly Art Journal video #4 has been posted to YouTube for your perusal!

http://youtu.be/QUh6p97oz1Y

I have a bunch of pictures to show you, but first the supplies I used this week are:

  • Art Advantage Acrylic Paints: Cadmium Yellow Medium Hue, Cerulean Blue, Permanent Green Light
  • Lumiere Acrylic Paint Pearlescent Magenta (573)
  • Folk Art Acrylic Paint Neon Pink (2850)
  • Apple Barrel Acrylic Paint White (20403)
  • Liquitex Acrylic Ink Vivid Lime Green
  • Ranger Stickles: Purple (SGG20615), True Blue (SGG29052), Waterfall (SGG20639)
  • Hero Arts Wood Mounted Stamp: Painted Circle (E5784), Old French Writing (H2365)
  • Inkadinkado Wood Mounted Stamp: K-Paper Artsy Tre’port Postal
  • Cosmo Cricket Wood Mounted Stamp: Cluster Border (PS0647)
  • Ranger’s Black Archival Ink Pad
  • Golden’s Gel Medium
  • Liquitex White Gesso
  • Black Stabilo Pencil
  • Water Brush
  • 1-1/2 inch brush
  • Pink tissue paper (I had gotten in a birthday present gift)
  • Silver Butterfly wall decal – I am not sure the brand, but I found it in a set on clearance at Wallmart for $1
  • Aleen’s Tacky Glue

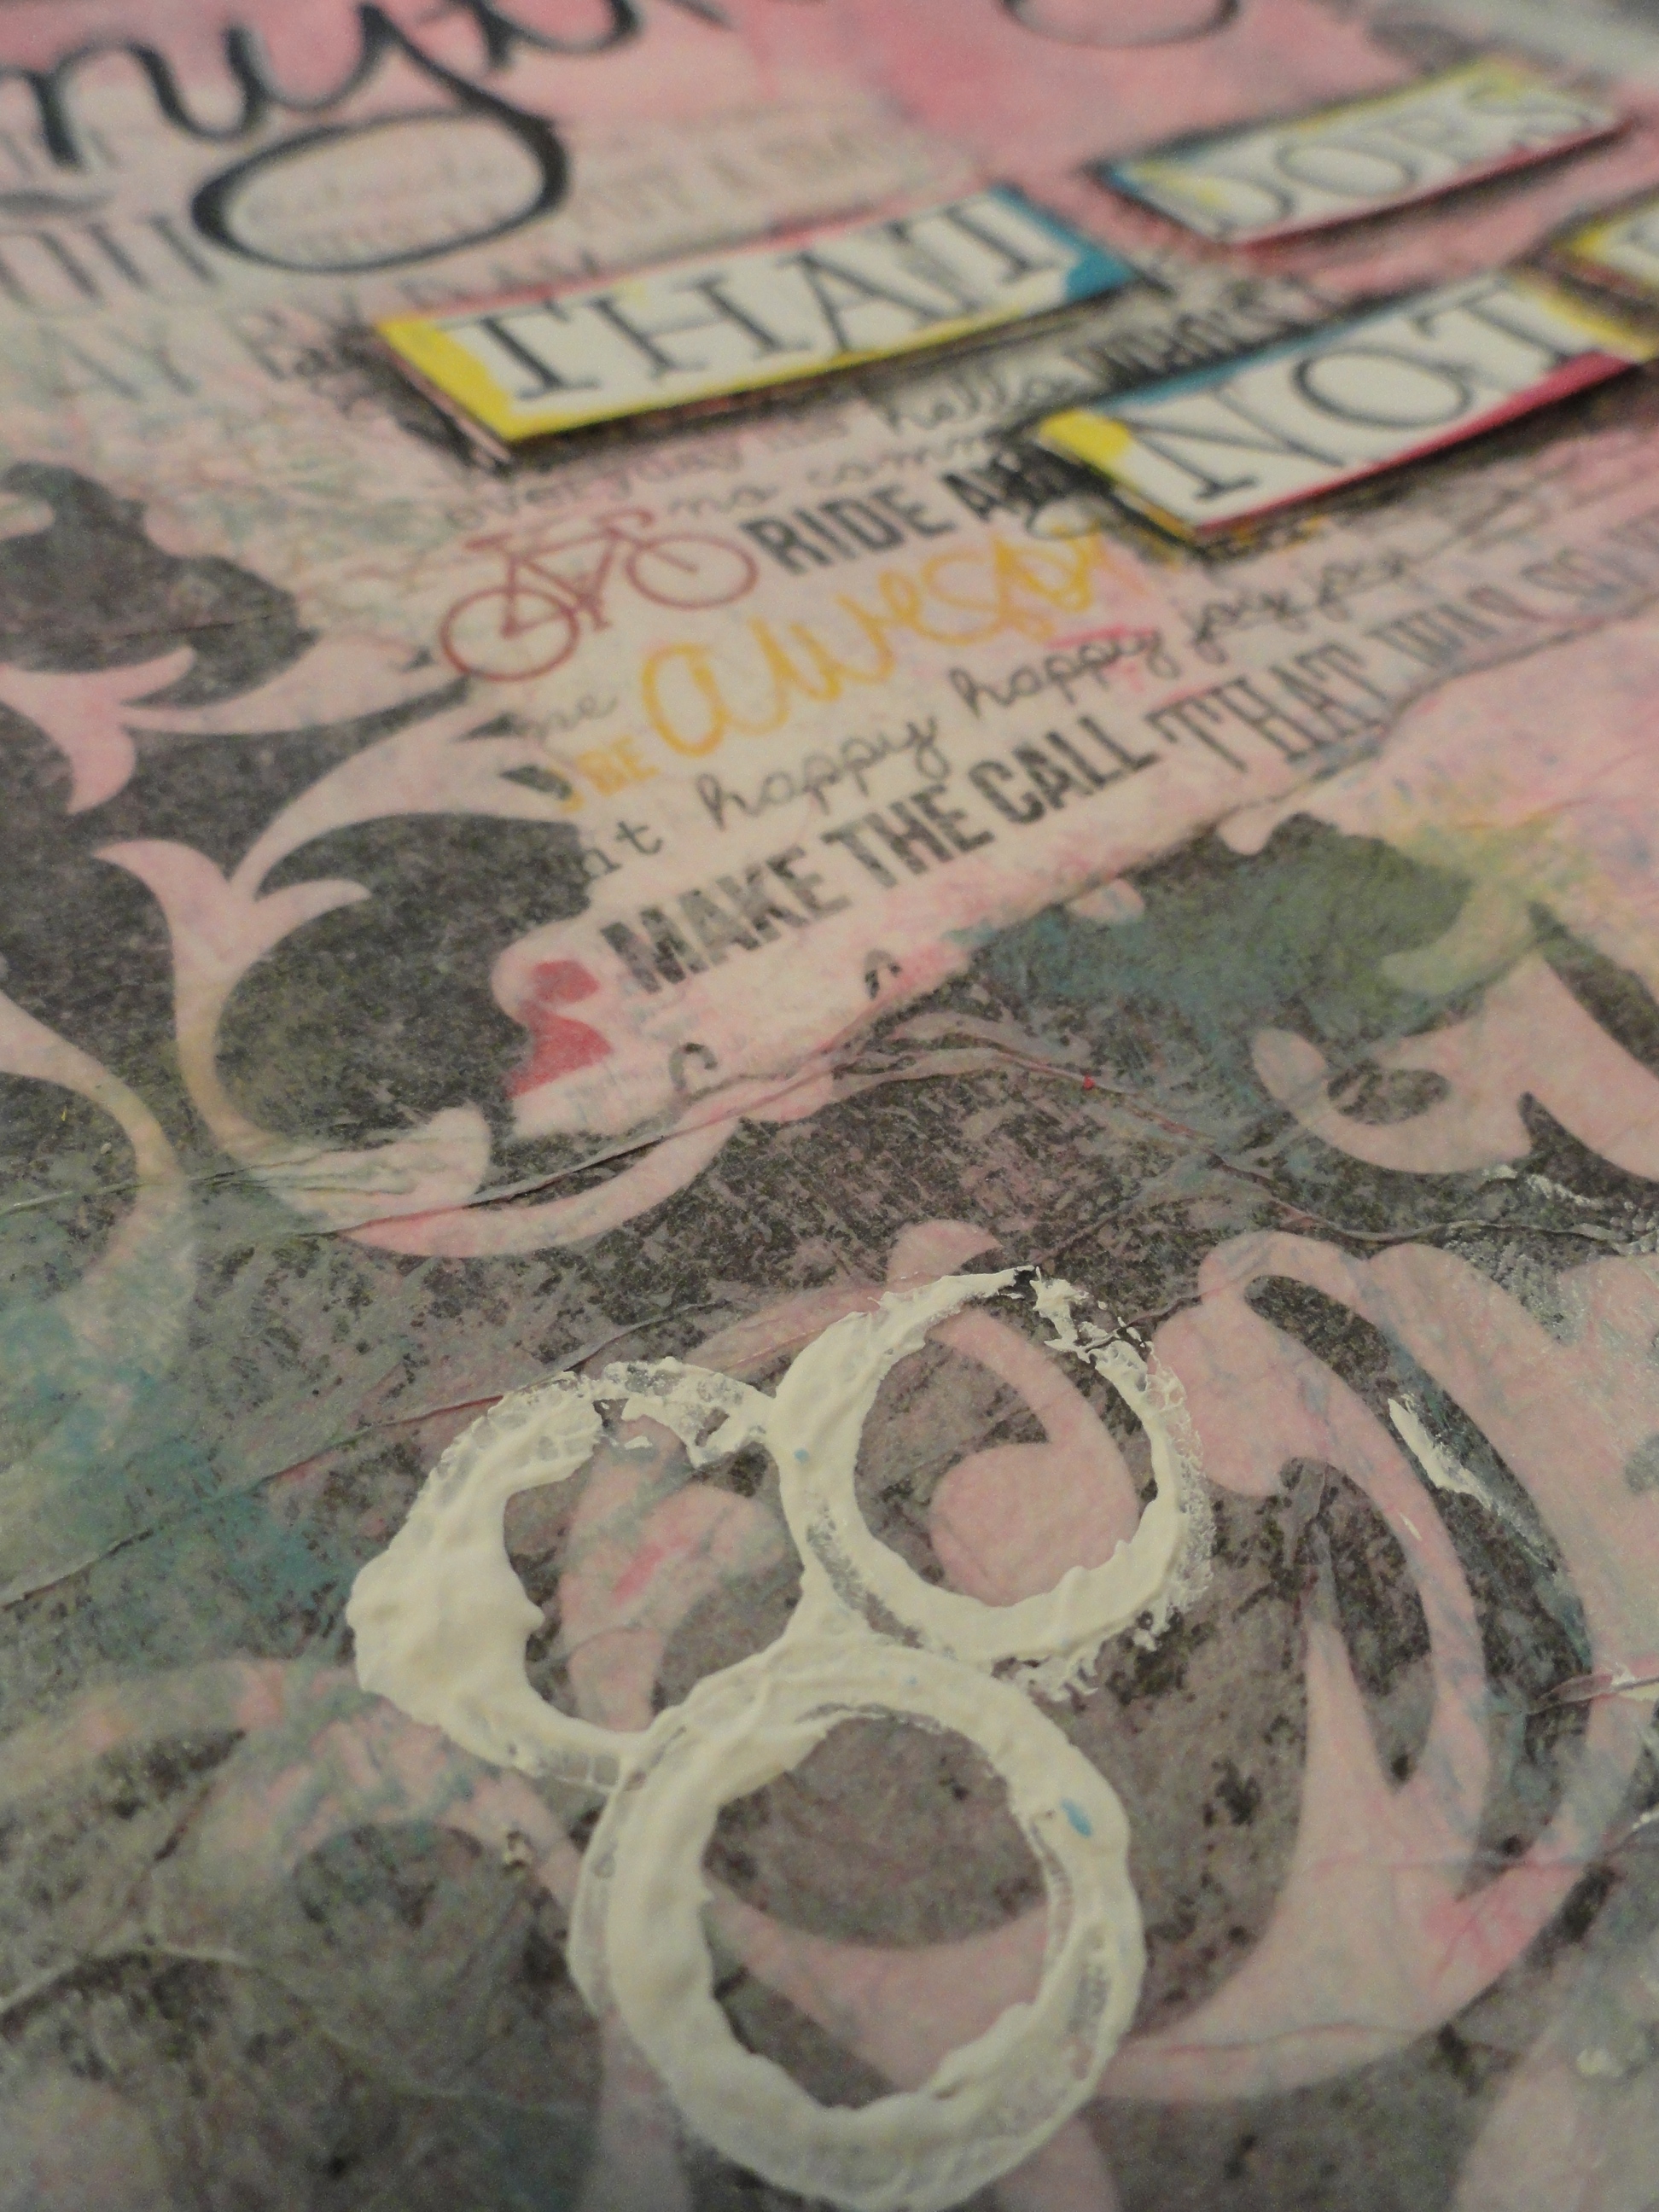
DSC05758

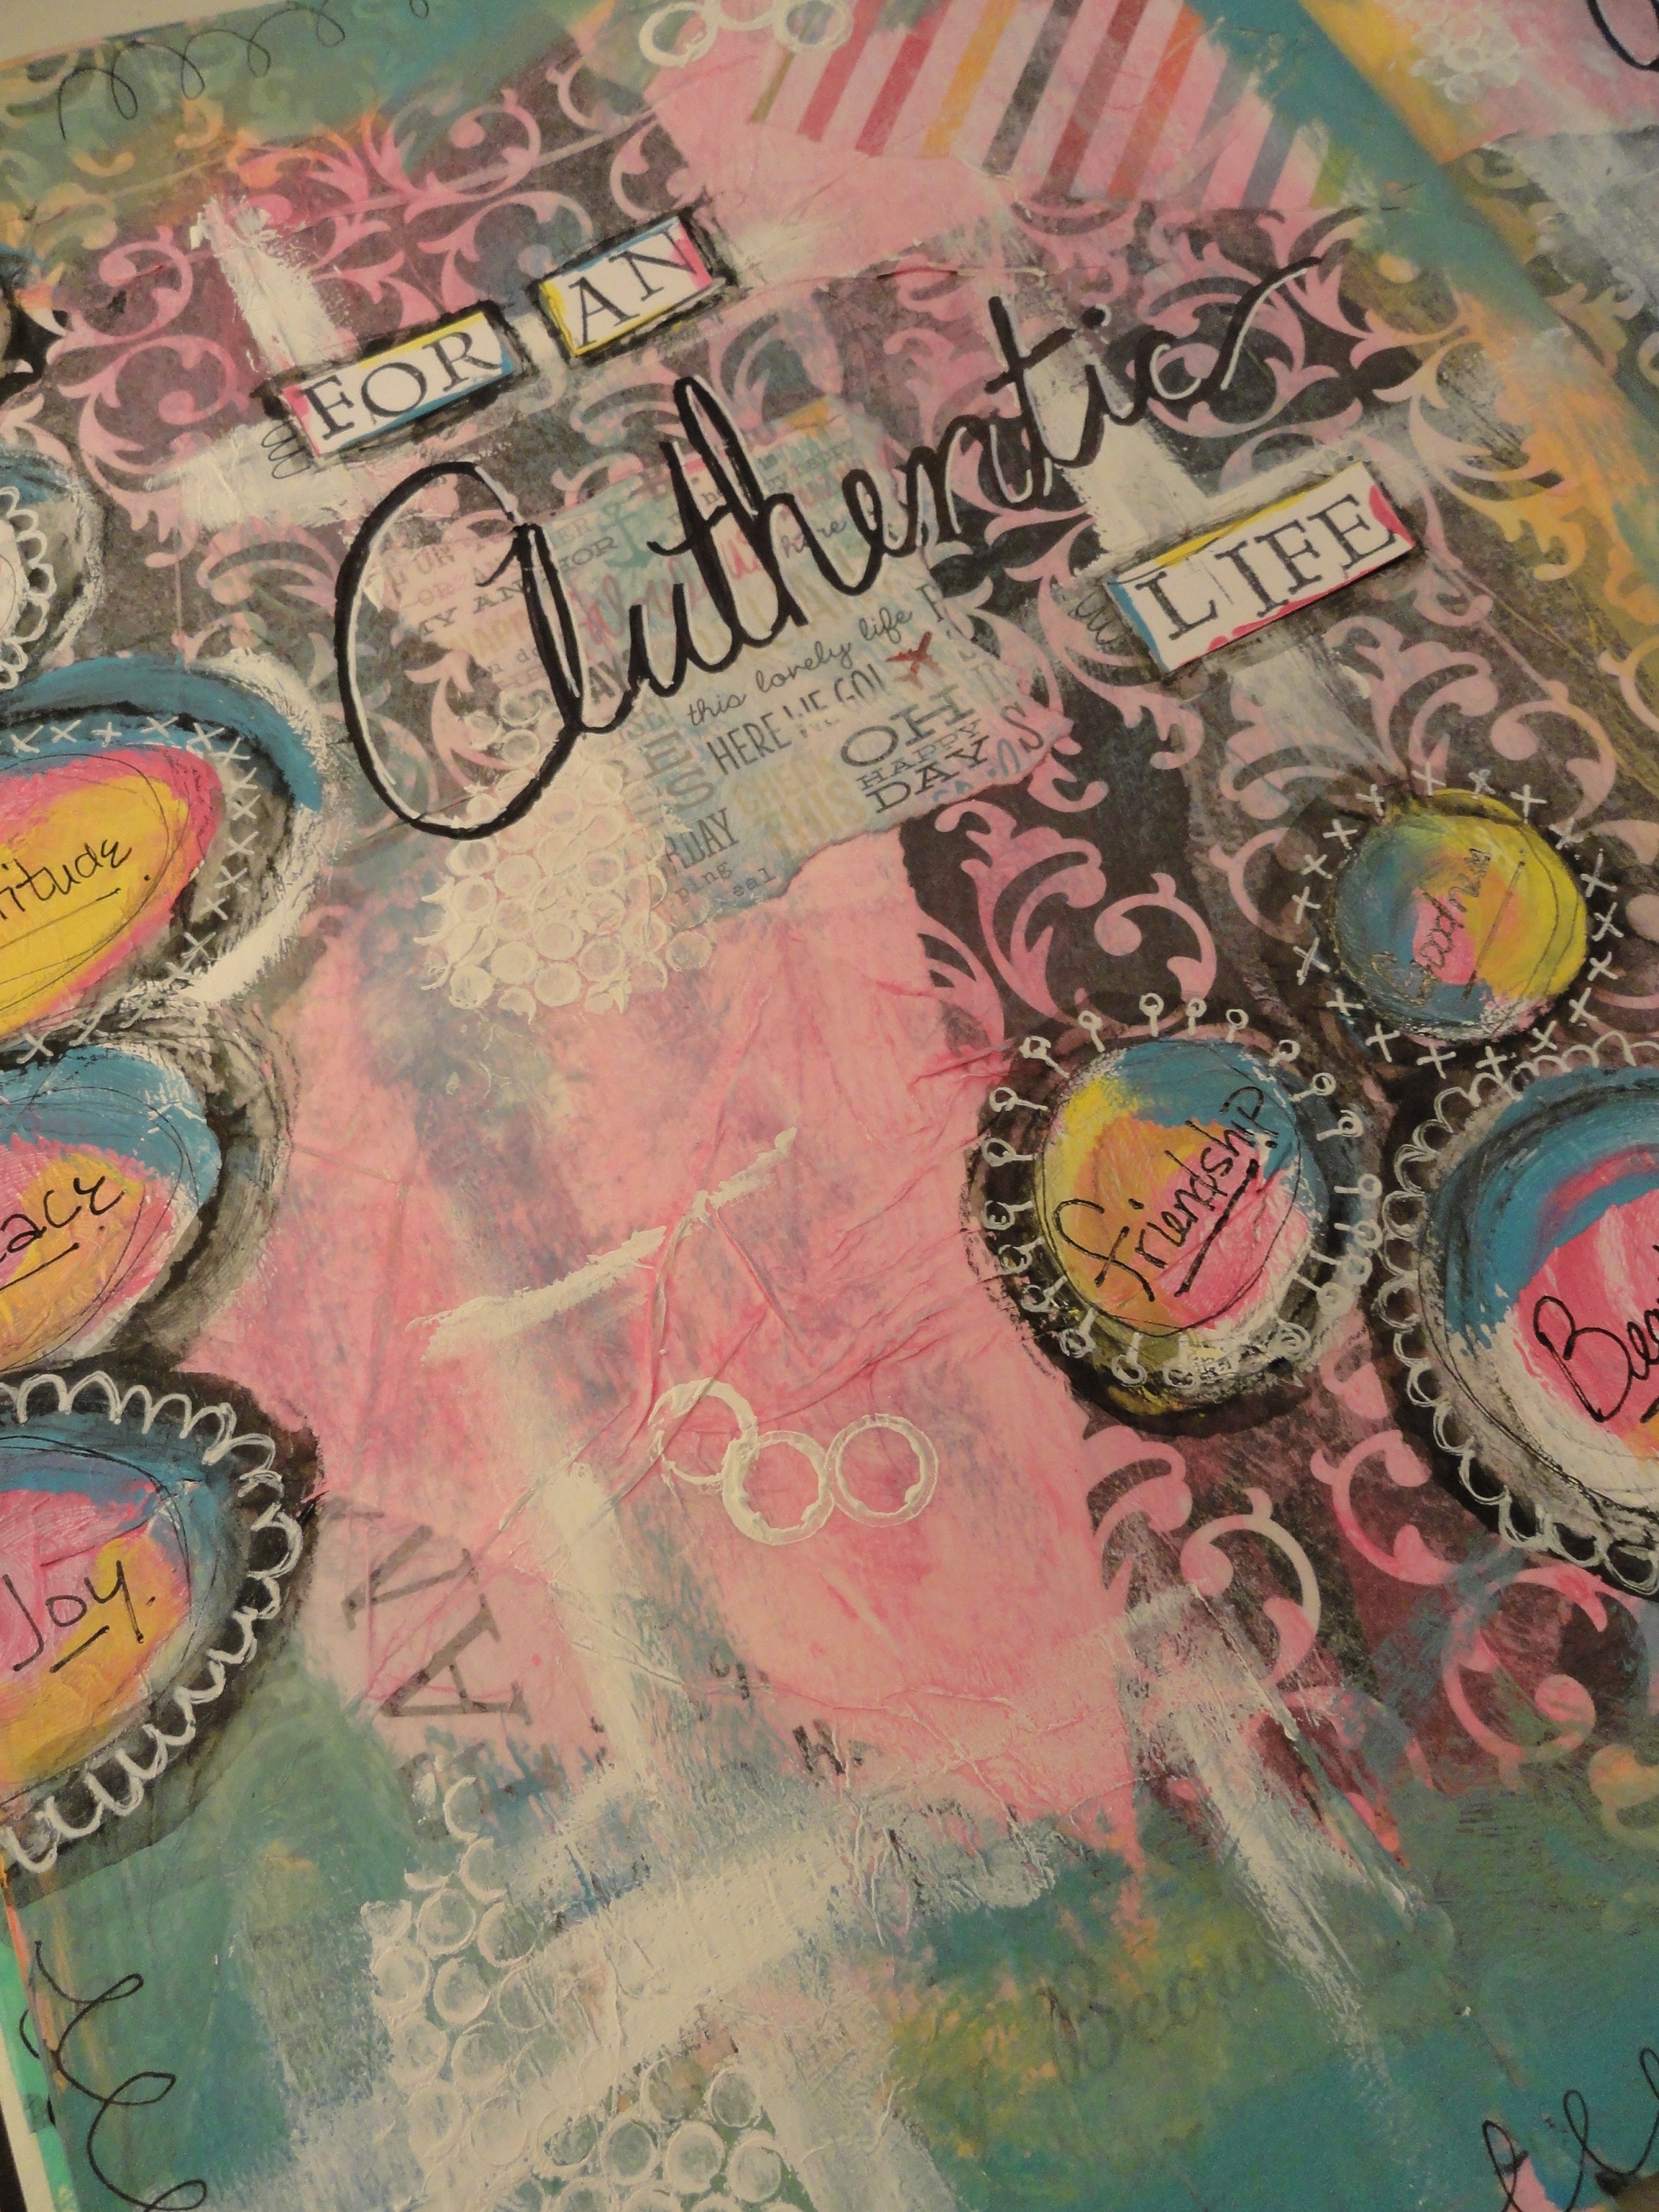
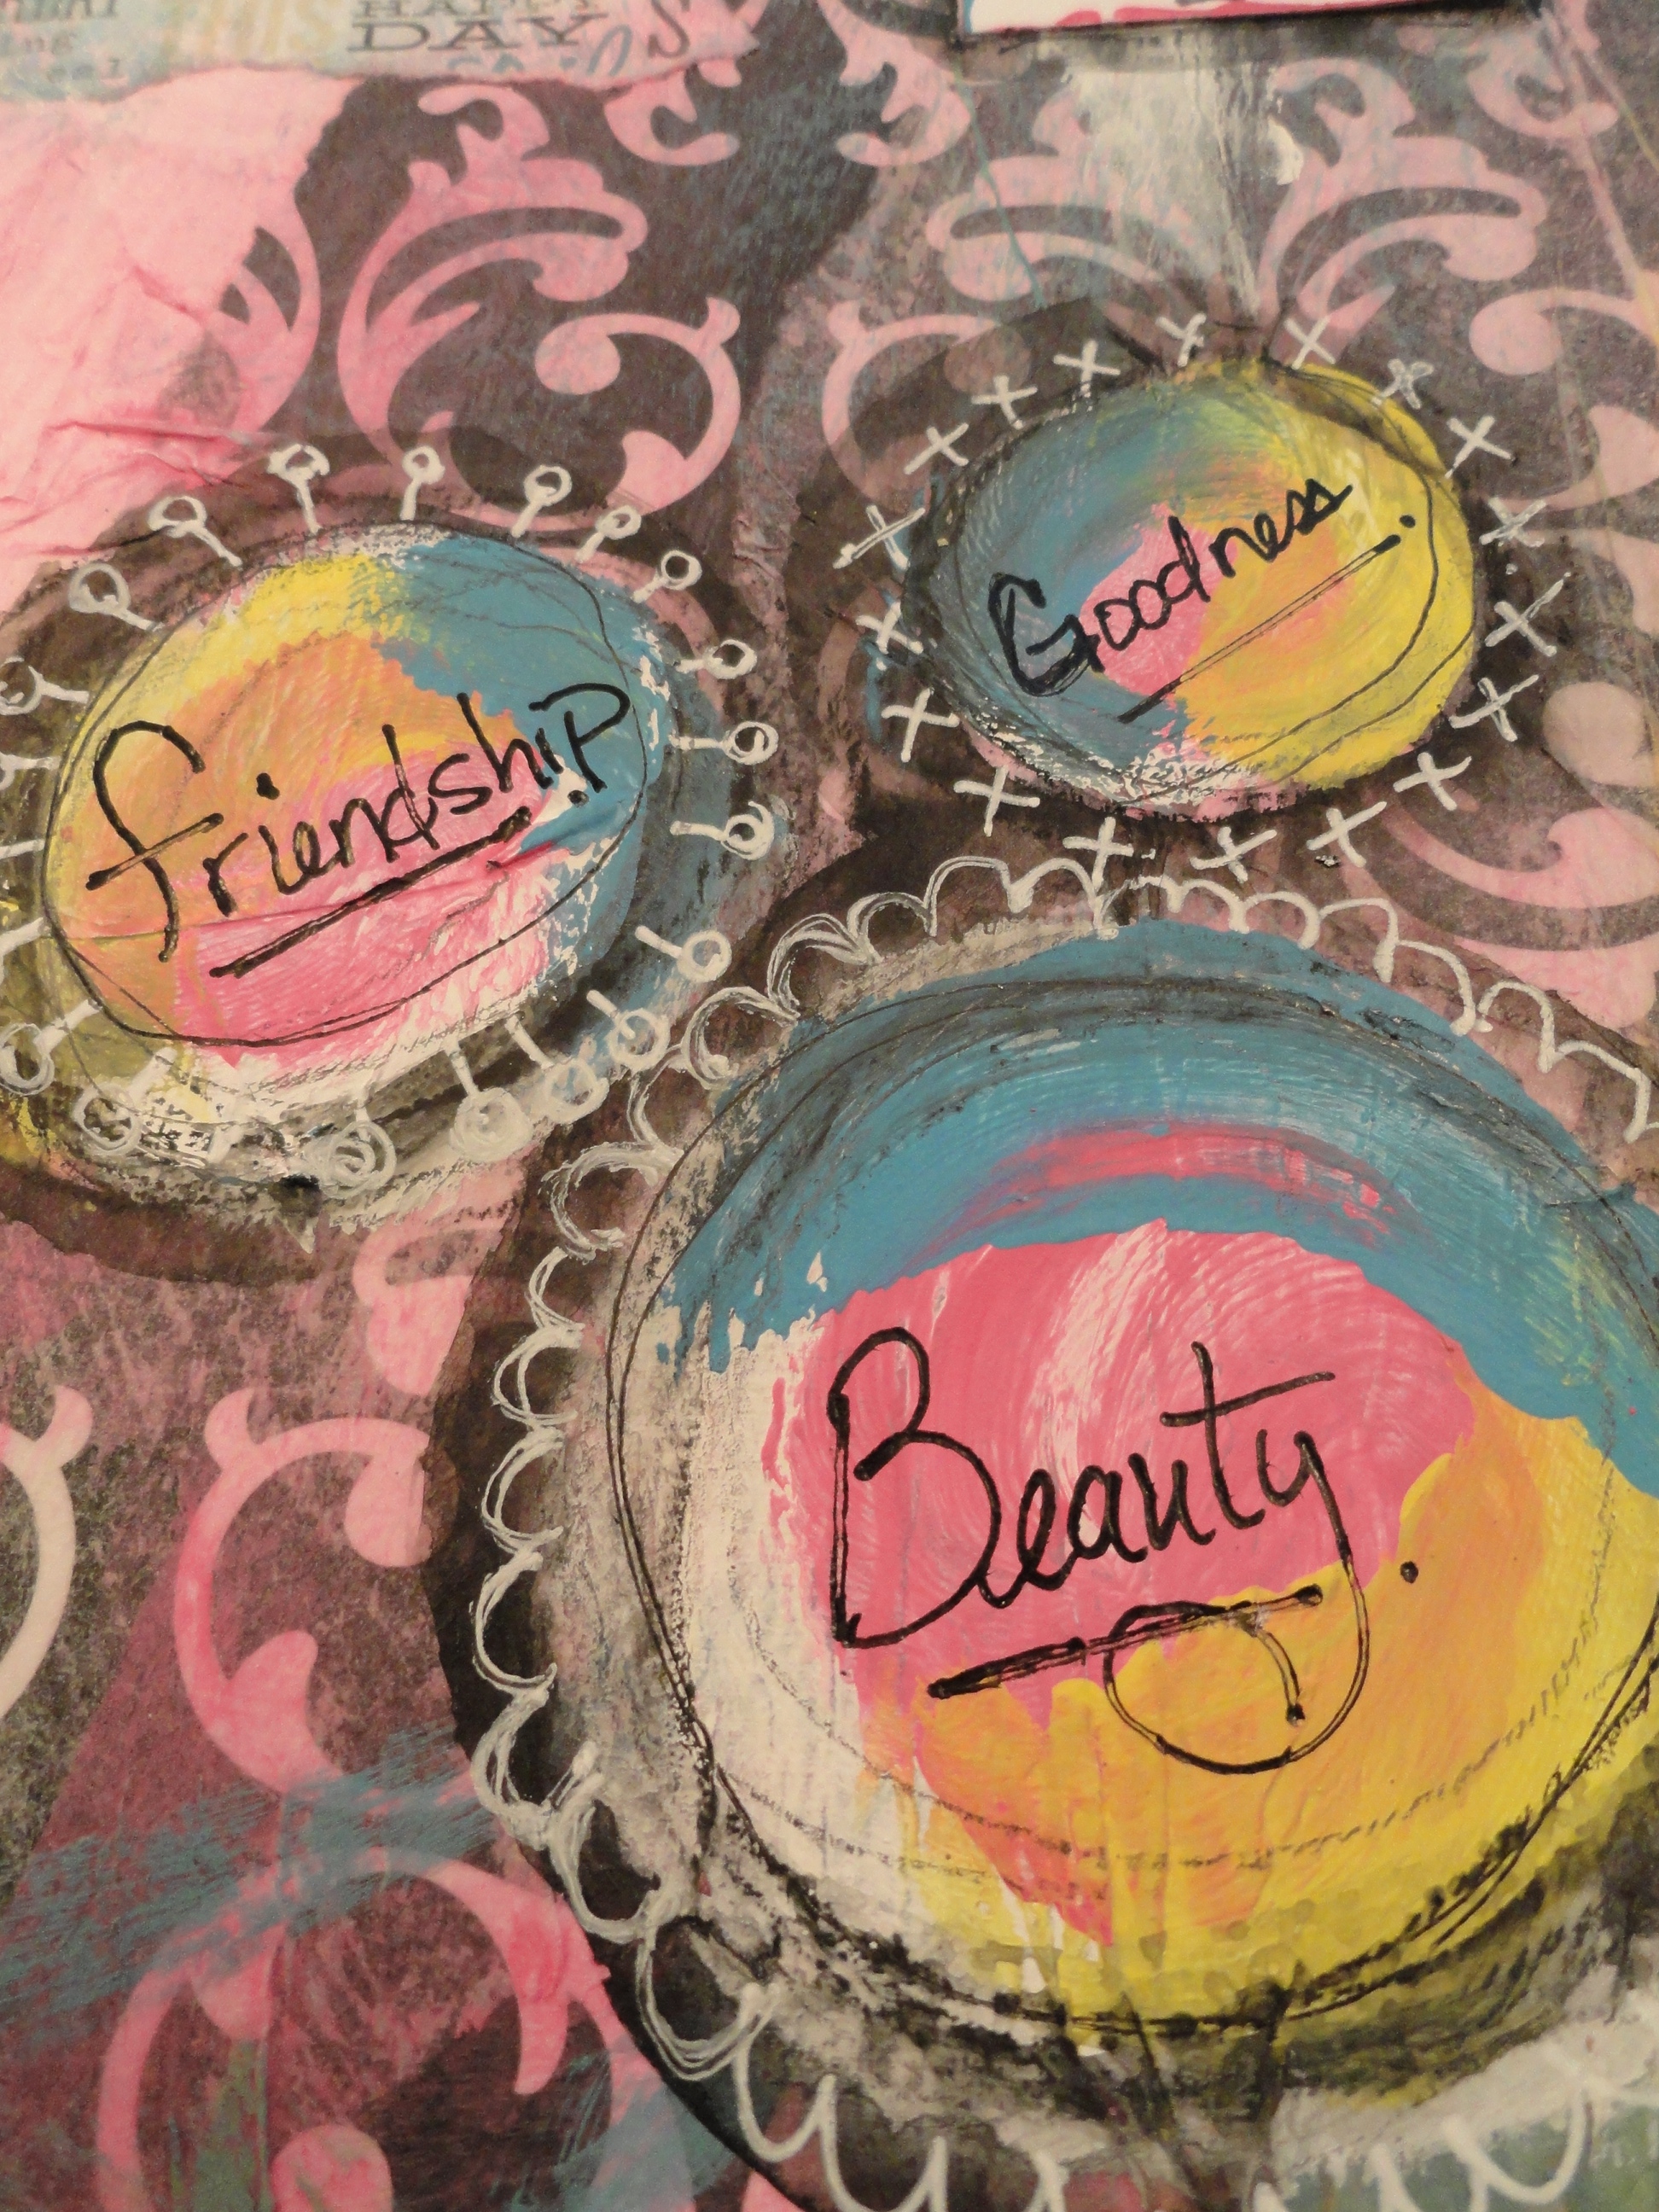
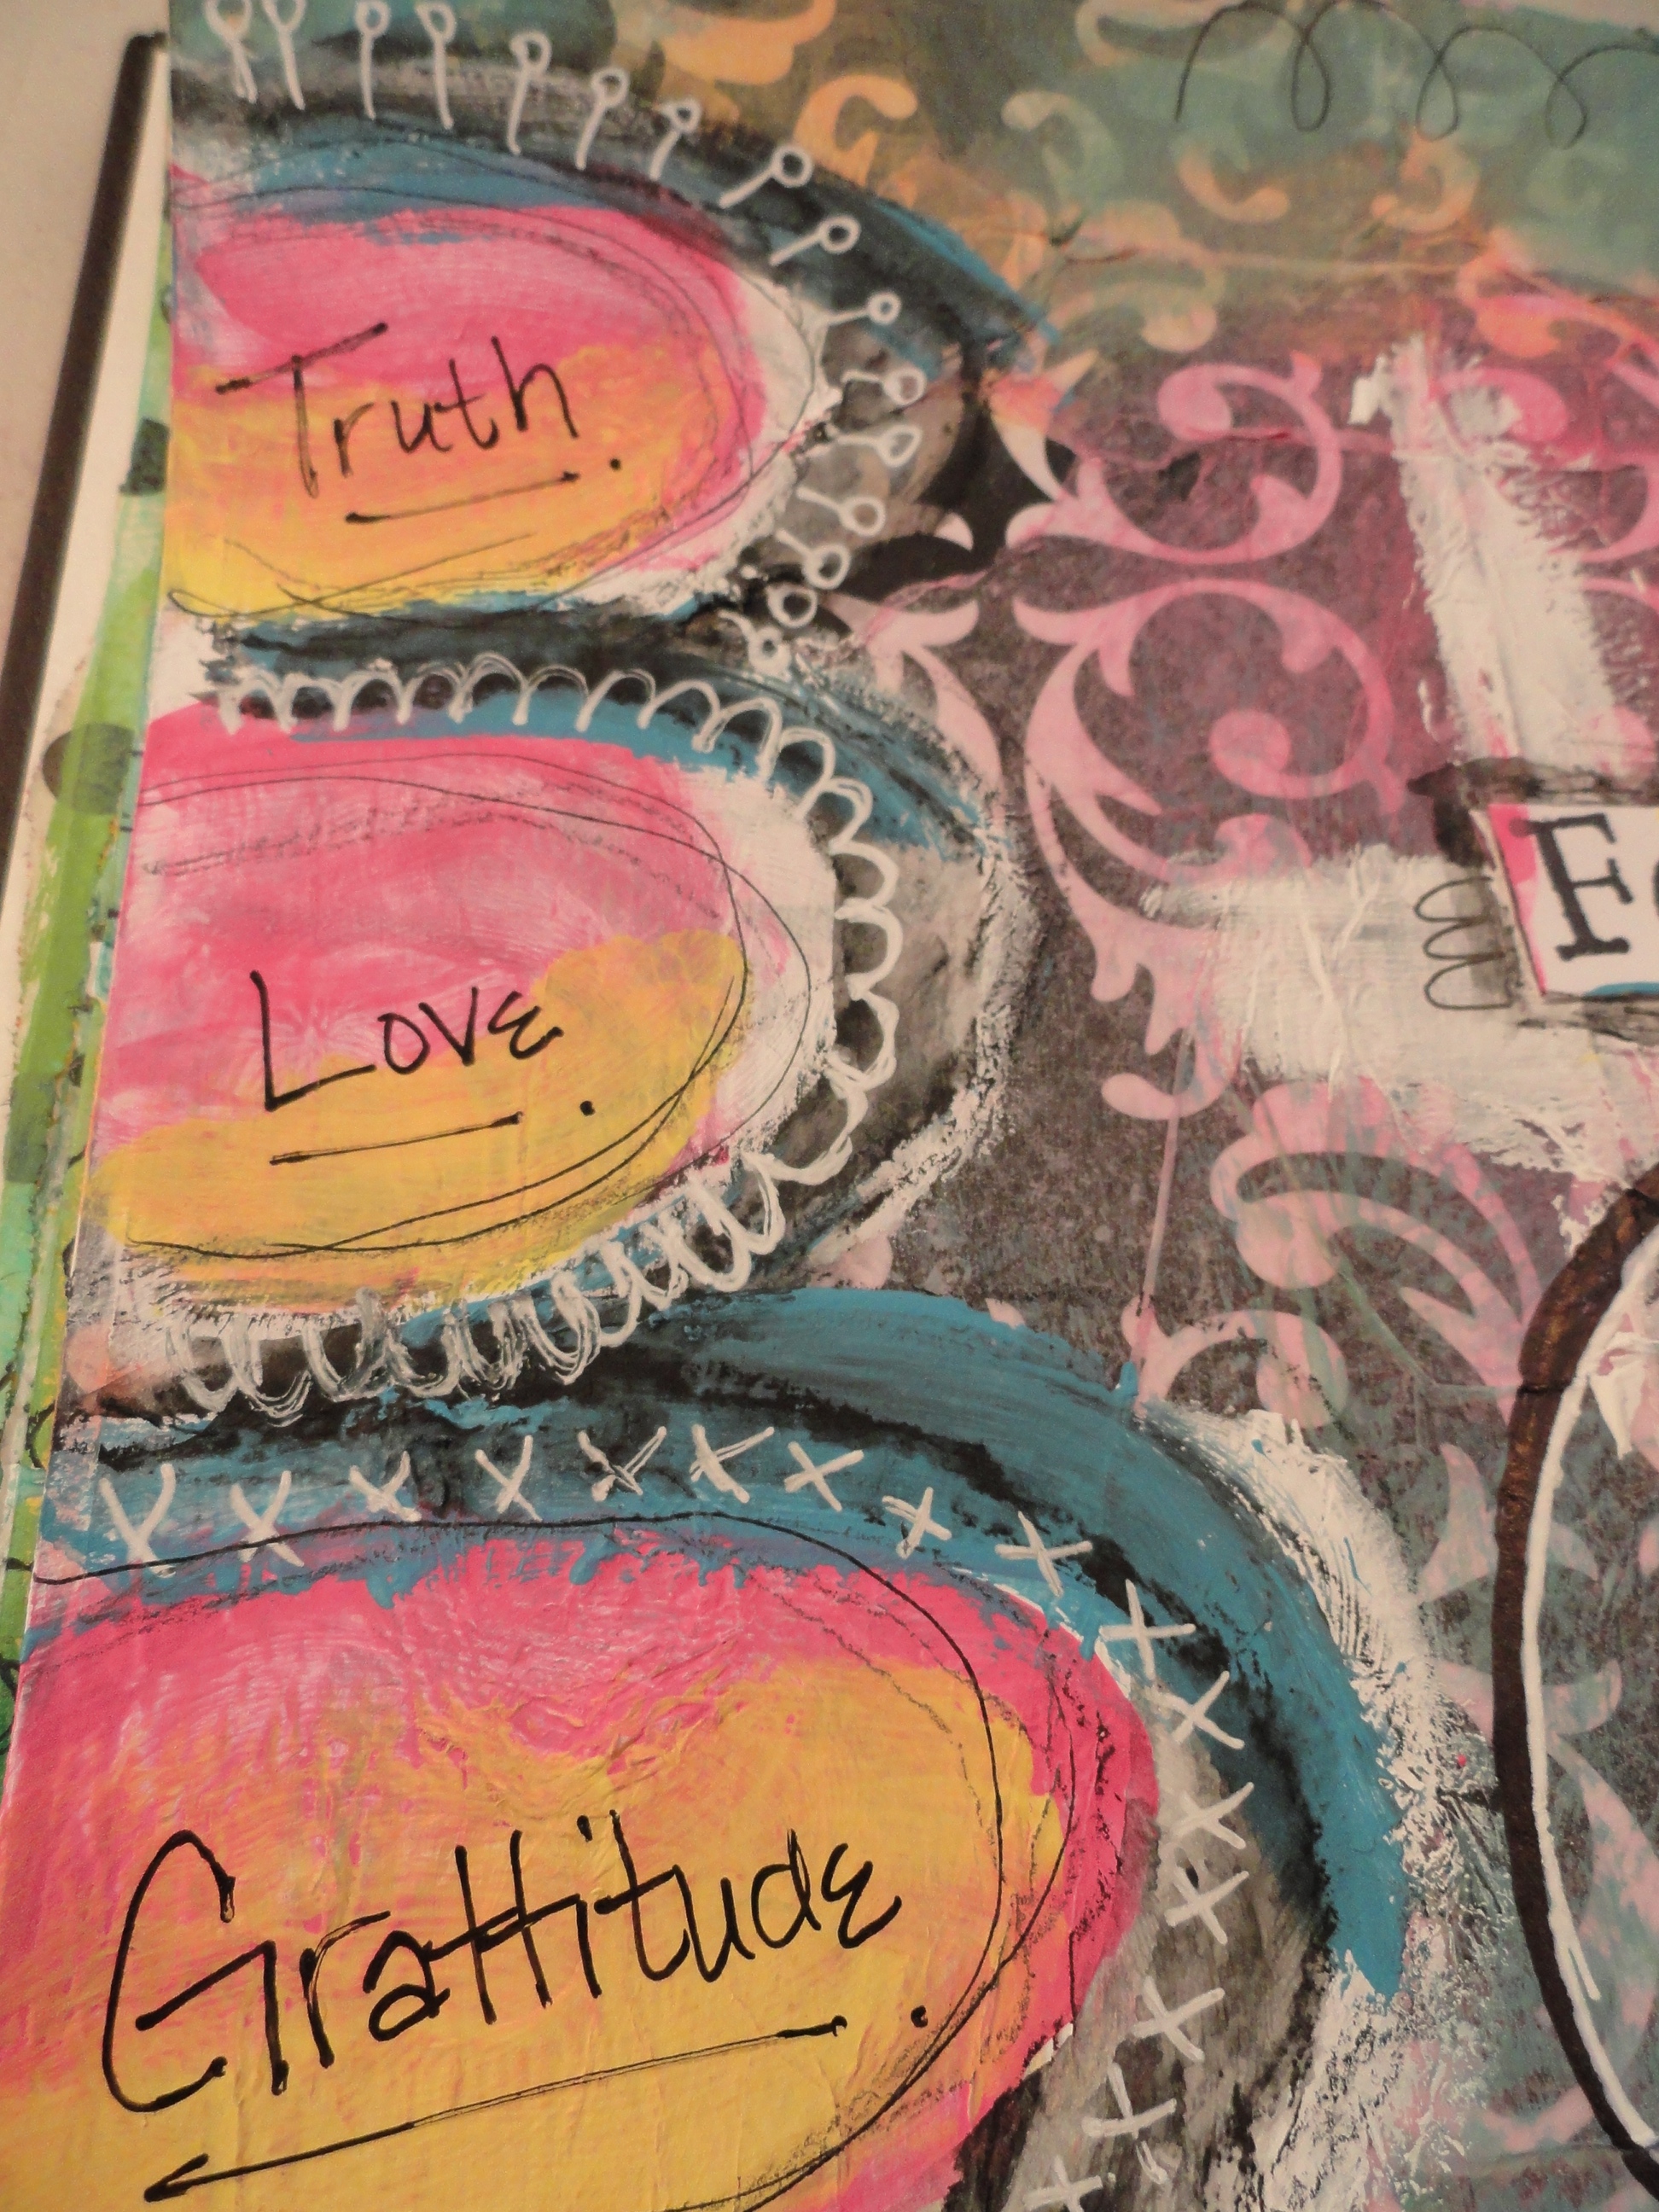
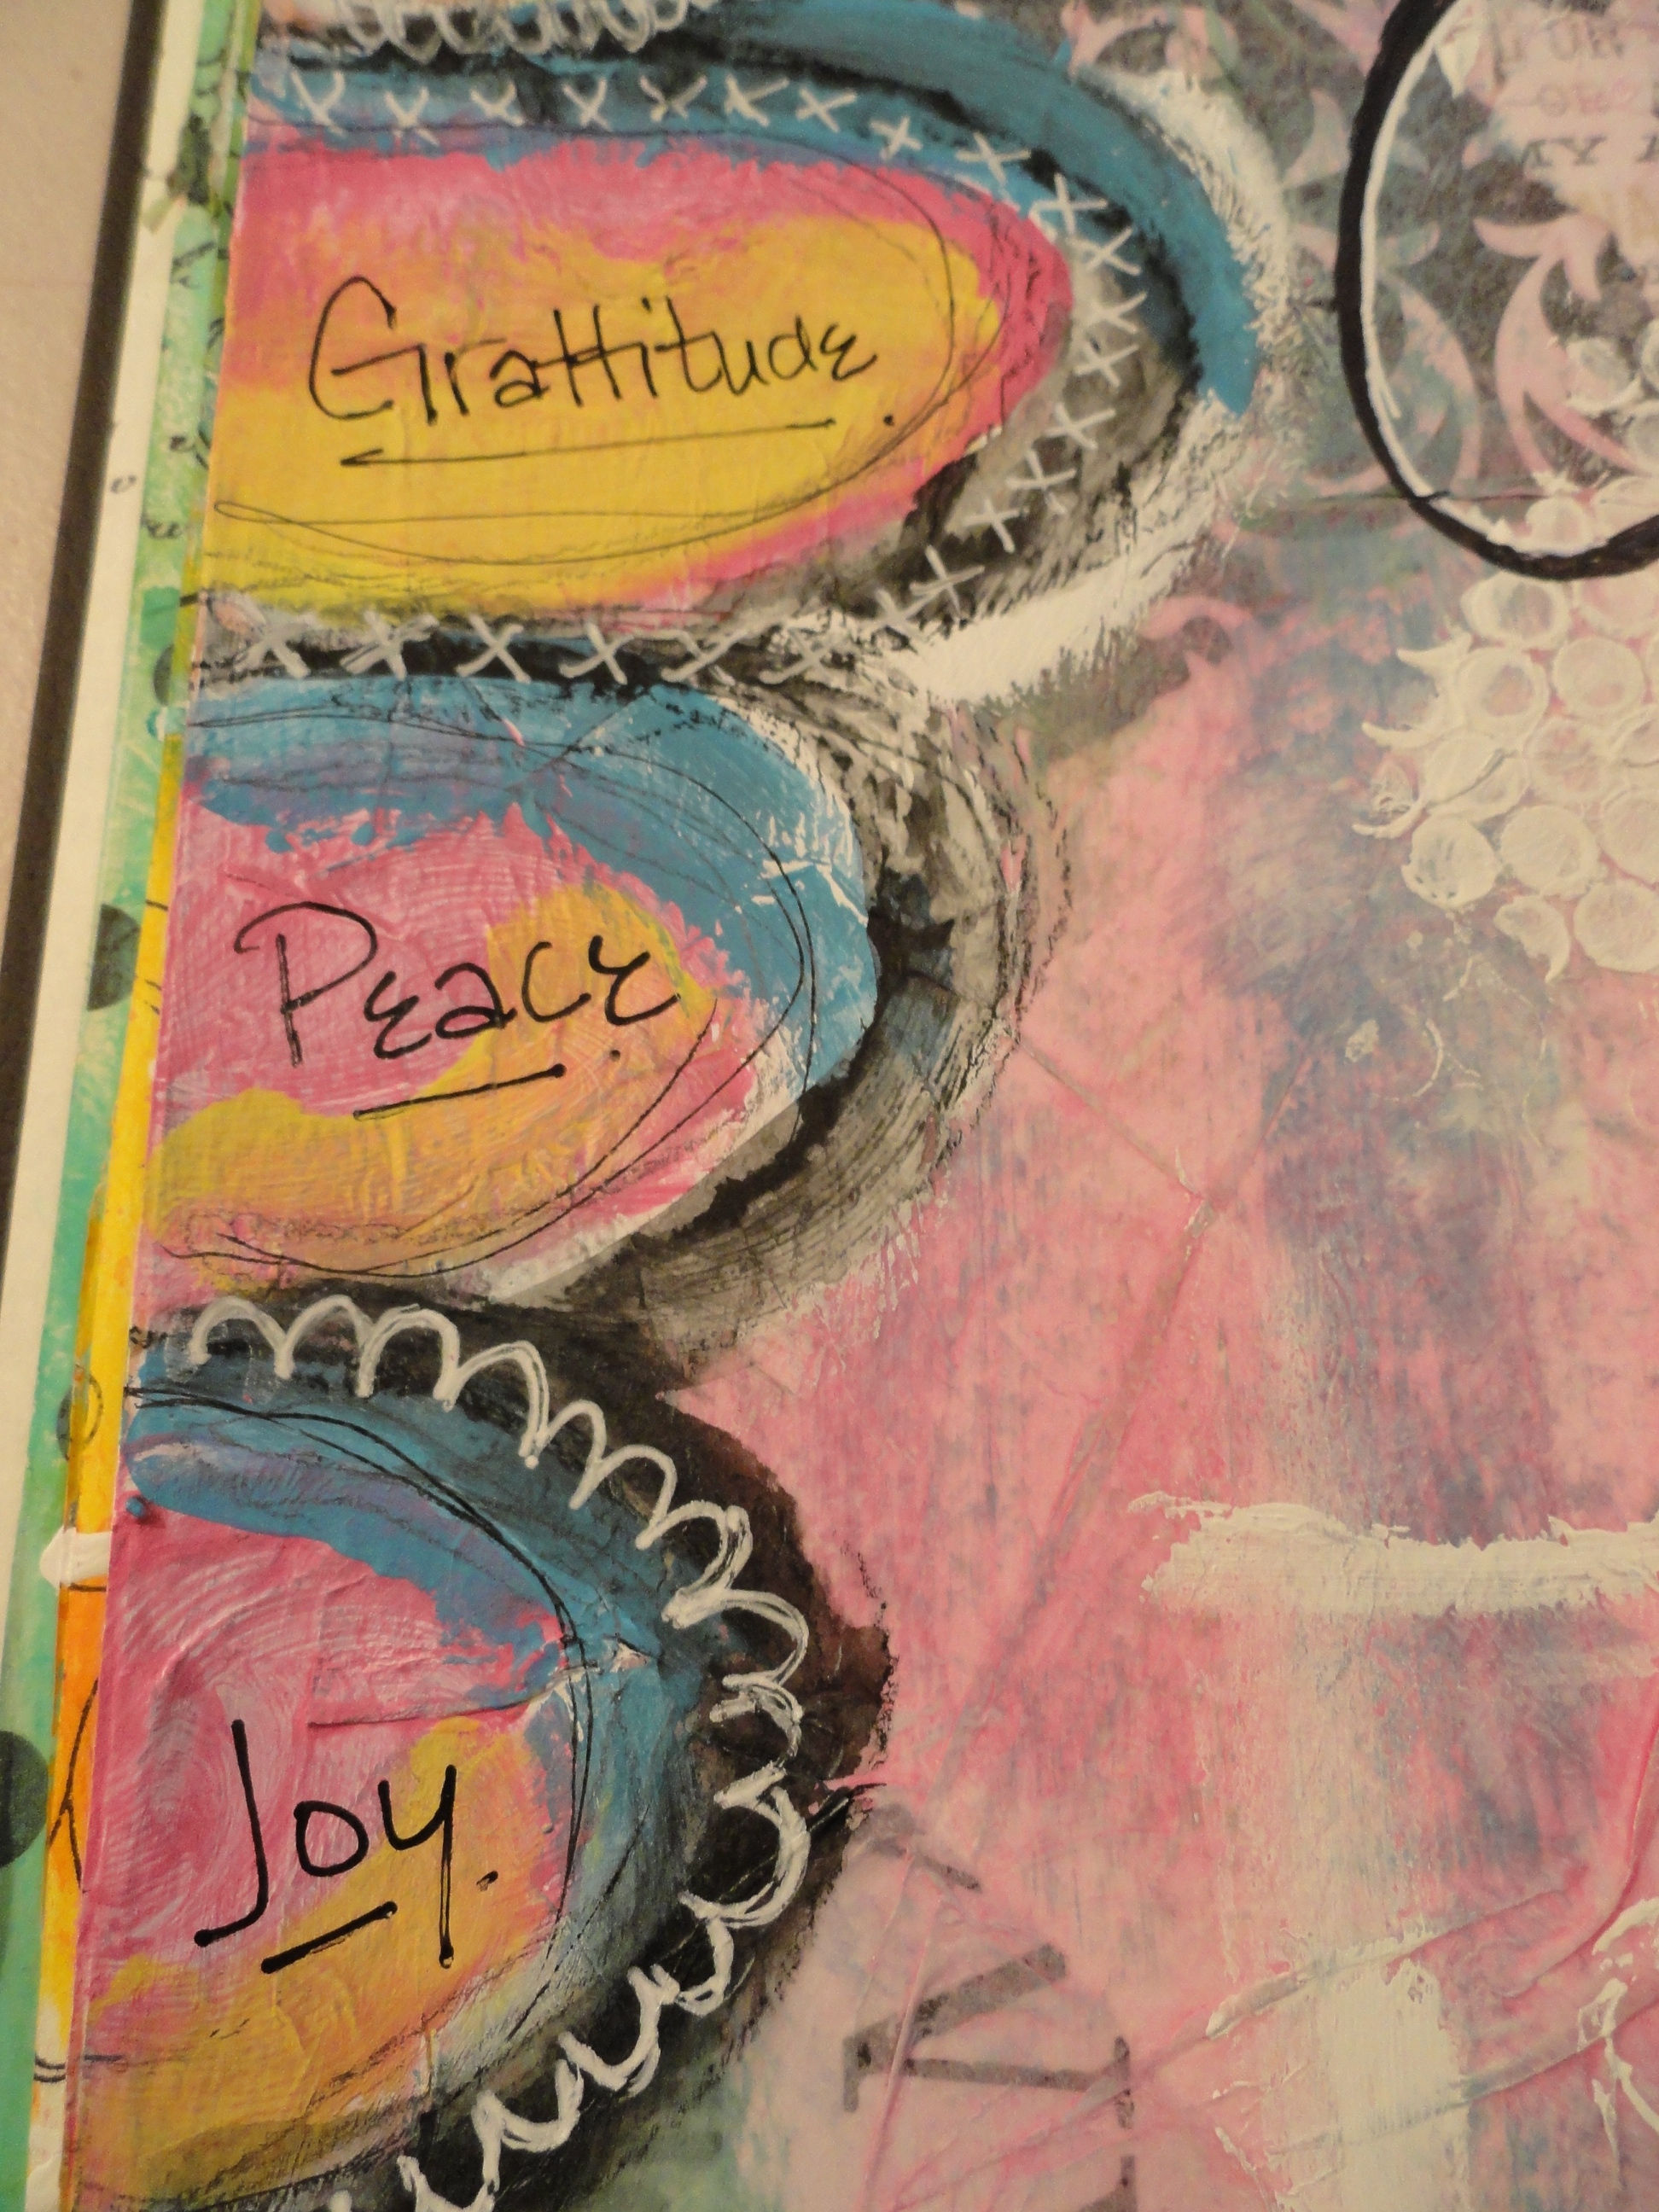
I had a lot of fun doing this spread this week! Unlike most weeks, where I am just winging it, this week I had a vague idea about what I wanted to do, but had really no idea what my thought was going to be, or how to pull it all together. It wasn’t until I was finally spending time arting in quiet, while I was actually doing these art journal pages, that it finally seemed to come together!

DSC05760

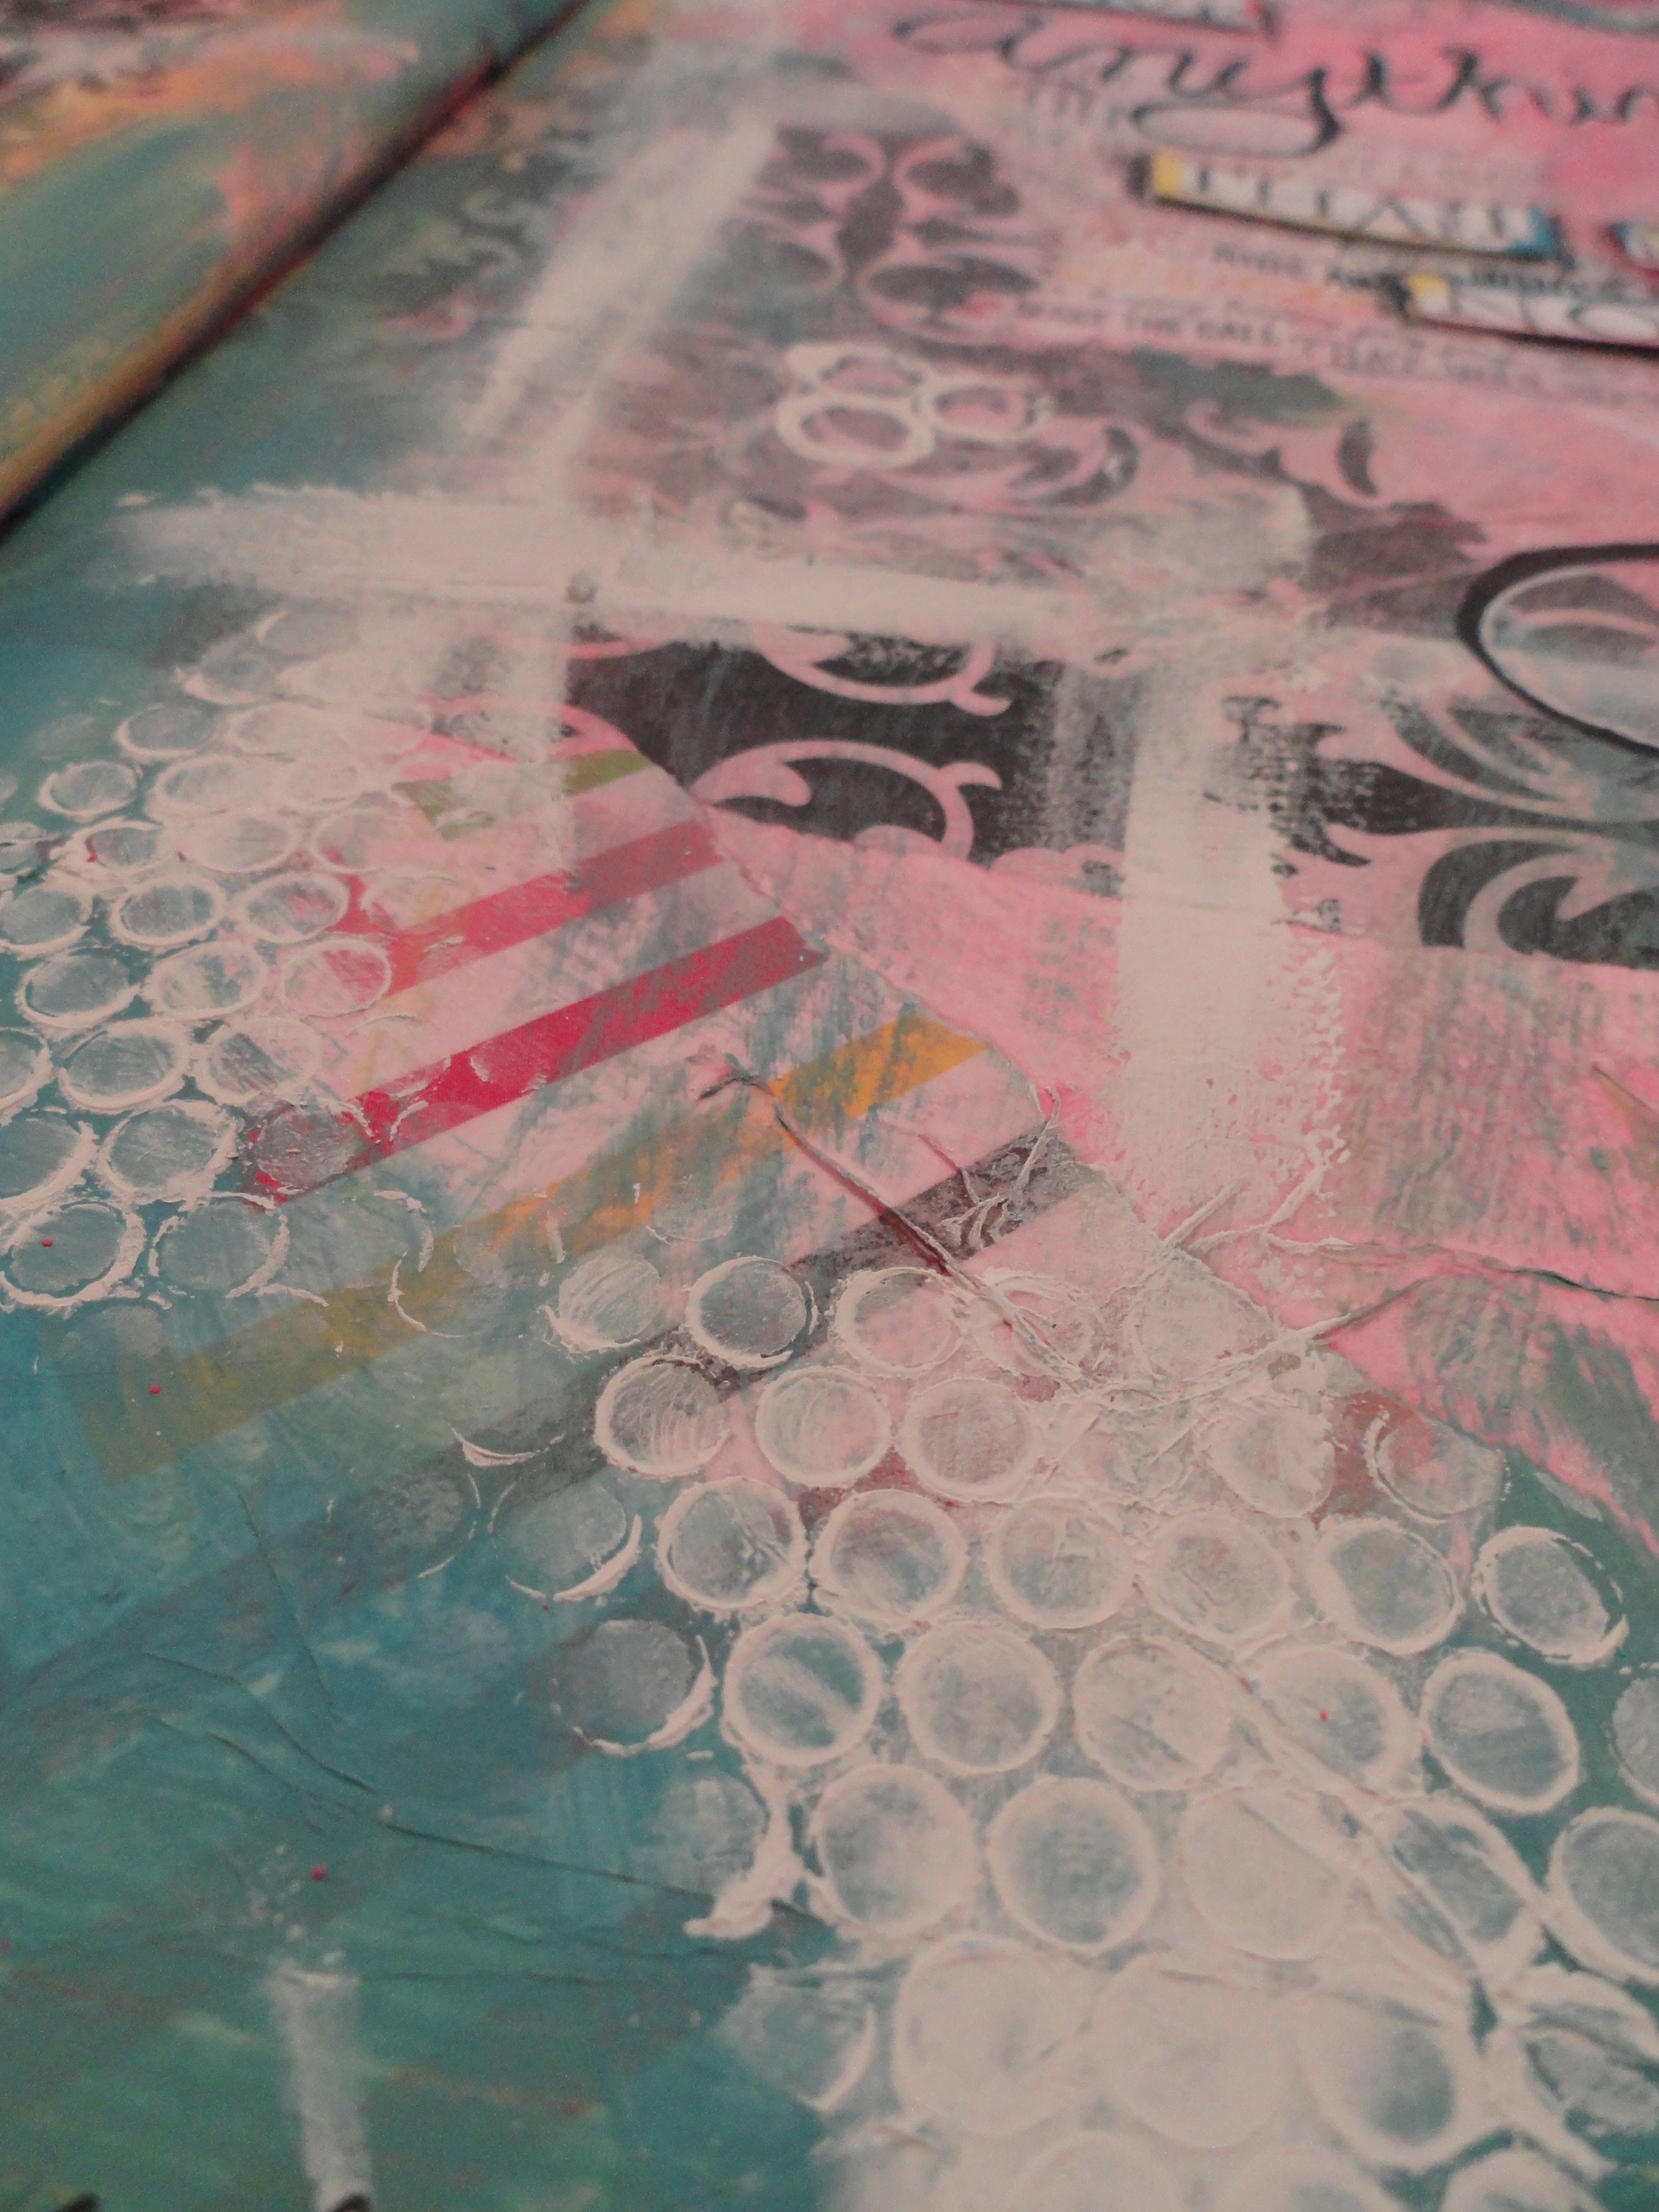
Did you notice how much gesso I used? ACK!!! I was very heavy handed, which means it really took forever to get that layer to dry! Matter of fact, it never did completely dry until the next day!! Too much gesso +  an immediate layer of gel medium + another layer of thick body acrylic paint = mamma-has-no-time-for-this-drying-craziness-so-I-had-best-be-careful-not-to-mess-this-up!!! 😉

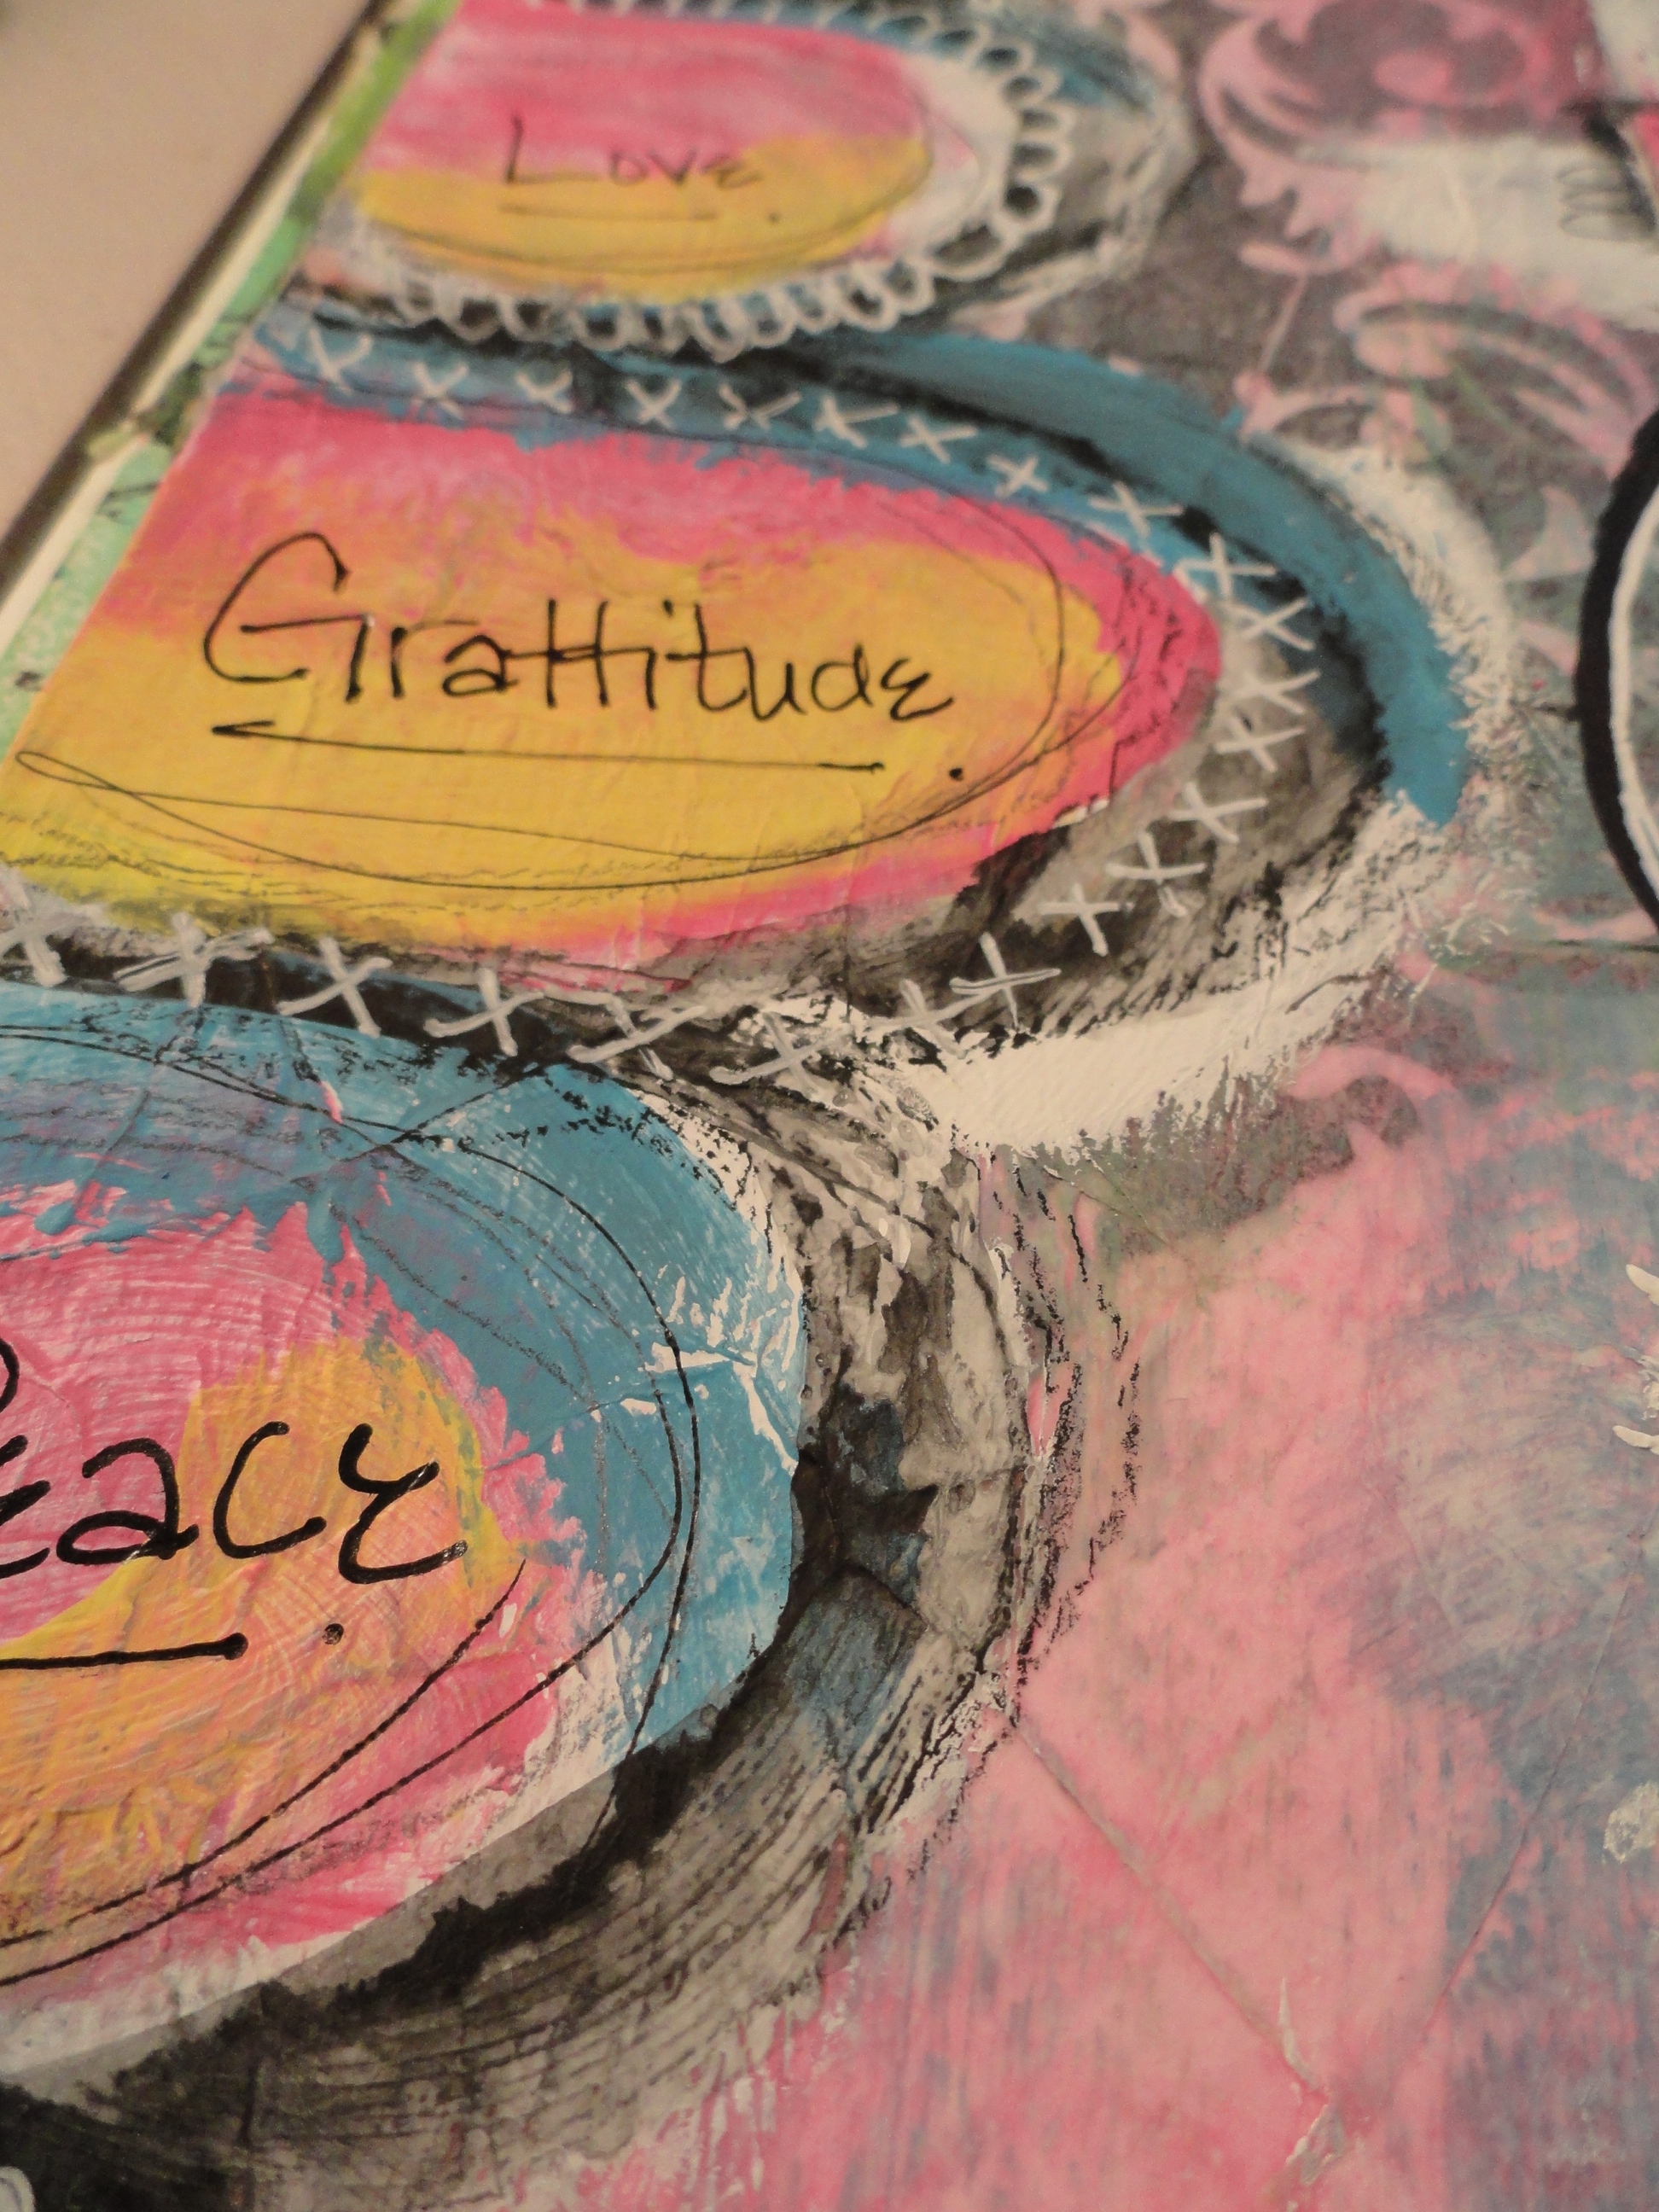
DSC05755

I don’t really have any hard and fast rules for art journaling, or for mixed media in general, except for one, always ALWAYS let your layers dry thoroughly!! Unless you want them to blend together, smear, run, slide off, or flake off, than that is a different story, but I was having a heck of a time sticking to this rule for this spread! What can I say, patience is NOT one of my virtues! 🙂

DSC05763

As you may have probably noticed – I have a heck of a time getting drips to look right! I think I know how to do it, but when I am in full on “art mode”, the proper way to do this seems to slip my mind, and I find myself struggling to get the look right! Not to worry, though, this is all a learning process for me, and I know I will continue to get better! That is the point, right??? 🙂

DSC05754

I also have been wanting to find a really good quality neon fluorescent paint set! I did purchase a cheapie set this past week, but it was not a high quality brand, so there isn’t much pigment in the paint, which means I have to use A LOT of it to get the rich pop of color I am wanting, so I will keep looking! If I find a really good one I will let you know! ( I should’ve known – you get what you pay for!)

DSC05772

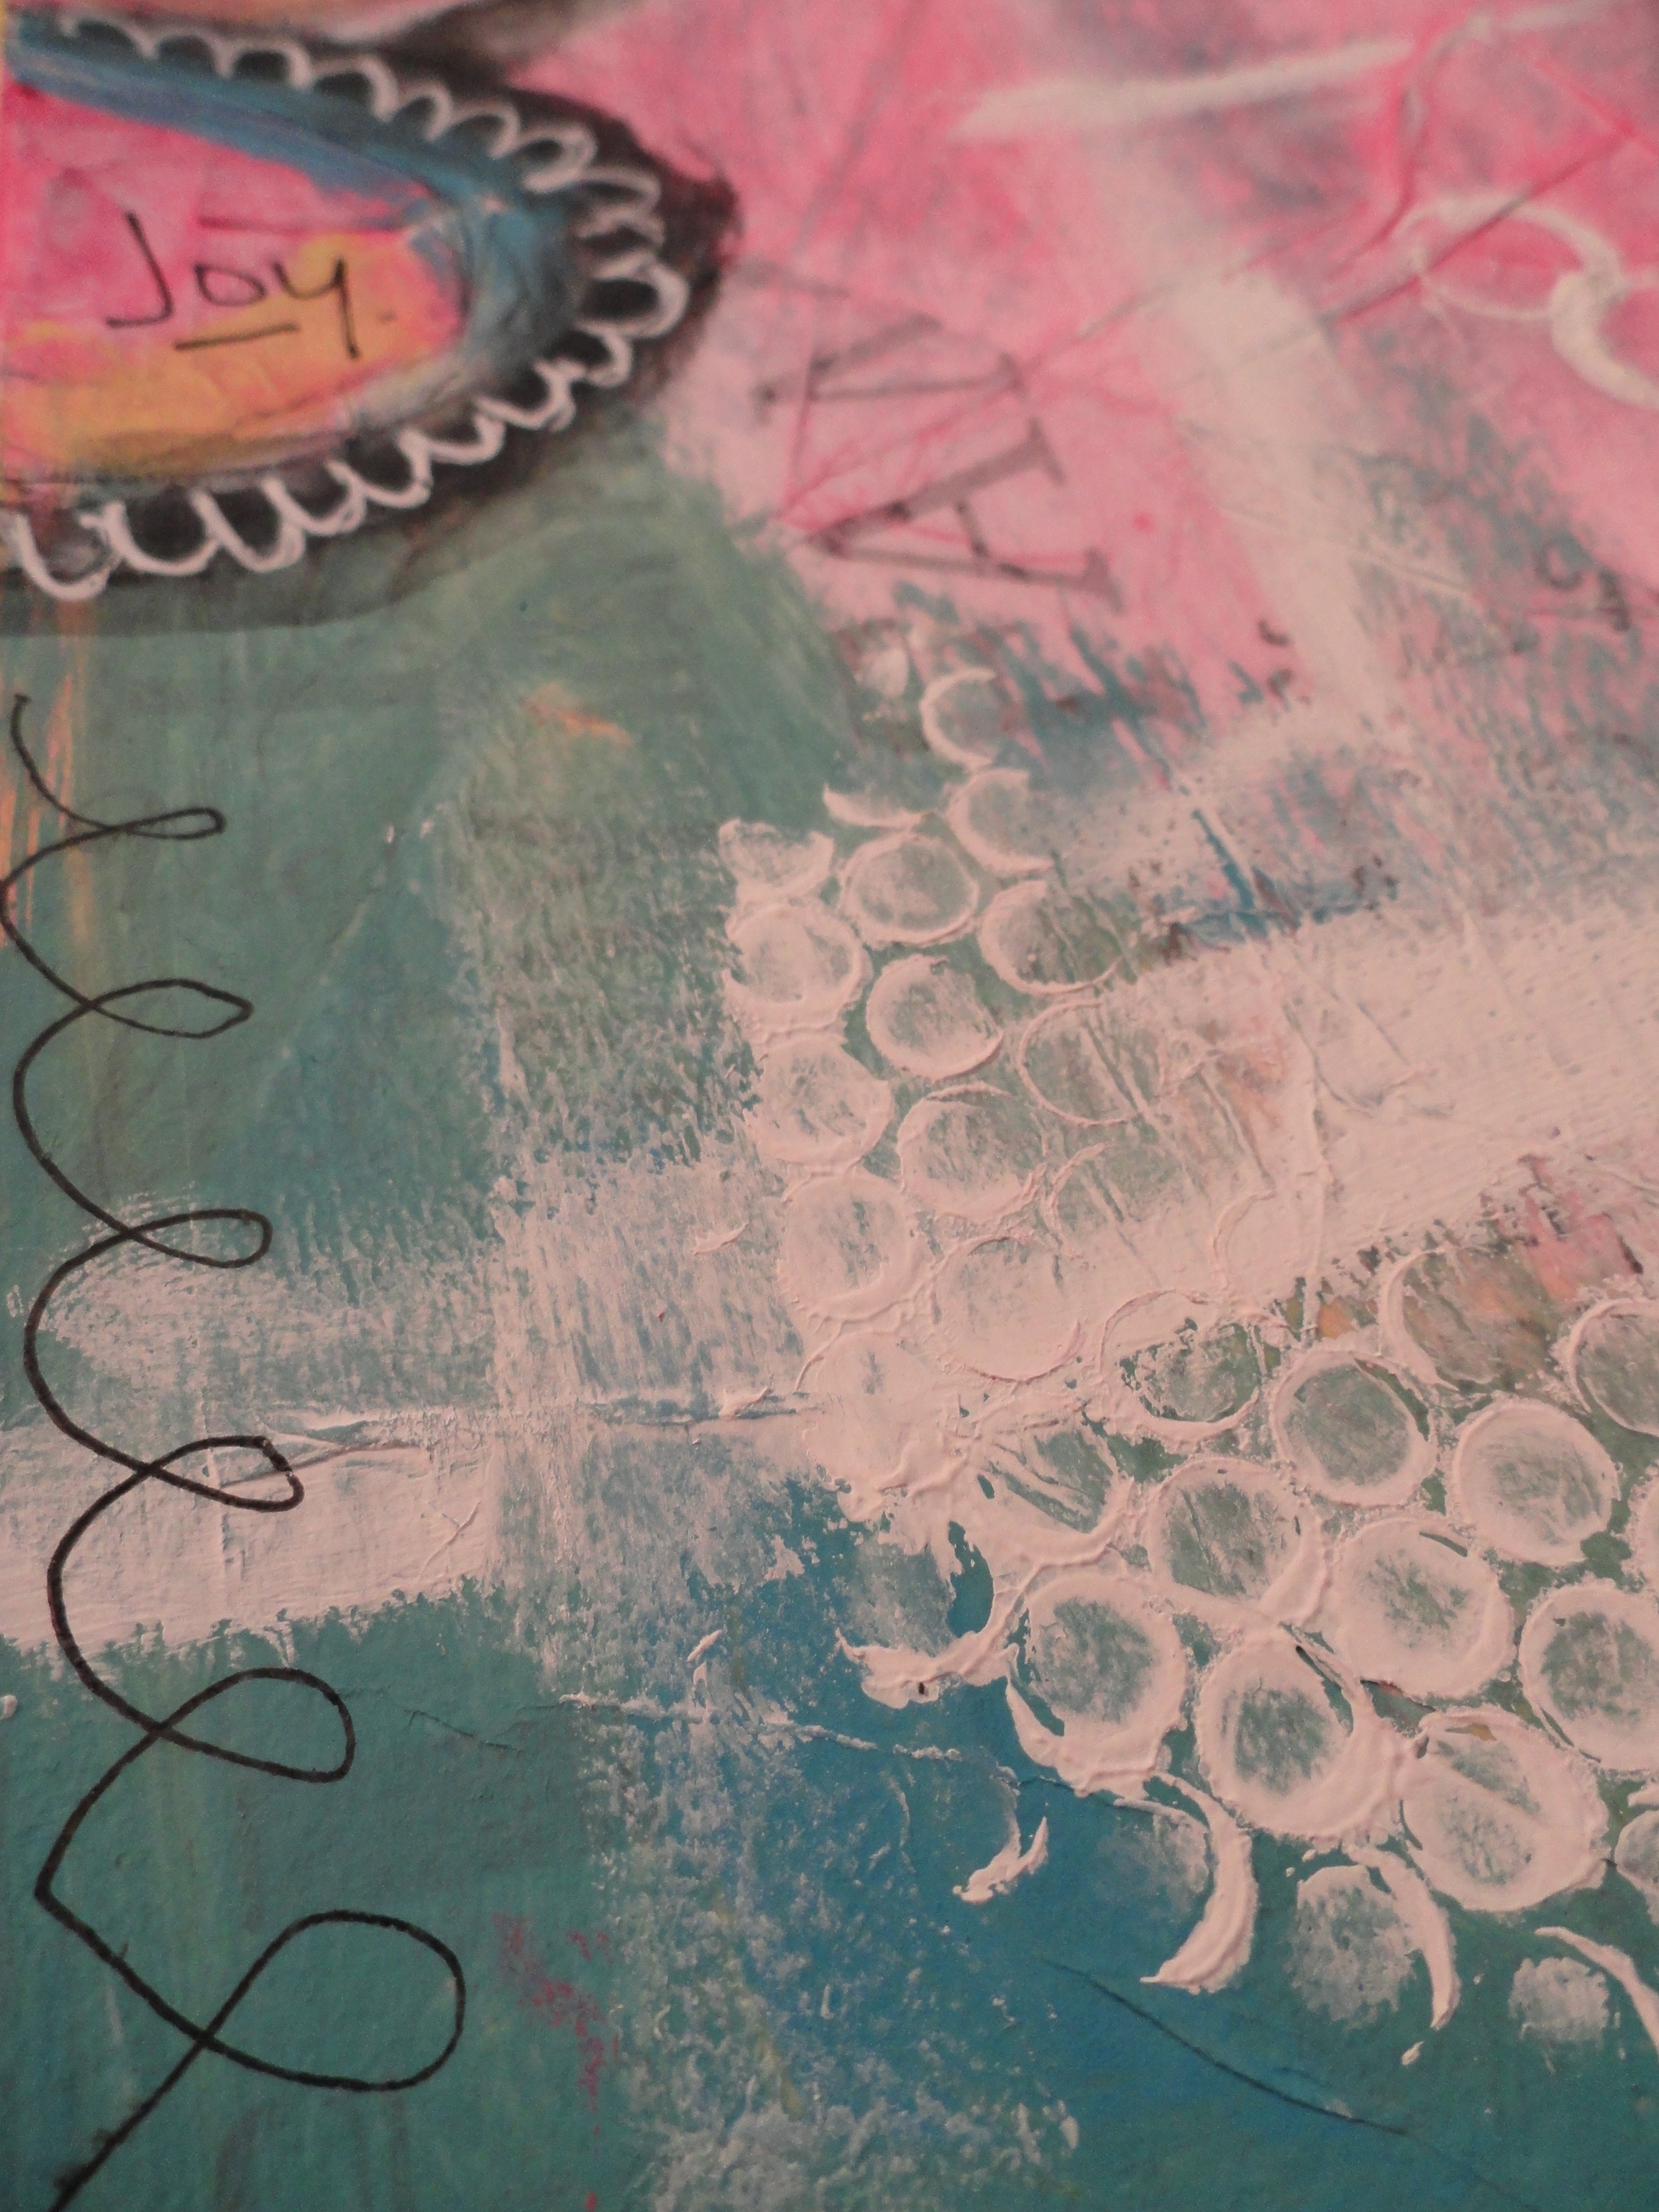
So, when I was stamping, to get more texture, I stamped right into a big glob of wet green thick body acrylic paint. This happens, and it is fine, and can add a lot more texture because it causes peaks and valleys in your acrylic paint if you let it dry that way, but make sure you stop what you are doing and clean your stamp thoroughly, right away! II have an old toothbrush on standby for just such occasions.) If you leave the acrylic to dry on your stamp, it will ruin your stamp, because it changes the shape of the stamps ridges. NOT what you want! I’m just saying’! 🙂

DSC05773

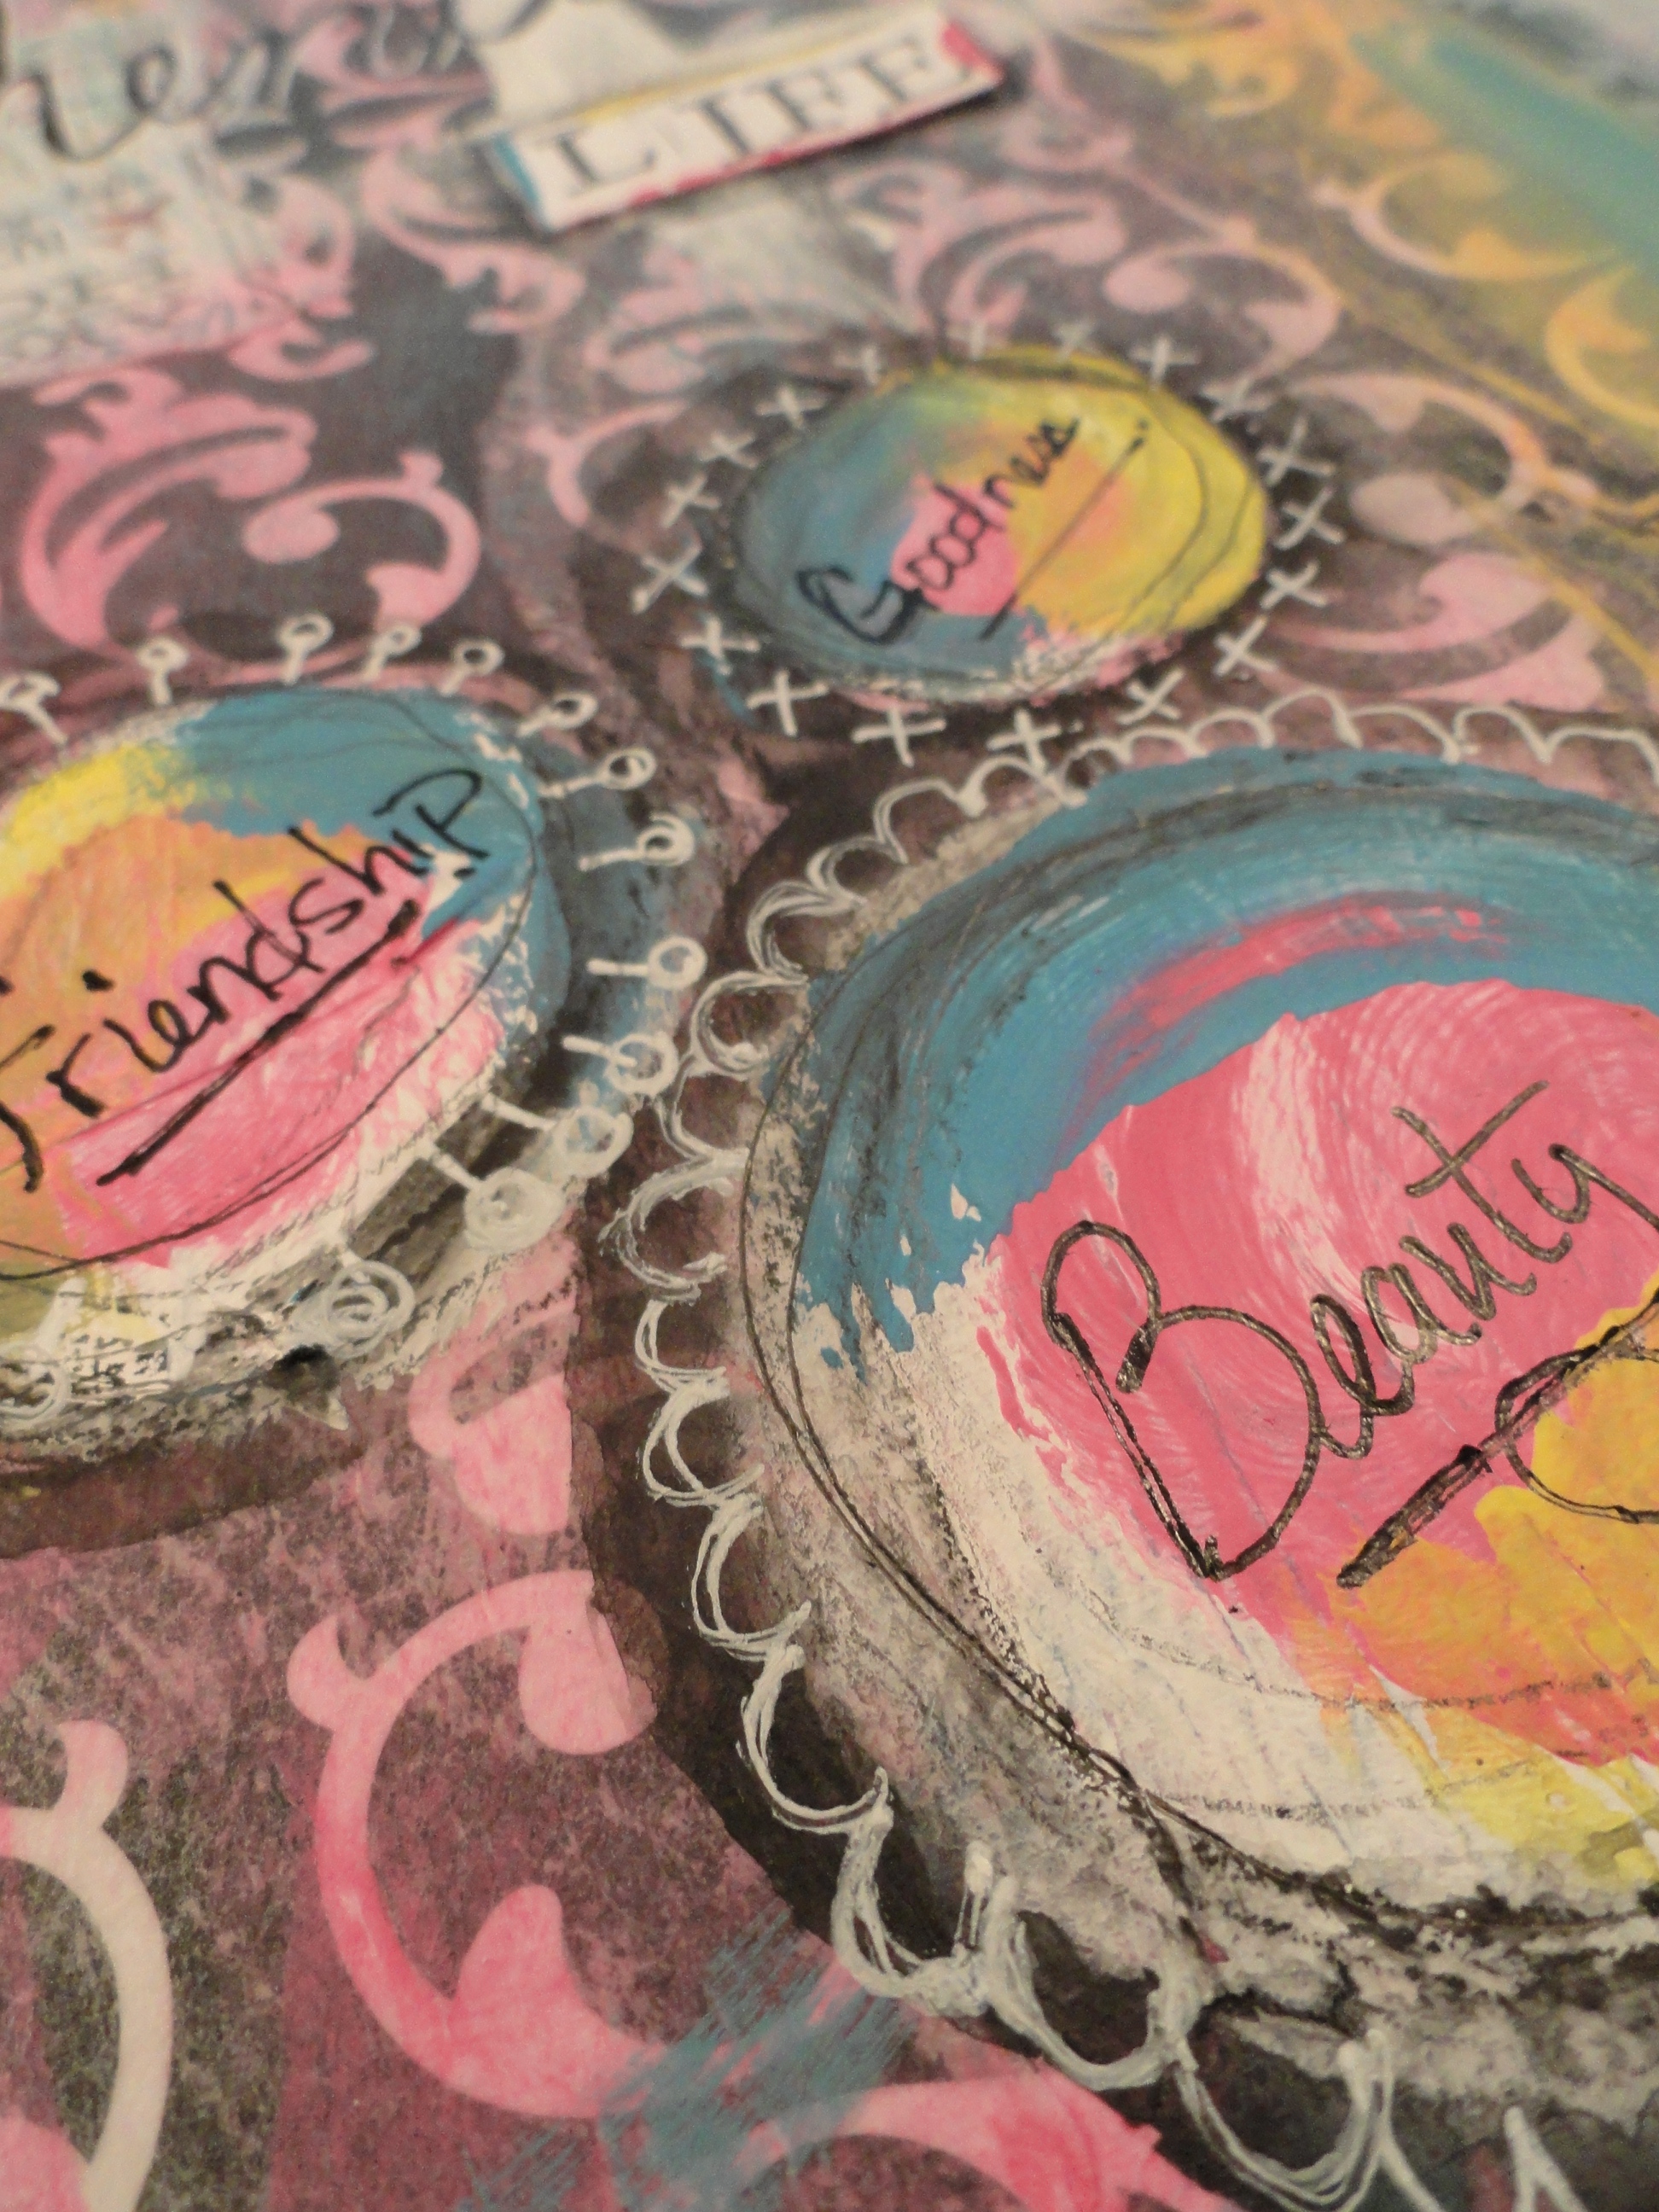
Anyway, although this may not be my favorite layout – I am not sure how I am digging this silver butterfly decal – it was a learning process, which is the point, as well as stopping just to listen to what your soul is saying to you, so in that way I LOVE this spread!!

Now for your input, do you have any questions, or comments for me? Is there any kind of mediums or techniques you would like me to use in future videos? Just let me know in the comment section of either my blog, here, or at my YouTube channel, and I will try and get a timely response to you! 🙂

Until next time!

Here is to a FABULOUS day!! 🙂

1 - Signature

If you want to have a different life, live differently!

Weekly Art Journal Video #3 Posted!

DSC05406Good morning!

I am happy to announce that my new weekly art journal video has posted! I would love for you to check that out here:


DSC05407

Materials used:

  • Acrylic paint colors:
    • Americana: Carousel Pink (DA274), Turquoise Blue (DA268)
    • Folk Art: Wicker White (901)
    • Apple Barrel: Canary Yellow (20586)
  • Black and white papers from Deco Page
  • 2 miscellaneous scrap book papers (unknown source)
  • Golden’s Matte Medium
  • Black medium point Sharpie
  • White Signo pen
  • Black Stabilo pen
  • Black Scarlet Lime Pilot pen
  • #2 pencil
  • Inexpensive 1 1/2 inch paint brush
  • 1 inch brush
  • Aleen’s tacky glue
  • Wood mounted letter rubber stamps
  • White card stock
  • Black Archival ink
  • Punchinella

DSC05410

As usual, I went into this journal spread without any real idea about what it was I was wanting to journal! I did, however, know that I wanted to use the color pink.

DSC05412

After I had gotten a wash of the color pink down, all I could think was “This page is VERY Pepto Bismol”! I knew it was time to pull out some more paint colors to add to the mix! Thankfully, out came my turquoise and Canary Yellow! After those colors were laid down, I was much happier with where this spread was heading!

DSC05413

Every week, I try to change things up just a little by adding a newly discovered technique, or a new product to the spread! This week I had added marks using a black Stabilo pencil! I LOVE this pencil!! I now want to find one in brown!!! It sounds like it writes on all sorts of surfaces, but for my art journaling page, it writes like a charcoal pencil, but add water to it, and it smudges up nice and dark – as you might have noticed in the video. I noticed when I dried it with my heat tool, it did dry a bit more transparent than what I had expected, but overall I still really love this product!

DSC05419

This week, I really wanted to grunge up my spread a little more than normal, giving it more of an antique-ey/aged looked. I did this by adding various marks with Stabilo pencil, black ink with a pen, and a #2 pencil! I really like the way that this turned out and I am thinking that this technique is going to stick around!

DSC05427

I also really like to add highlights using my white Signo pen, especially when you want something to pop off of dark areas of your spread! 🙂

DSC05420

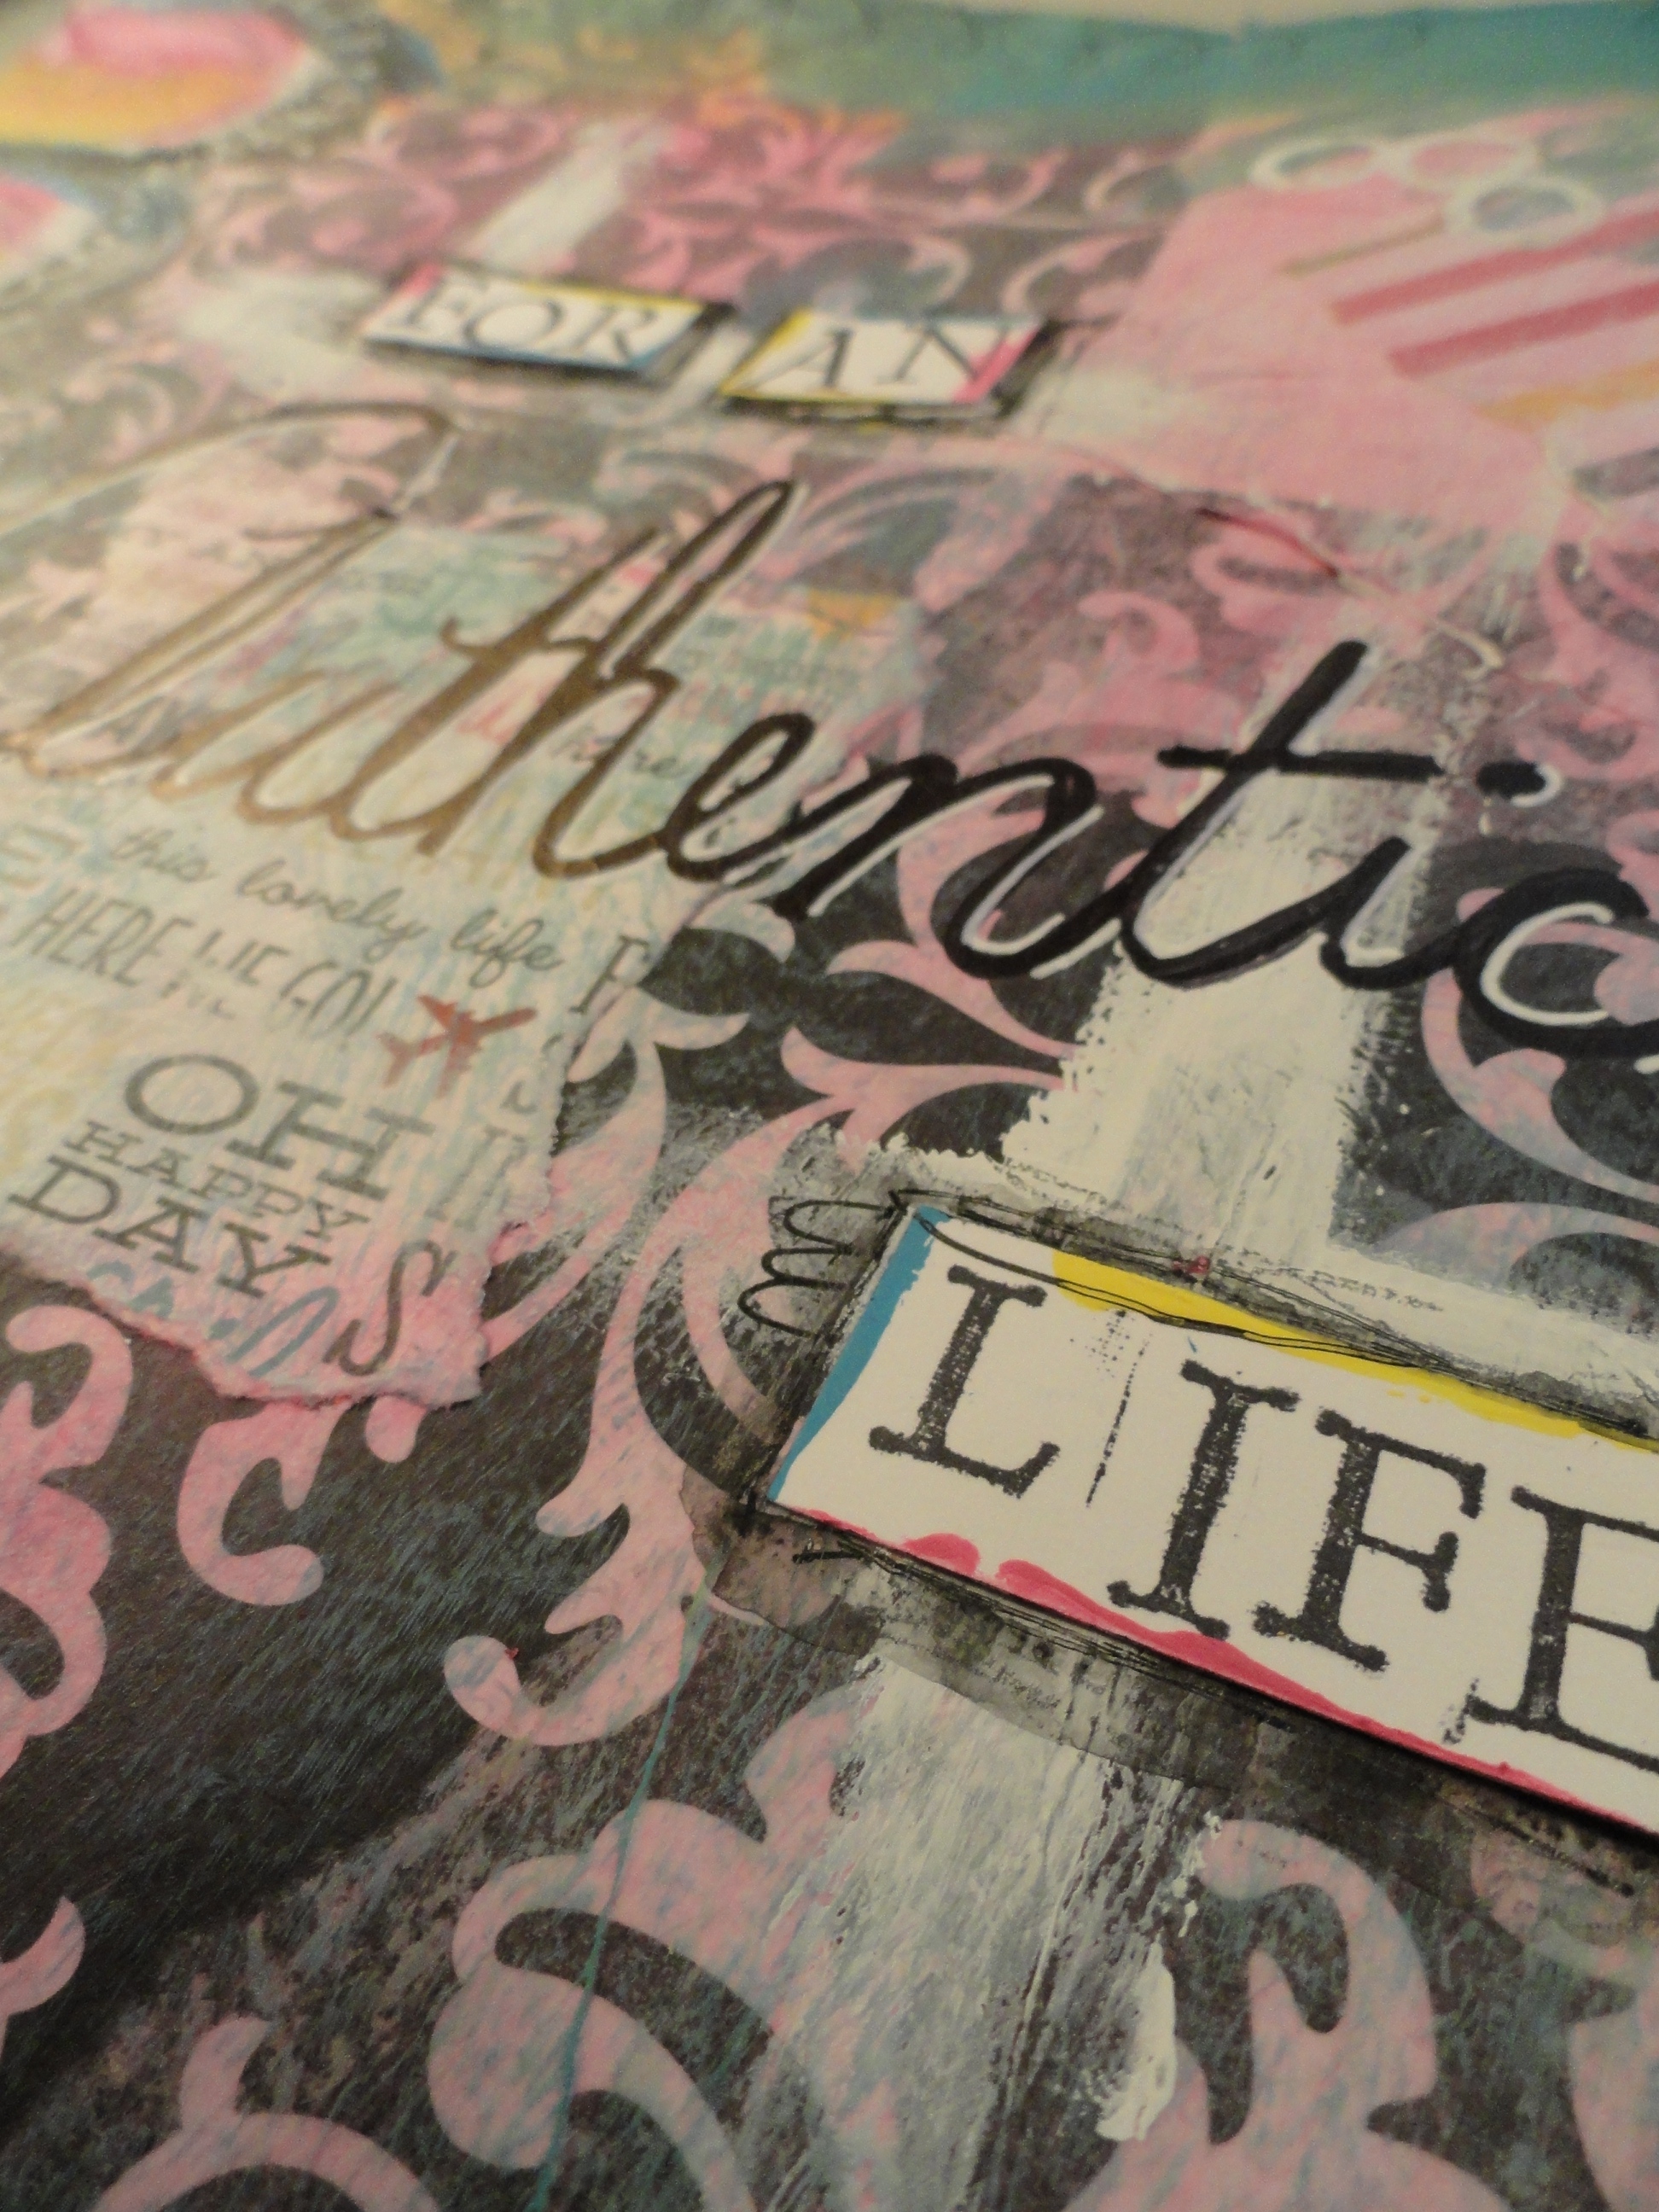
You may already know this, but while I am doing my weekly spreads, I make it a point not to try and stay in quiet so that I can hear what message my soul is trying to tell me, so that I can share it on my journal spread. This week was no different! I also added some of my words of truth throughout my spread in various places using my Scarlet Lime Pilot pen, and then I heard this message loud and clear, and just new that I needed to share this as my main message for this week:

“For an authentic life, remove anything that does not honor you.”

This is a thought that I have been trying to consciously implement in my life over the past 6 months!

DSC05423

As you may have noticed, I LOVE adding words to my spreads using rubber stamps, Archival ink and card stock, which are actually recycled business cards – I bet you didn’t know that!! 🙂 Anyway, this week I wanted to change that up by adding some of my own handwriting! I don’t normally like my handwriting, but I thought I would ’embrace the messy’ and just go for it!!  I like the way that it turned out!

DSC05428

This week’s art journal spread is my favorite so far! I am really loving this weekly challenge that I have placed on myself, and cannot wait to see how my technique evolves over the next few weeks!! If you would like to follow along, please subscribe to this blog, and my YouTube channel!

DSC05426

I would also LOVE to hear anythings thoughts, comments, or questions you may have!! Maybe we can learn more together!! 🙂

Here is to a FABULOUS day!! 🙂

~Chrissie 😉

If you want to have a different life, you have to live differently!


My First Ever Weekly Art Journal Video!

Good morning!

As promised yesterday, here is some close up pics and details about my first ever weekly art journal video!

That video can be found here.

As with all of my art journal pages, I always go into the project with no real idea on what it is I want to create. I sometimes have a vague idea about maybe what colors I want to use, or maybe an inspirational thought, but for this spread, I was essentially going in with no expectations of any kind.

I was having a hard time getting quiet, or spending time in any kind of quiet, which meant I had been constantly surrounding myself with random noise; the television, music, the background noise at a coffee shop, etc, etc. I also am a firm believer in signs from my Truth teller, and I kept seeing the message,

“Get quiet so you can hear what I am trying to tell you!”

Well, in all honesty, I had been blatantly ignoring it. You see, I was afraid that if I were to get quiet I would make the realization that I had completely ruined my life by walking away from my career a few months ago, and that by spending my time doing everything and anything that I wanted to do, maybe somehow I was being absolutely and completely selfish – HOW DARE I???


DSC05358


So, I had started this journal page, with my camera set to record, not knowing what my page was going to turn out looking like, but knowing that it was going to be my very first video to post on YouTube. I had NO IDEA how to do that! I have had no experience recording videos, editing them, how to upload them, or anything! I was pretty scared. However, I wanted to make sure that when I recorded that there wasn’t any background noises that I would have to fight with. (I didn’t know that I could mute all of those out!) So this forced me to spend a few hours in absolute silence, just focusing on arting.DSC05360

Well, the message of getting quiet so I can hear my voice kept popping up again, over and over. I wasn’t sure why, but by the time I got to the part of my journal page where I needed to wrap it up with a thought – I KNEW that was the thought that I had to get down on to paper!

DSC05367

“Don’t be afraid of silence,

for that is where you will find your voice.”

DSC05362

When I had finished this page, I was so happy with it! It really made me happy, and it said something to me that I knew, from the bottom of my soul, was a truth that I needed to hear right now!


Now getting it ready for uploading was another story all together! I had no idea how I was going to edit it, get music behind it, upload it, or anything. So, I started Googling for help like a crazy person!! 🙂 Little did I know I had everything I needed to do this already in my possession!!DSC05364

It took me longer than I had expected – about three days longer, to be exact, but I did it!! I did a great big ol’ happy dance, and told all of my peeps to go check it out!!! WHEW!!! 😉

Anyway, I look at this page now, almost a week and half after actually creating it and I realize that it is the exact perfect message that I needed to hear in that moment. Silence is something to anticipate and to fully be present to yourself and your Truth teller whenever you have the opportunity to embrace the silence!!

I hope you like this spread, and if you have any questions or comments, please let me know in the comments section! I would love to hear your thoughts!!

Much love to you!! Here is to a FABULOUS day! 😉

~Chrissie

If you want to have a different life, live differently!

Sharing Your True Colors!

Good evening!

As promised during this previous post. I have finally completed my journal project that was inspired by Dyan Reaveley’s YouTube video ‘Creating a Patchwork Quilt with Diane Reavely.’

Click on Image to Enlarge

Click on Image to Enlarge

As I was painstakingly blacking out all of the work that had taken me literally hours to complete, I just kept asking myself over and over, what am I going to write on this? What does this mean to me? Is there anything more to what I am seeing that what I am seeing? I actually had gotten the black completed, and stared at it for another day before my answer finally came to me.

Click on Image to Enlarge

Click on Image to Enlarge

Click on Image to Enlarge

Click on Image to Enlarge


This piece, for me, became about my tendency to hide my true colors, my true self, my authenticity, the things about me that make me uniquely me. I have a tendency to hide parts of myself for all sorts of reasons, fear of being unloved, fear of being unaccepted, fear of being left alone. This is something that I am actively working on. Even as I type this evening!

Click on Image to Enlarge

Click on Image to Enlarge

So the message that I decided to write on these pages became this:

“You were not uniquely and wonderfully made so that you can hide your uniquenesses.
You were not made to blend in.
Your uniquenesses are what make you special.
They give you immense value.
Be brave.
Stand up for who you are.
I promise, your truth will set you free.”

Click on Image to Enlarge

Click on Image to Enlarge

I may not know who you are, or what your story is, but I know that there is someone reading this right now that needs to hear these words, so I pass this message on to you. Your were not meant to blend in. You were a uniquely made one-of-a-kind special-to-the-core person on purpose. Cherish your uniquenesses, whatever they are, because they are your truth, YOURS ALONE, and your truth shall set you free!

Here is to a FABULOUSLY artsy evening! 😉

Signature Line

If you want to have a different life, you have to live differently!!


Tutorial Tuesday: Packing Tape Image Transfer

Good evening!

Tonight I wanted to show you a cool, inexpensive image transfer technique! I am calling this technique Packing Tape Image Transfer.

To get started, there are a few supplies you will need to round up:

Packing Tape Image Transfer 1

Clear Packing Tape

Scissors

A pair of scissors

Water - I am using a spray bottle

Water. Here I am using a small spray bottle, but you can use a bowl of water and a brush, or whatever is handy.

Images cut out from magazines, printed on a laser printer, or photocopied images

You will need various images either cut out from magazines, printed on a laser printer, or photocopied images. The important thing about the images that you choose is that you want to make sure the ink is colorfast. You do not want the image to run when you get the image wet.

I have a tendency to use small images; images that fit the height of the packing tape, however you can use larger images by overlapping the edges of the tape to make sure the entire image is covered by the tape.

To get started press the tape to the image, making sure that the image is fully covered, and smooth. You can use a brayer, a bone folder, or a finger, which is my tool of choice to make sure the image is stuck firmly.

Press the tape to the image, making sure that the image is fully covered, and smooth

Flip the adhered image over and spray with plenty of water, let soak for a few minutes. You can also brush water on with a brush if you would like, and I have also heard that some people sometimes just drop the entire adhered image into a bowl of water to accomplish this – I find that spraying the water is just faster, and less messy for me! 🙂

Flip the image/tape over and spray with plenty of water, let soak for a few minutes

After a few minutes of letting the water permeate the paper, start vigorously rubbing the back of the image to peel all of the paper off. The thicker the paper, the longer this will take. Be careful that when you get down to the ink from the image itself, make sure not to rub or scratch the ink off of the tape, otherwise you will end up with only a partial image. However, if you do not rub all of the paper off, you will end up with a milky looking transparency. So stop when you get to the desired look that you are going for.

After a few minutes start vigorously rubbing the back of the image to peel all of the paper off

Once all of the paper has been rubbed off, you will then be left with a transparent image to use any way you would like. NOTE: The tape will still be tacky to the touch, and can be stored by placing on a sheet of wax paper, if you are not going to use them right away.

Once all of the paper has been rubbed off, you will then be left with a transparent image to use any way you would like

Here is a sample of another magazine image I have created a transparency out of, and have overlayed it onto some decorative paper.

Here is a sample of another magazine image I have created a transparency out of, and have overlayed it onto some decorative paper.

Here is an example of a journal page that I used this technique on the words, which I printed using a laser printer.

Here is an example of a journal page that I used this technique on the words, which I printed using a laser printer.

NOTE: Even though these images were still tacky to the touch, I used Gel medium to make sure that they will stay adhered to the pages.

I hope that you have enjoyed this Tuesday Tutorial and are inspired to give this technique a try yourself! If you do, please feel free to share the link with us in the comment section! I can’t wait to see what you come up with!

If you have not yet subscribed to This Artsy Life already, please do so by clicking on the Subscribe button kn the right-hand column.

Also please feel free to take a copy of my Blog Button to share with your blog readers. That Code is found under the This Artsy Life Blog button in the right hand column.

You will be happy that you did!

Here is to a FABULOUSLY ARTSY evening! 😉

If you want to have a different life, you have to live differently!!

Tutorial Tuesday: Convert a Book Into an Art Journal

Good evening!

Welcome to my very first ever tutorial Tuesday!!

YEAH!! WHOO!! HOOOO!!!! APPLAUSE!!!! 😉

If you saw yesterday’s post, you would have seen that I am in the habit of writing Morning Pages every morning. I do those Morning Pages in a leather bound book, that has grid-lined paper inside of it. I like the fact that it is not just regular boring lines, in case I want to doodle or draw in my journal, I feel like the grid-lines support me in thinking outside of the box.

However, I am also a big fan of art journals, and today I want to show you how to convert any regular book into an easy and inexpensive art journal of your very own.

What you will need:

  • A book – I have found that hard covers hold up the best

TT - Book to Journal 1

  • Paper tape – this could be any kind, but what I enjoy using is the paper tape that you find in the first aid section of most any pharmacy
Paper tape found in first aid section of pharmacy

Paper tape found in first aid section of pharmacy

  • Scissors (optional)
  • White gesso

TT - Book to Journal 3

  • A wide paint brush to use with the gesso

To convert your book into an art journal:

The first thing you will have to do is to create room in your art journal so that all of the fun elements that you might want to use to decorate your art pages, such as decorative papers, buttons, beads, lace, fabric, broken jewelry, pictures,  etc,  have space to go.

To do this, count the first three pages of the book, then count the next three pages of the book. Tear out the second set of 3 pages. Otherwise leave in pages 1, 2, and 3, and carefully tear out pages 4, 5, and 6. You will want to tear the pages out as closely, and as carefully to the spine as you can get, but remember  perfection is not necessary.

Count three pages, to skip.

Count three pages, to skip.

Tear out the next 3 pages.

Tear out the next 3 pages.

You will keep repeating this step over and over again until every other set of three pages have been removed.

Once you have torn out every other set of three pages, you will then want to reinforce the remaining sets of 3 pages that you have left.

To do this, you will go back to the beginning of your book, and gather the first set of three pages. Using your paper tape, you will want to either tear, or cut a piece of tape that measures the width of your page.

Once you have the correct length of tape, carefully lay it across the bottom edge of the book, with half the tape hanging off of the edge

Cover bottom of page, with tape letting 1/2 of the tape hang over the edge

Cover bottom edge of page, with tape letting 1/2 of the tape hang over the edge

Once that has been smoothed into place, turn your set of three pages (treating as if they are now one page, because they essentially will be), and then fold the overhang of tape up and over the back side of your new page.

Turn 3-page set, and fold up the remaining tape to create one new page out of your original three pages.

Turn 3-page set, and fold up the remaining tape to create one new page out of your original three pages.

Do this to all three sides of your new page: bottom, top, and side.

Do this to the bottom edge, the top edge, and the side edge of your new page.

Do this to the bottom edge, the top edge, and the side edge of your new page.

Each set of three individual pages will now become one thick page per taped bundle.  This reinforces your pages, and makes them sturdier for any kind of media or technique that you might want to use to decorate your journal pages with.

Repeat these taping steps for all of your sets of three pages.

Once you have your pages reinforced, you are now ready to prep your pages for arting on!  WHEW!!! 😉

To do this, you will want to use your paint brush and apply a thin layer or two over each page of your new art journal.

Apply a thin coat or two of gesso to each page and let thoroughly dry, so your pages don't stick together. As you can see I don't mind some words showing through.

Apply a thin coat or two of gesso to each page and let thoroughly dry, so your pages don’t stick together. As you can see I don’t mind some words showing through.

If you are impatient like me, you may want to use a hair dryer, or a embossing heat gun to speed up the drying process. Please note, if you do use an embossing heat gun to dry your pages (like I do) make sure not to leave the gun pointing at one spot for too long, you do not want to accidentally burn your gesso. Not fun, and kinda smelly!!

Once your pages are gesso’ed you are ready to get arting and customizing your new art journal in any way you would like!

I hope you enjoyed this tutorial, and if you have any questions, please don’t hesitate to ask me in the comments section of this post! I am always happy to help!

Keep an eye out for more tutorials in the future, including many ideas and techniques on how you can decorate your new art journal! I can’t wait!

If you haven’t already, please follow This Artsy Life by hitting the “Subscribe” button on the right. I would really appreciate it!

Here is to a FABULOUS evening creating!! 😉

Signature Line

If you want to have a different life, you have to live differently!!