Tag Archives: Acrylic Paint

Art Journal Thursday #18!

I am happy to announce that my Art Journal Thursday Video #18 has been posted out on YouTube!

This week, the supplies I used were:

  • Dina Wakley Heavy Body Acrylic Paints: Tangerine, Lime, Magenta, Sky, Turquoise, Lemon, Lapis, and Blackberry Violet
  • the circular Dina Wakley Media Mask from her Graphic Shapes set
  • Baby wipes
  • Fineline bottle filled with black acrylic paint
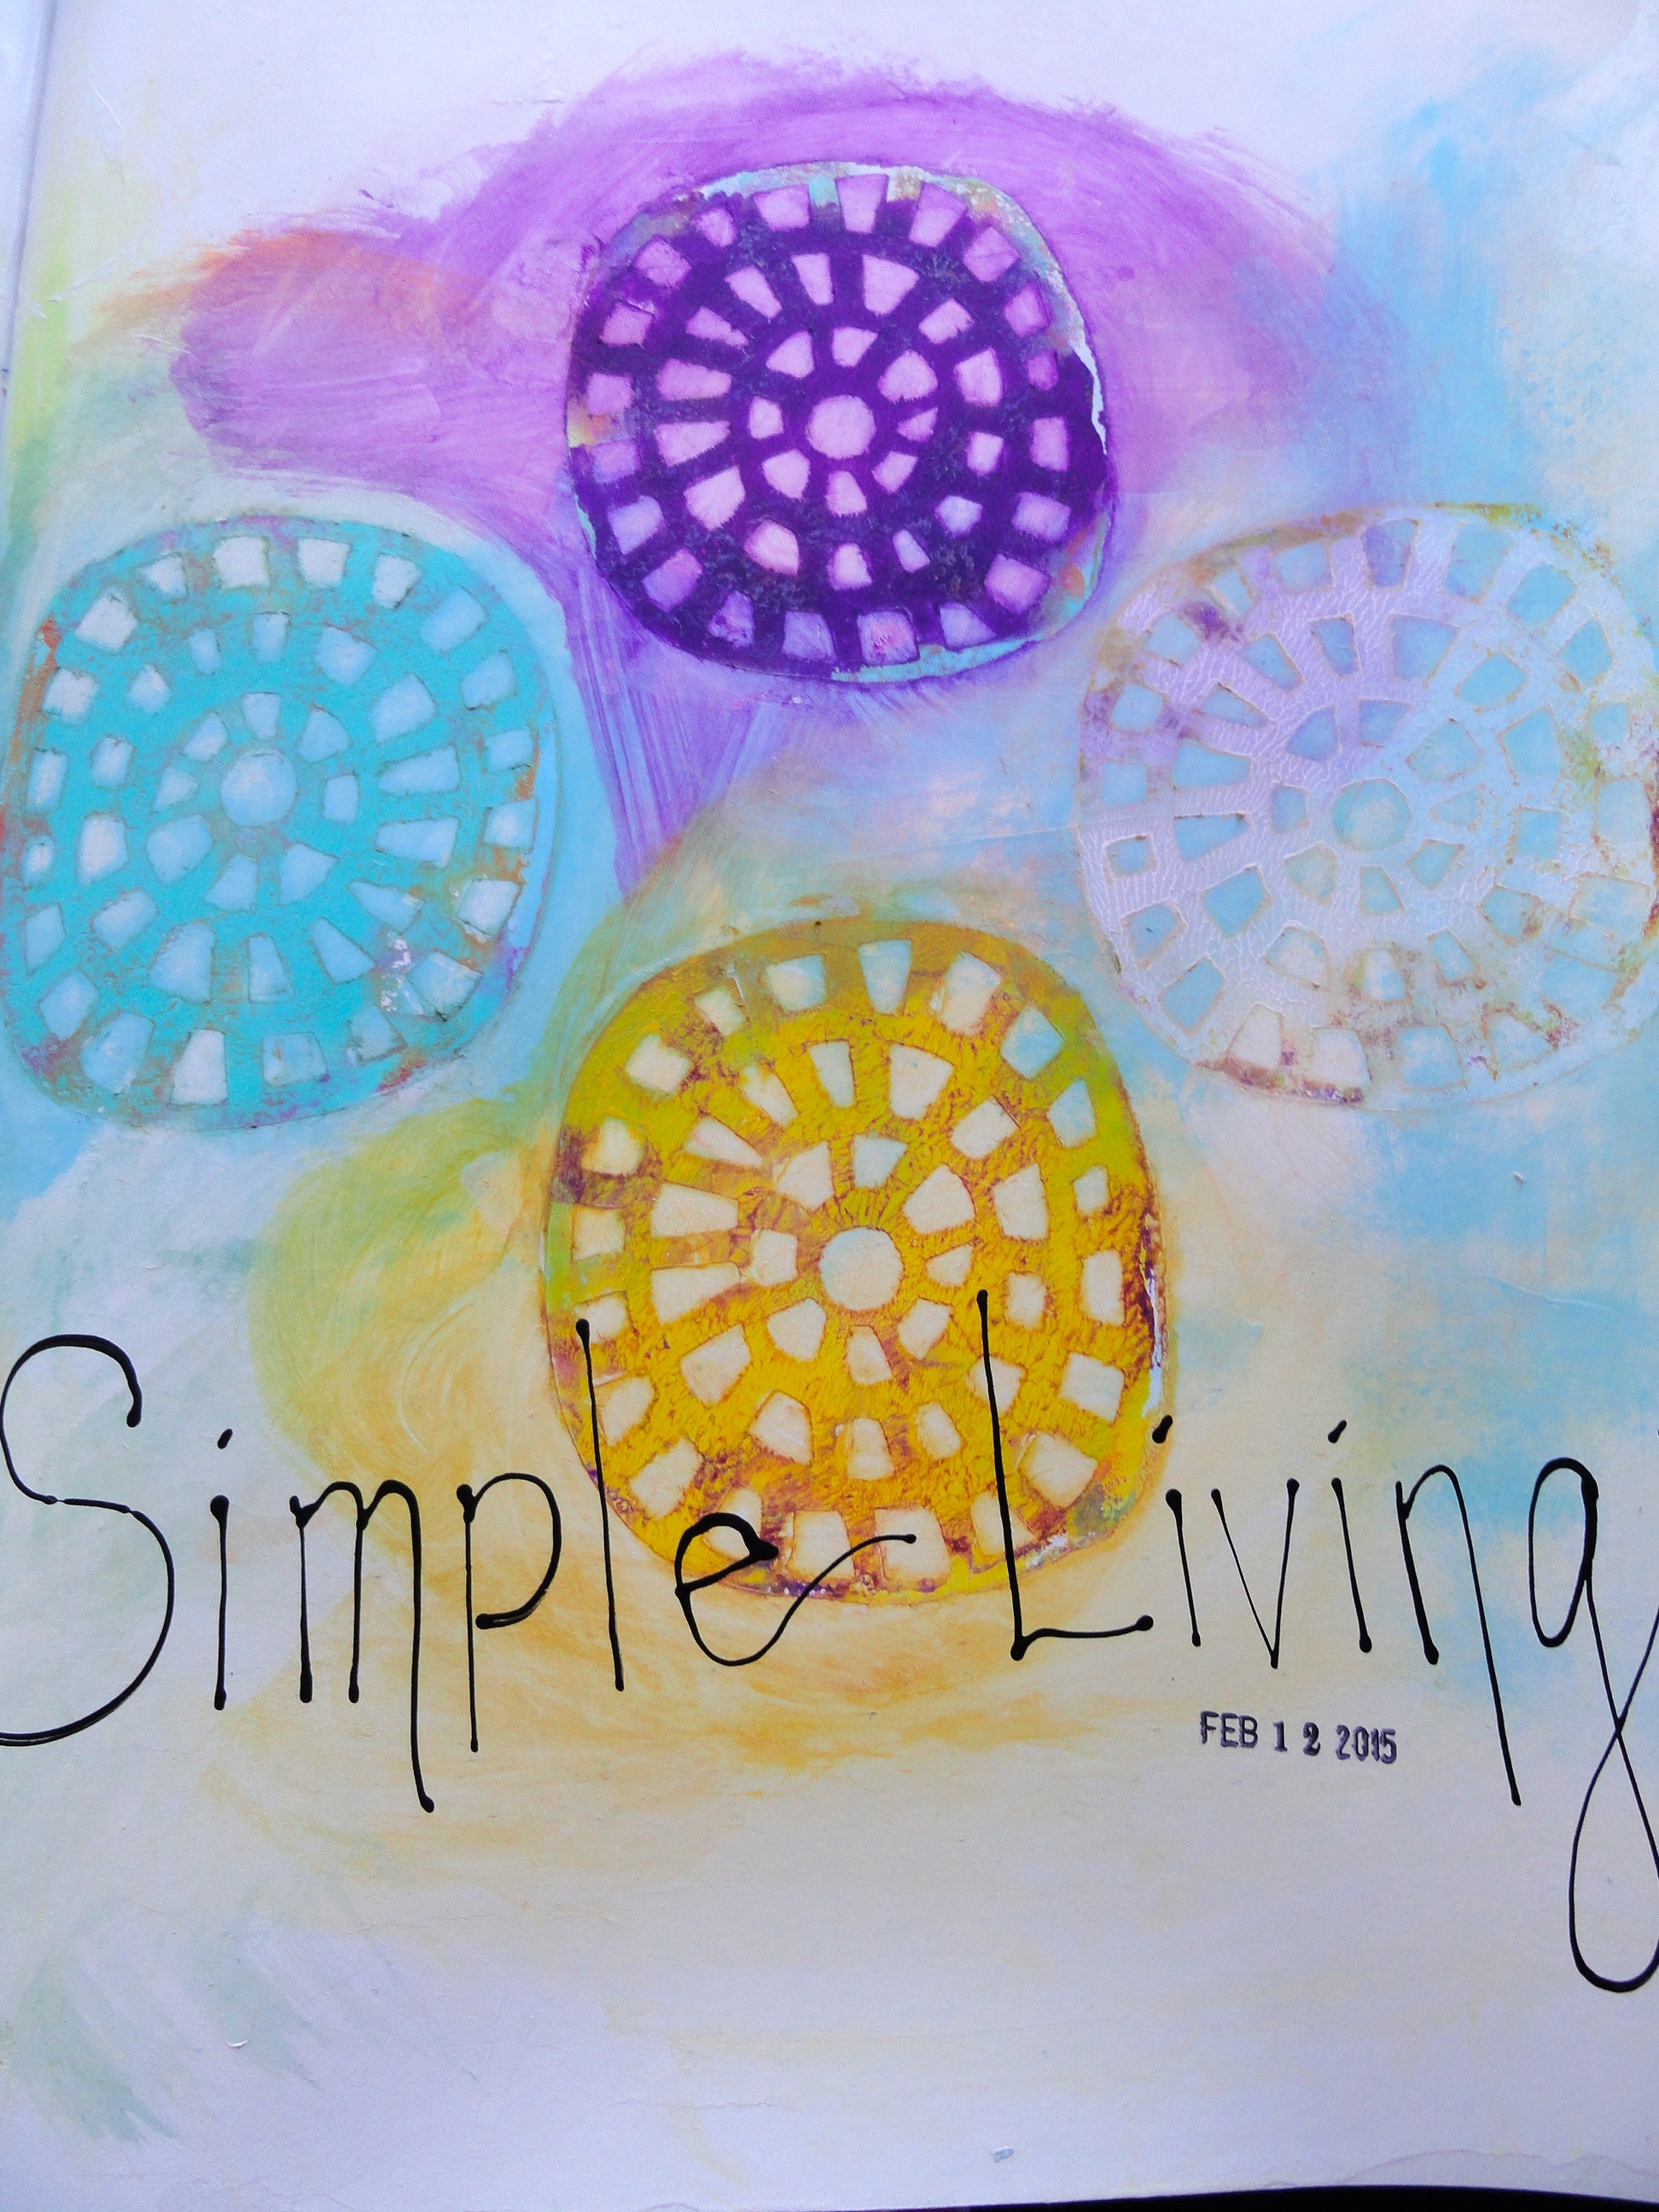
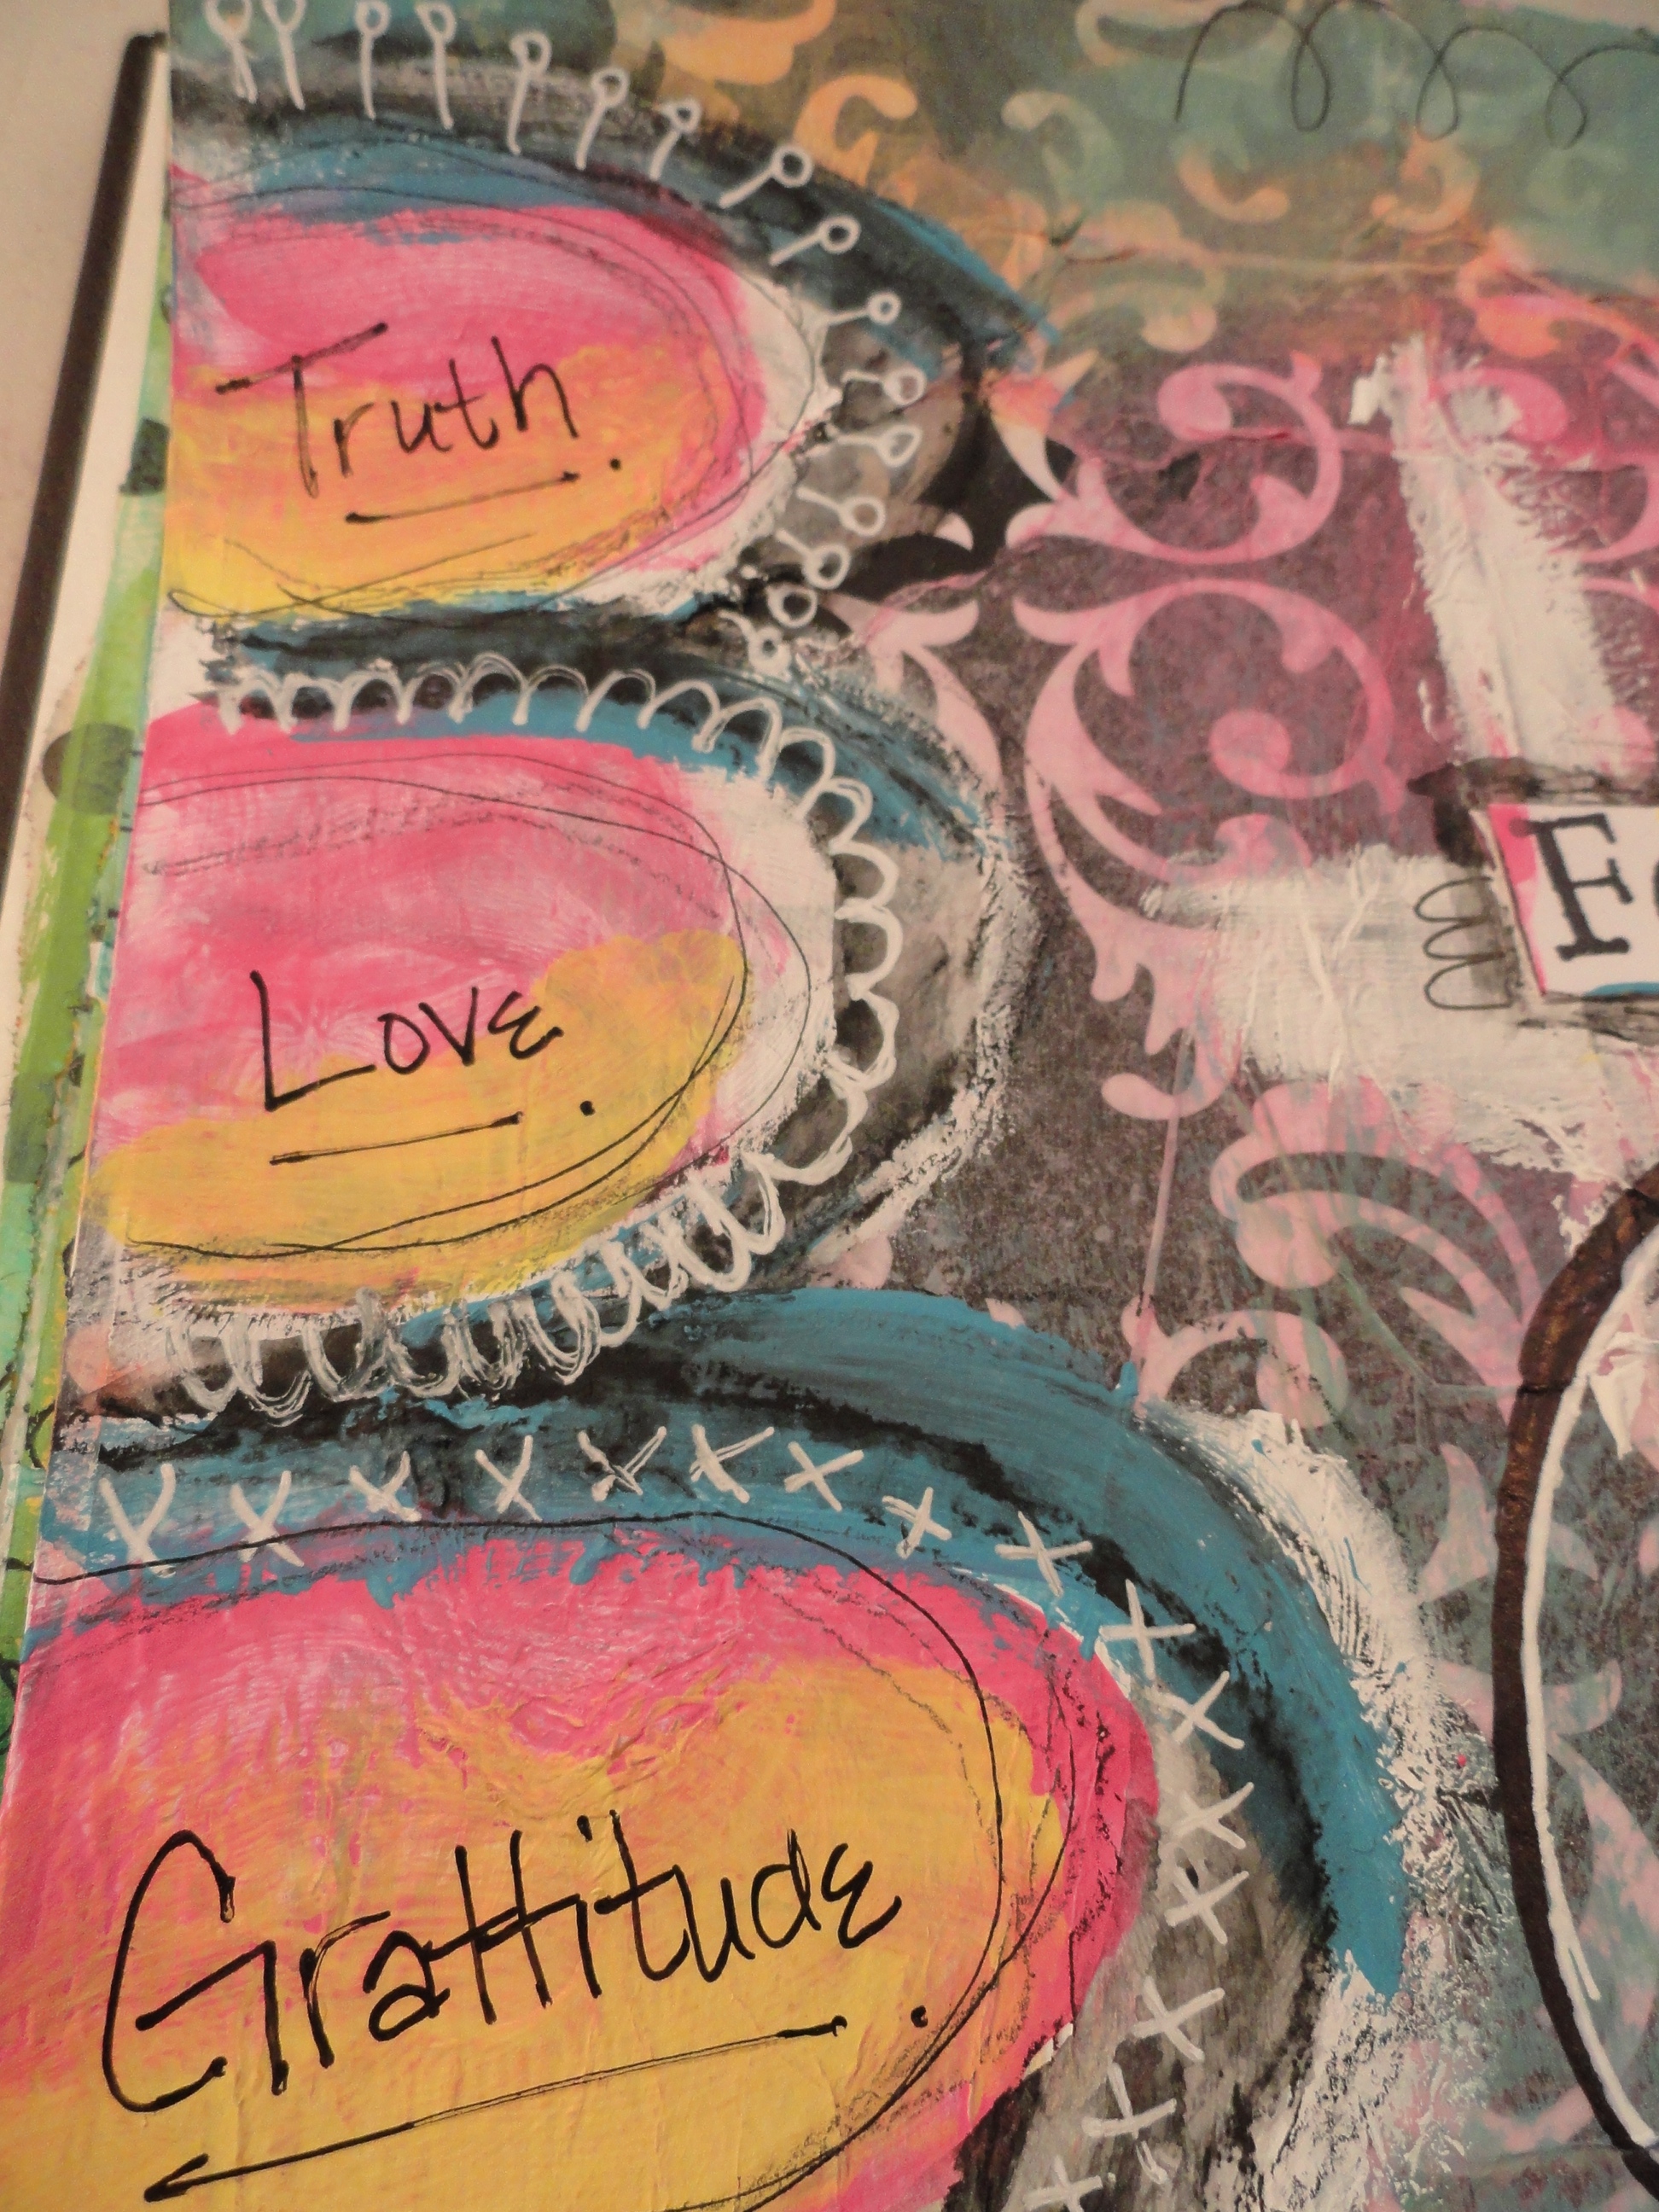
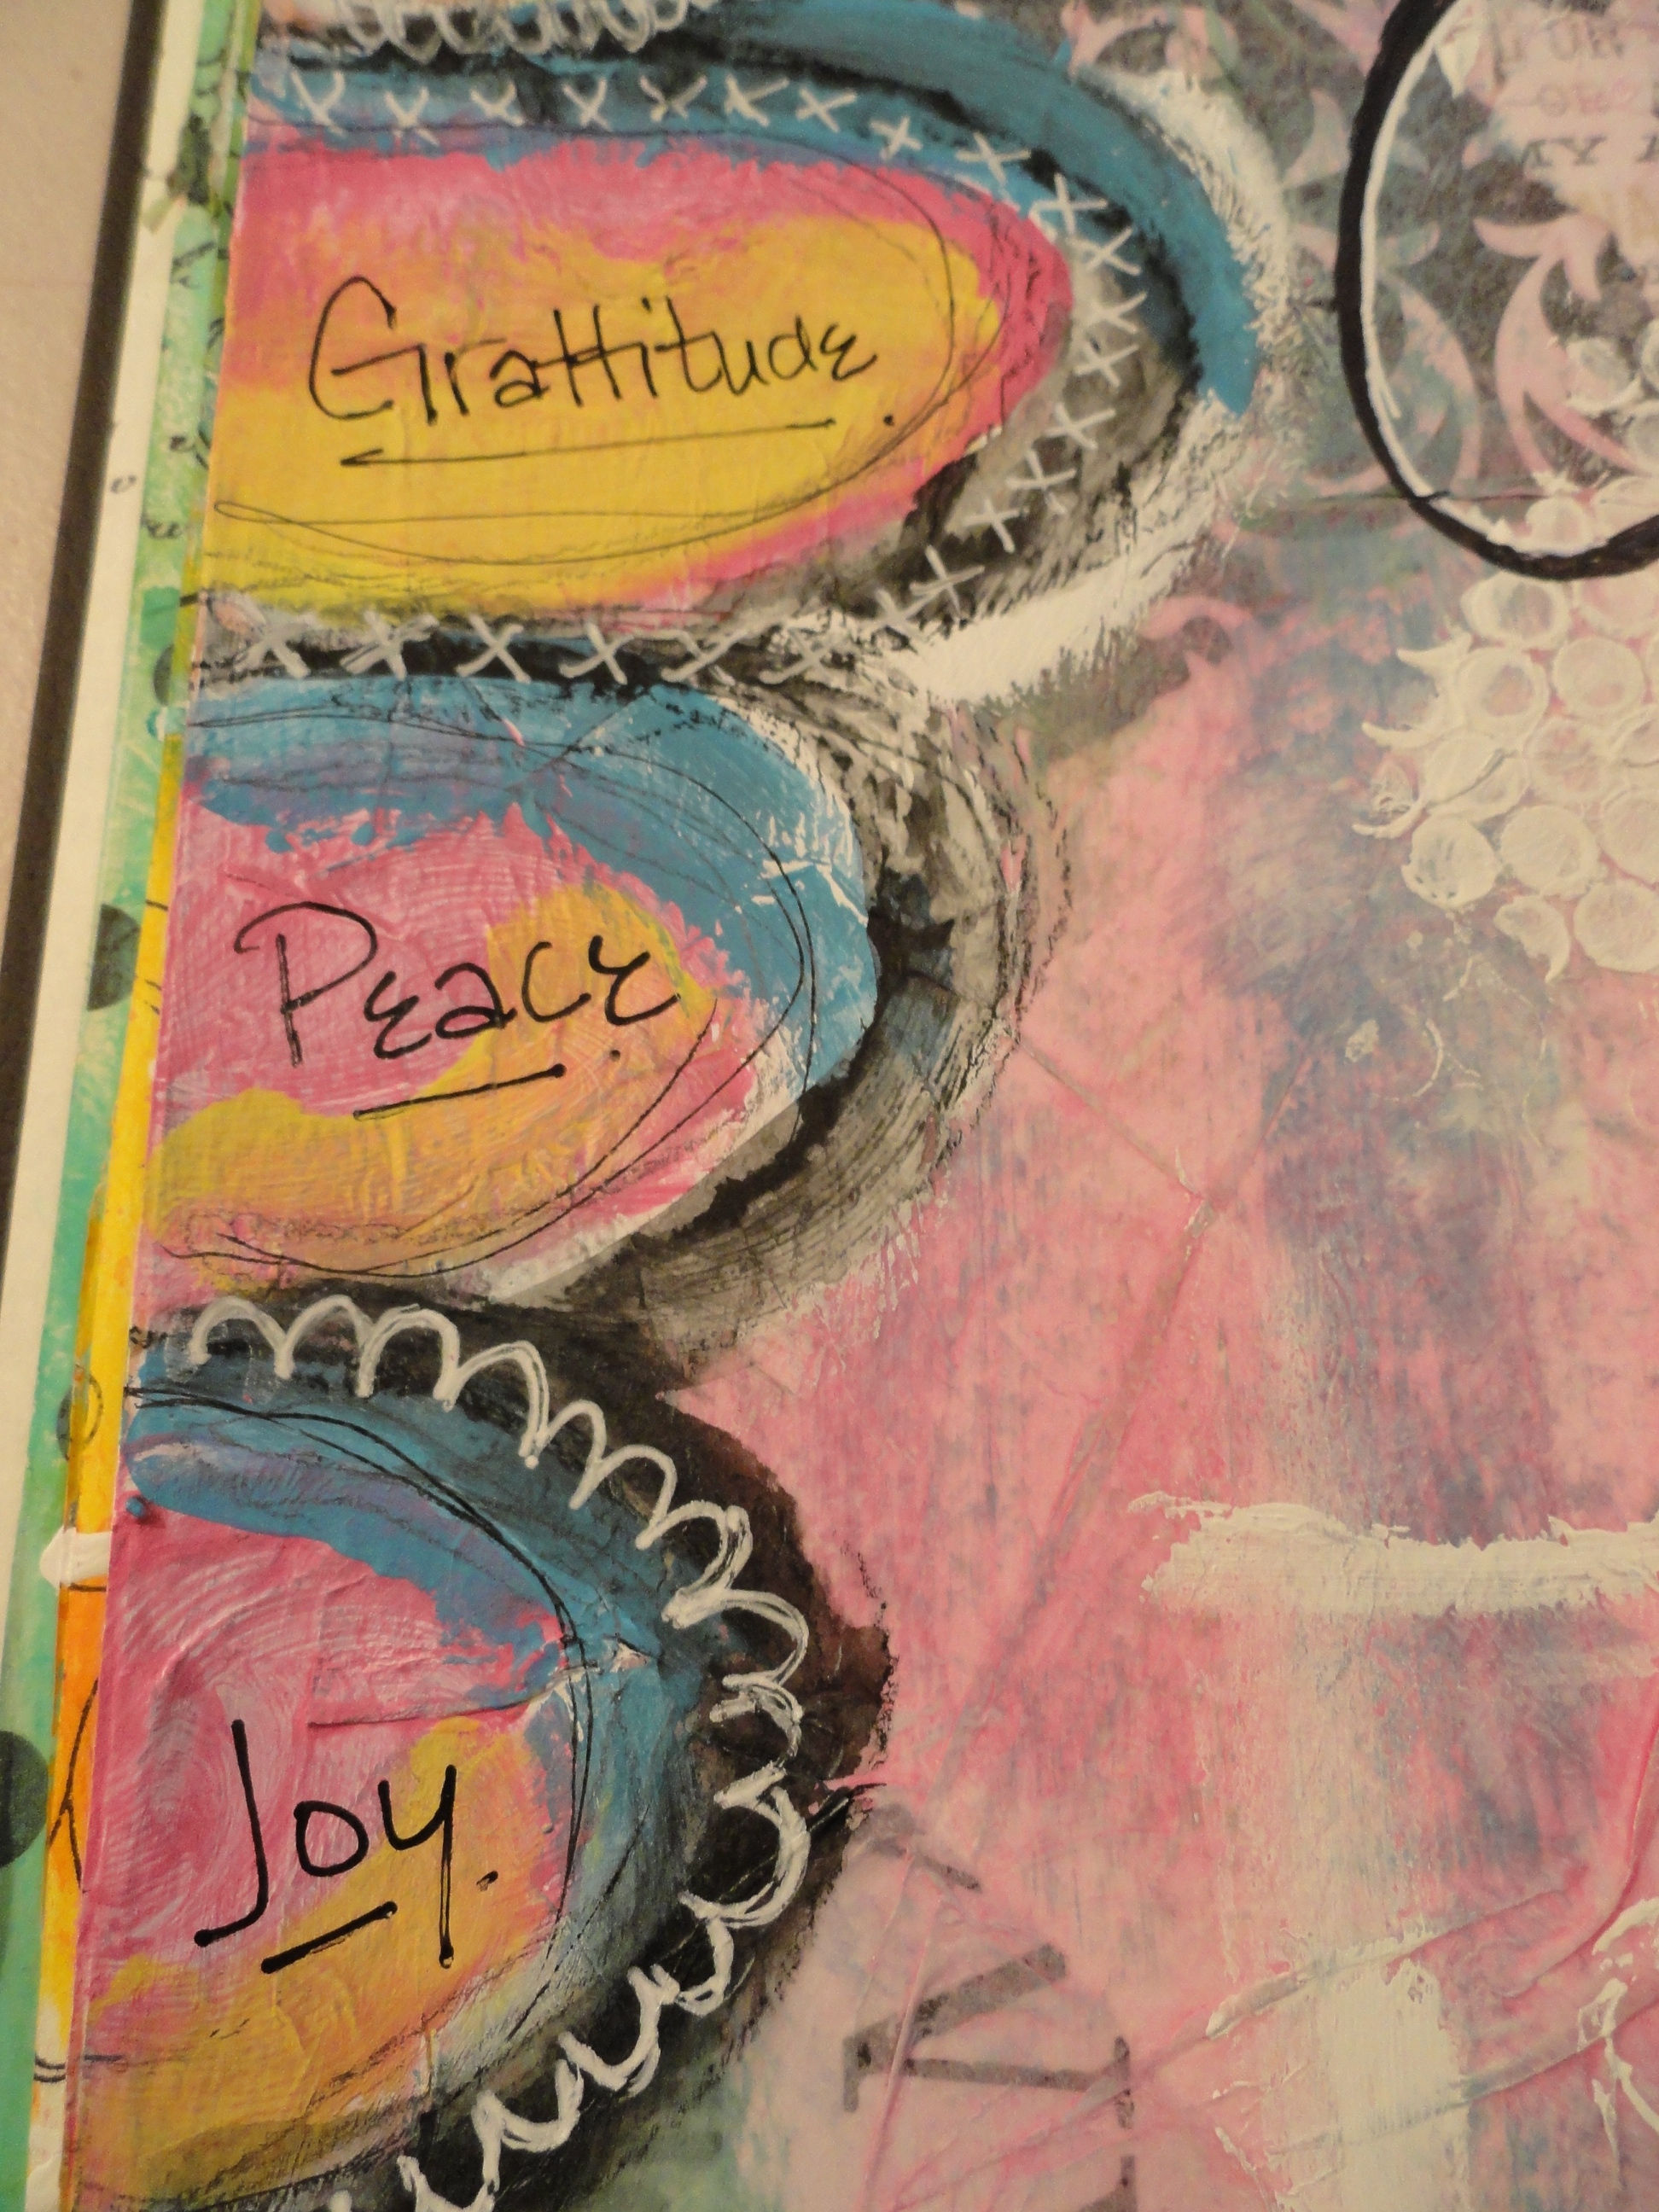
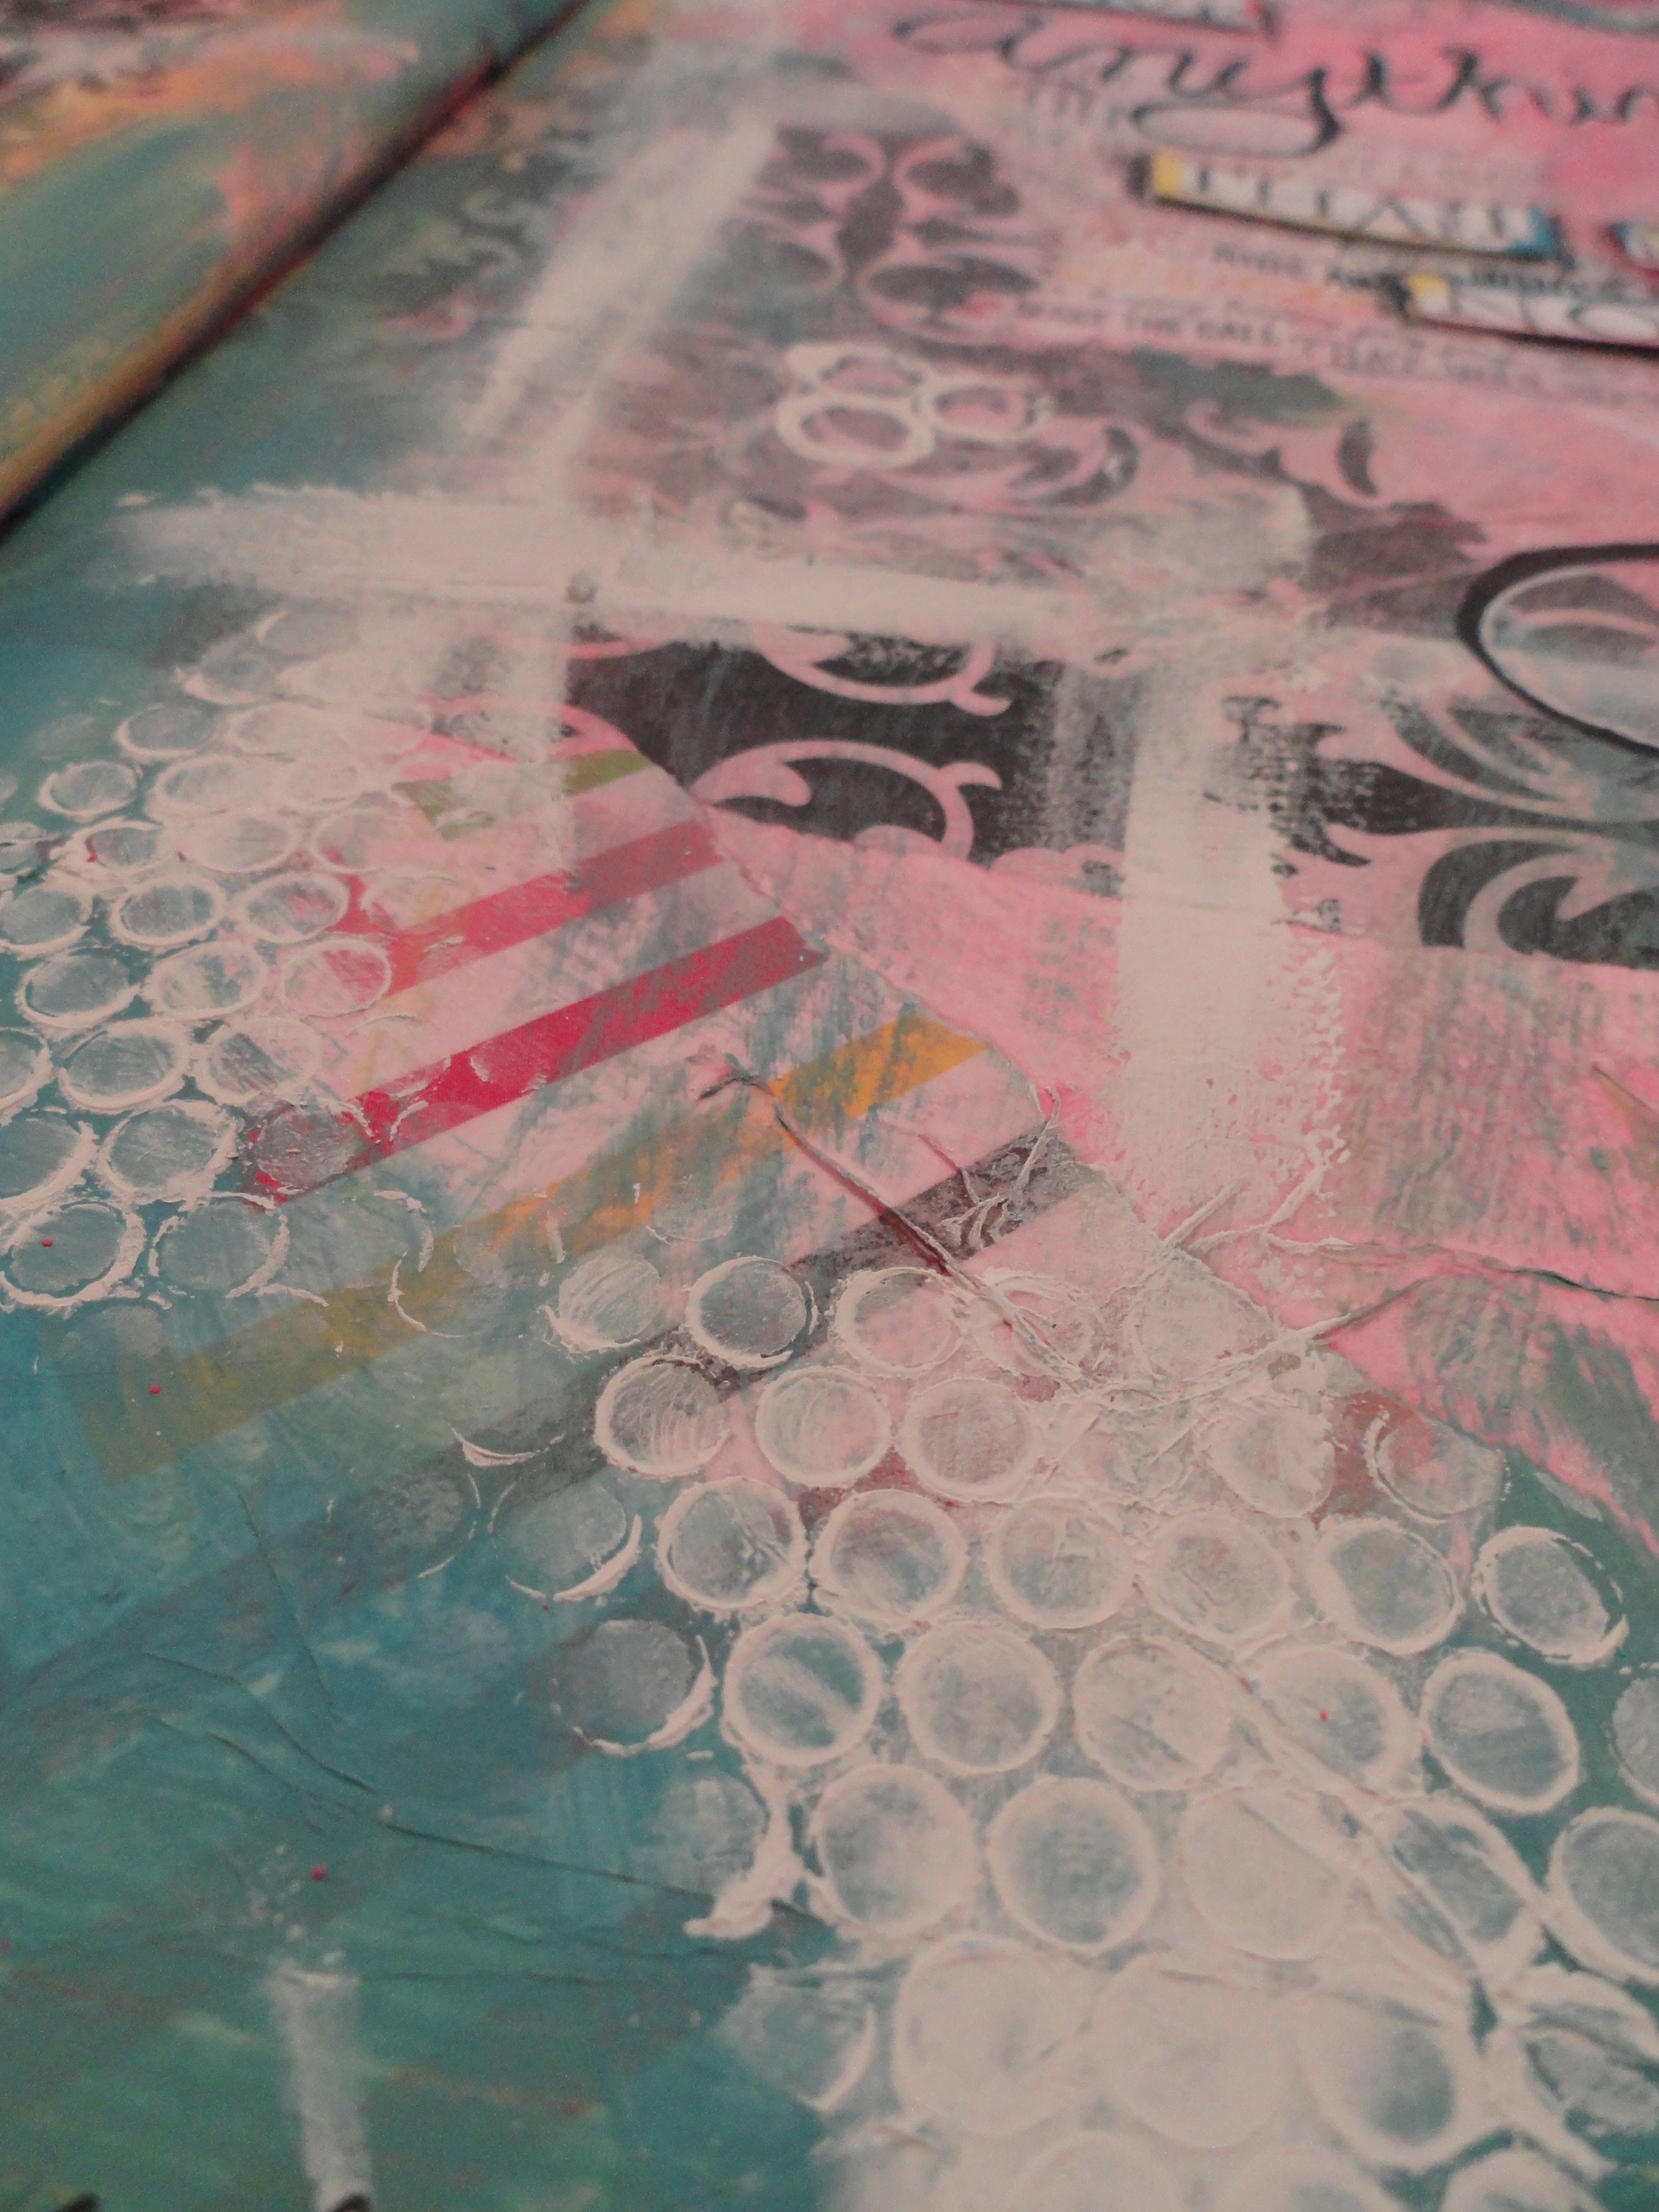
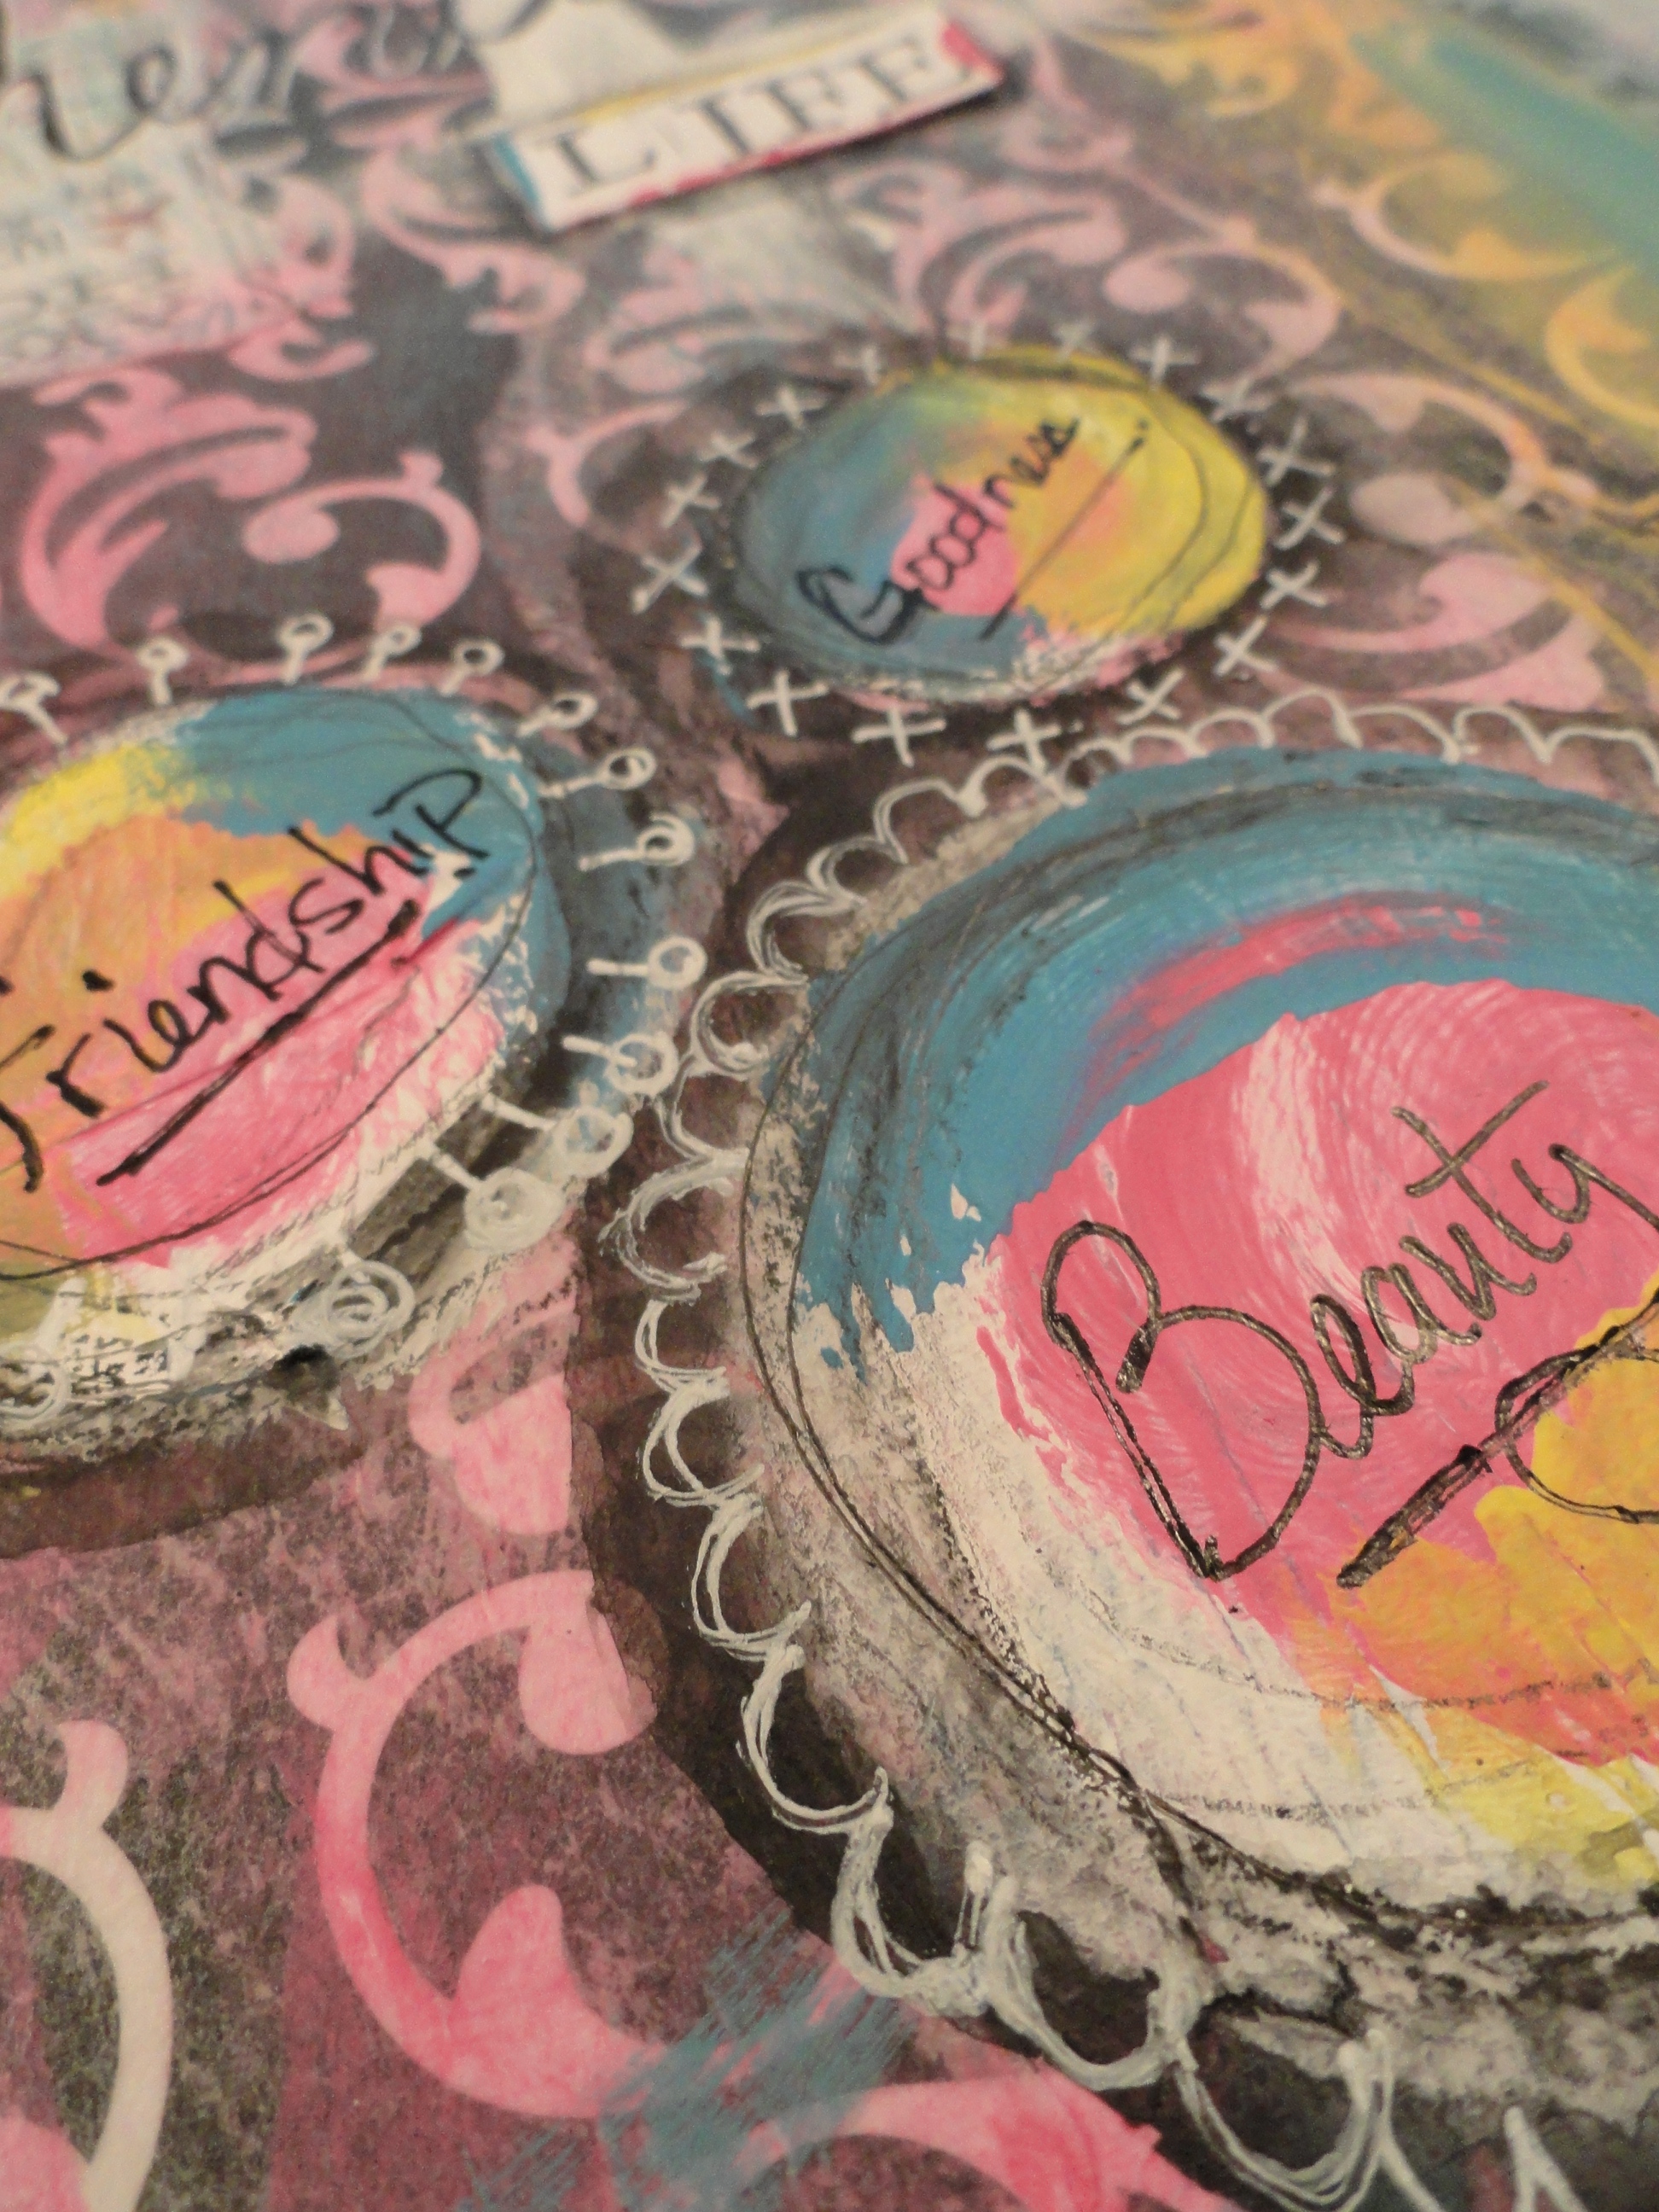
DSC06728This past weekend, I was very excited to have gotten the opportunity to take 5 classes taught by the lovely Dina Wakley, over a three-day period!! I learned sooooooo many new skills and techniques, and I am just raring to start incorporating them all, but for today I thought I would start by showing you all how to do a very simple technique that not only had I not seen before, it was one of my favorites!
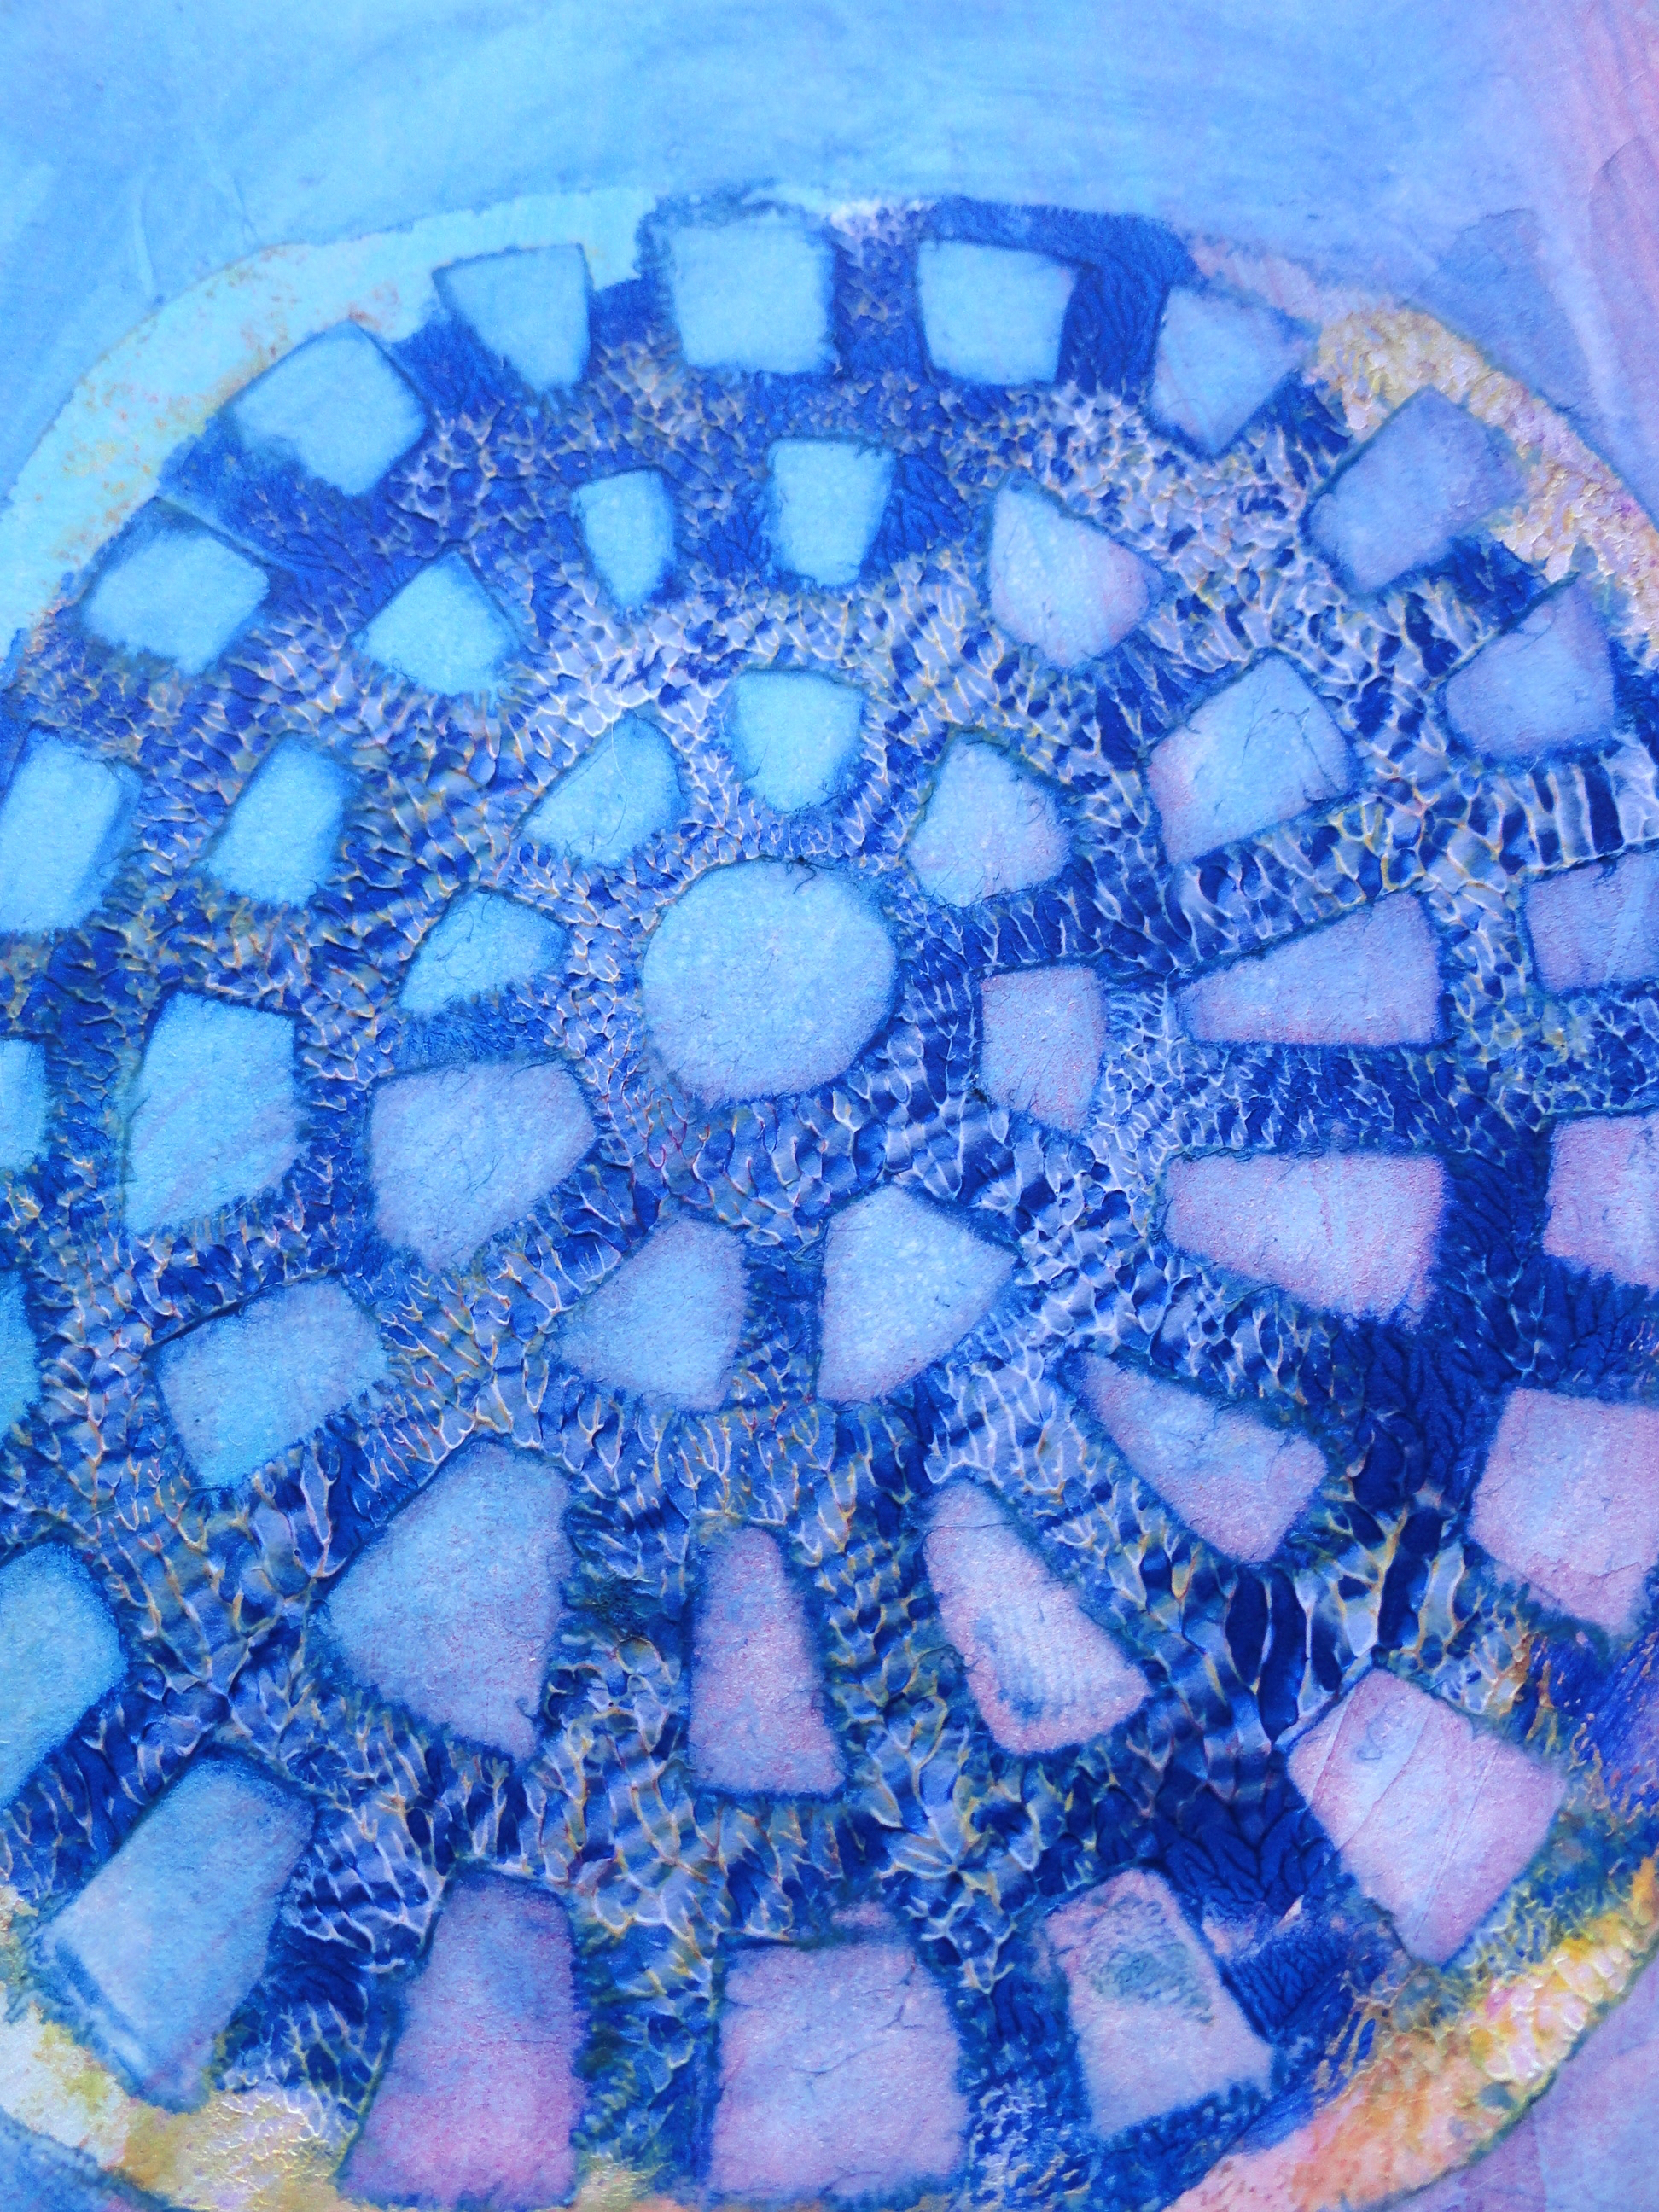
DSC06733You choose a mask or a stencil, something with not too small of holes, as well as not too large of holes either!
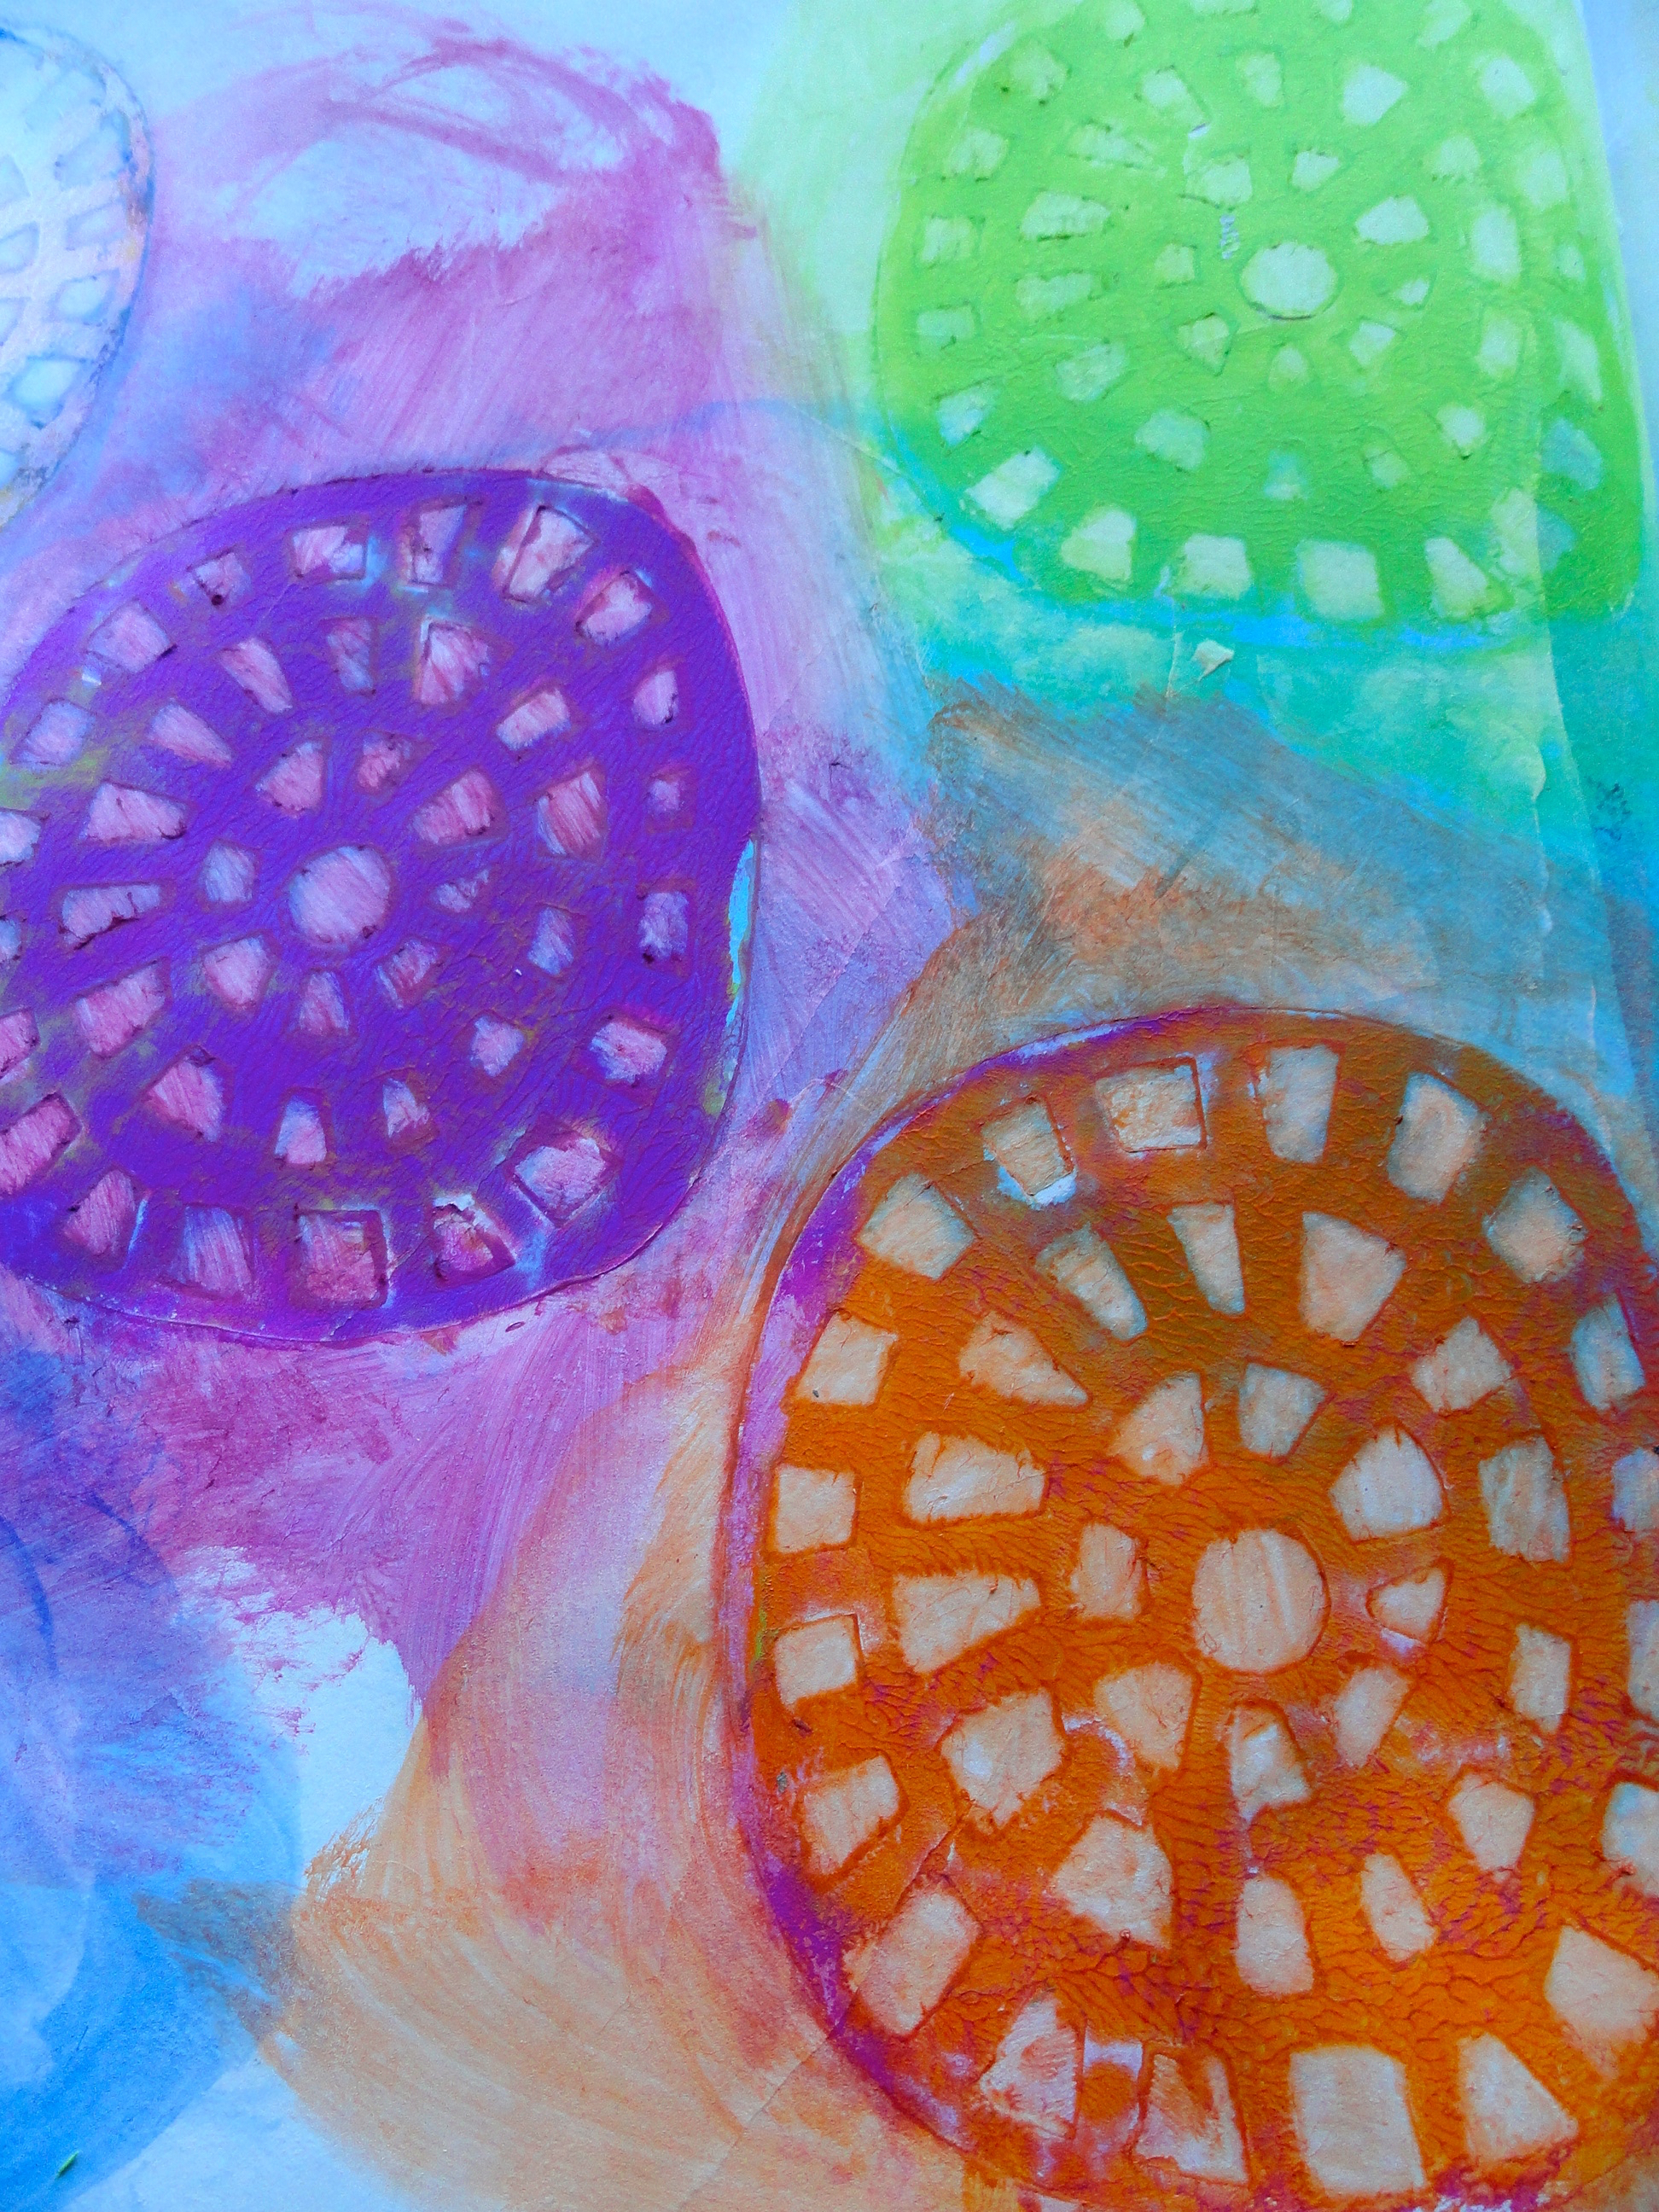
DSC06727Spread a thick layer of acrylic paint to cover a surface roughly the size of you mask/stencil.

Lay your mask/stencil over the thick coat of paint, and rub all excess paint off with a baby wipe. (Many baby wipes, actually!) While you are doing this, you will transfer color onto your spread from the baby wipe – that is alright, just make sure to overlap your background colors to make it look intentional and to incorporate all of your stencil shapes together.
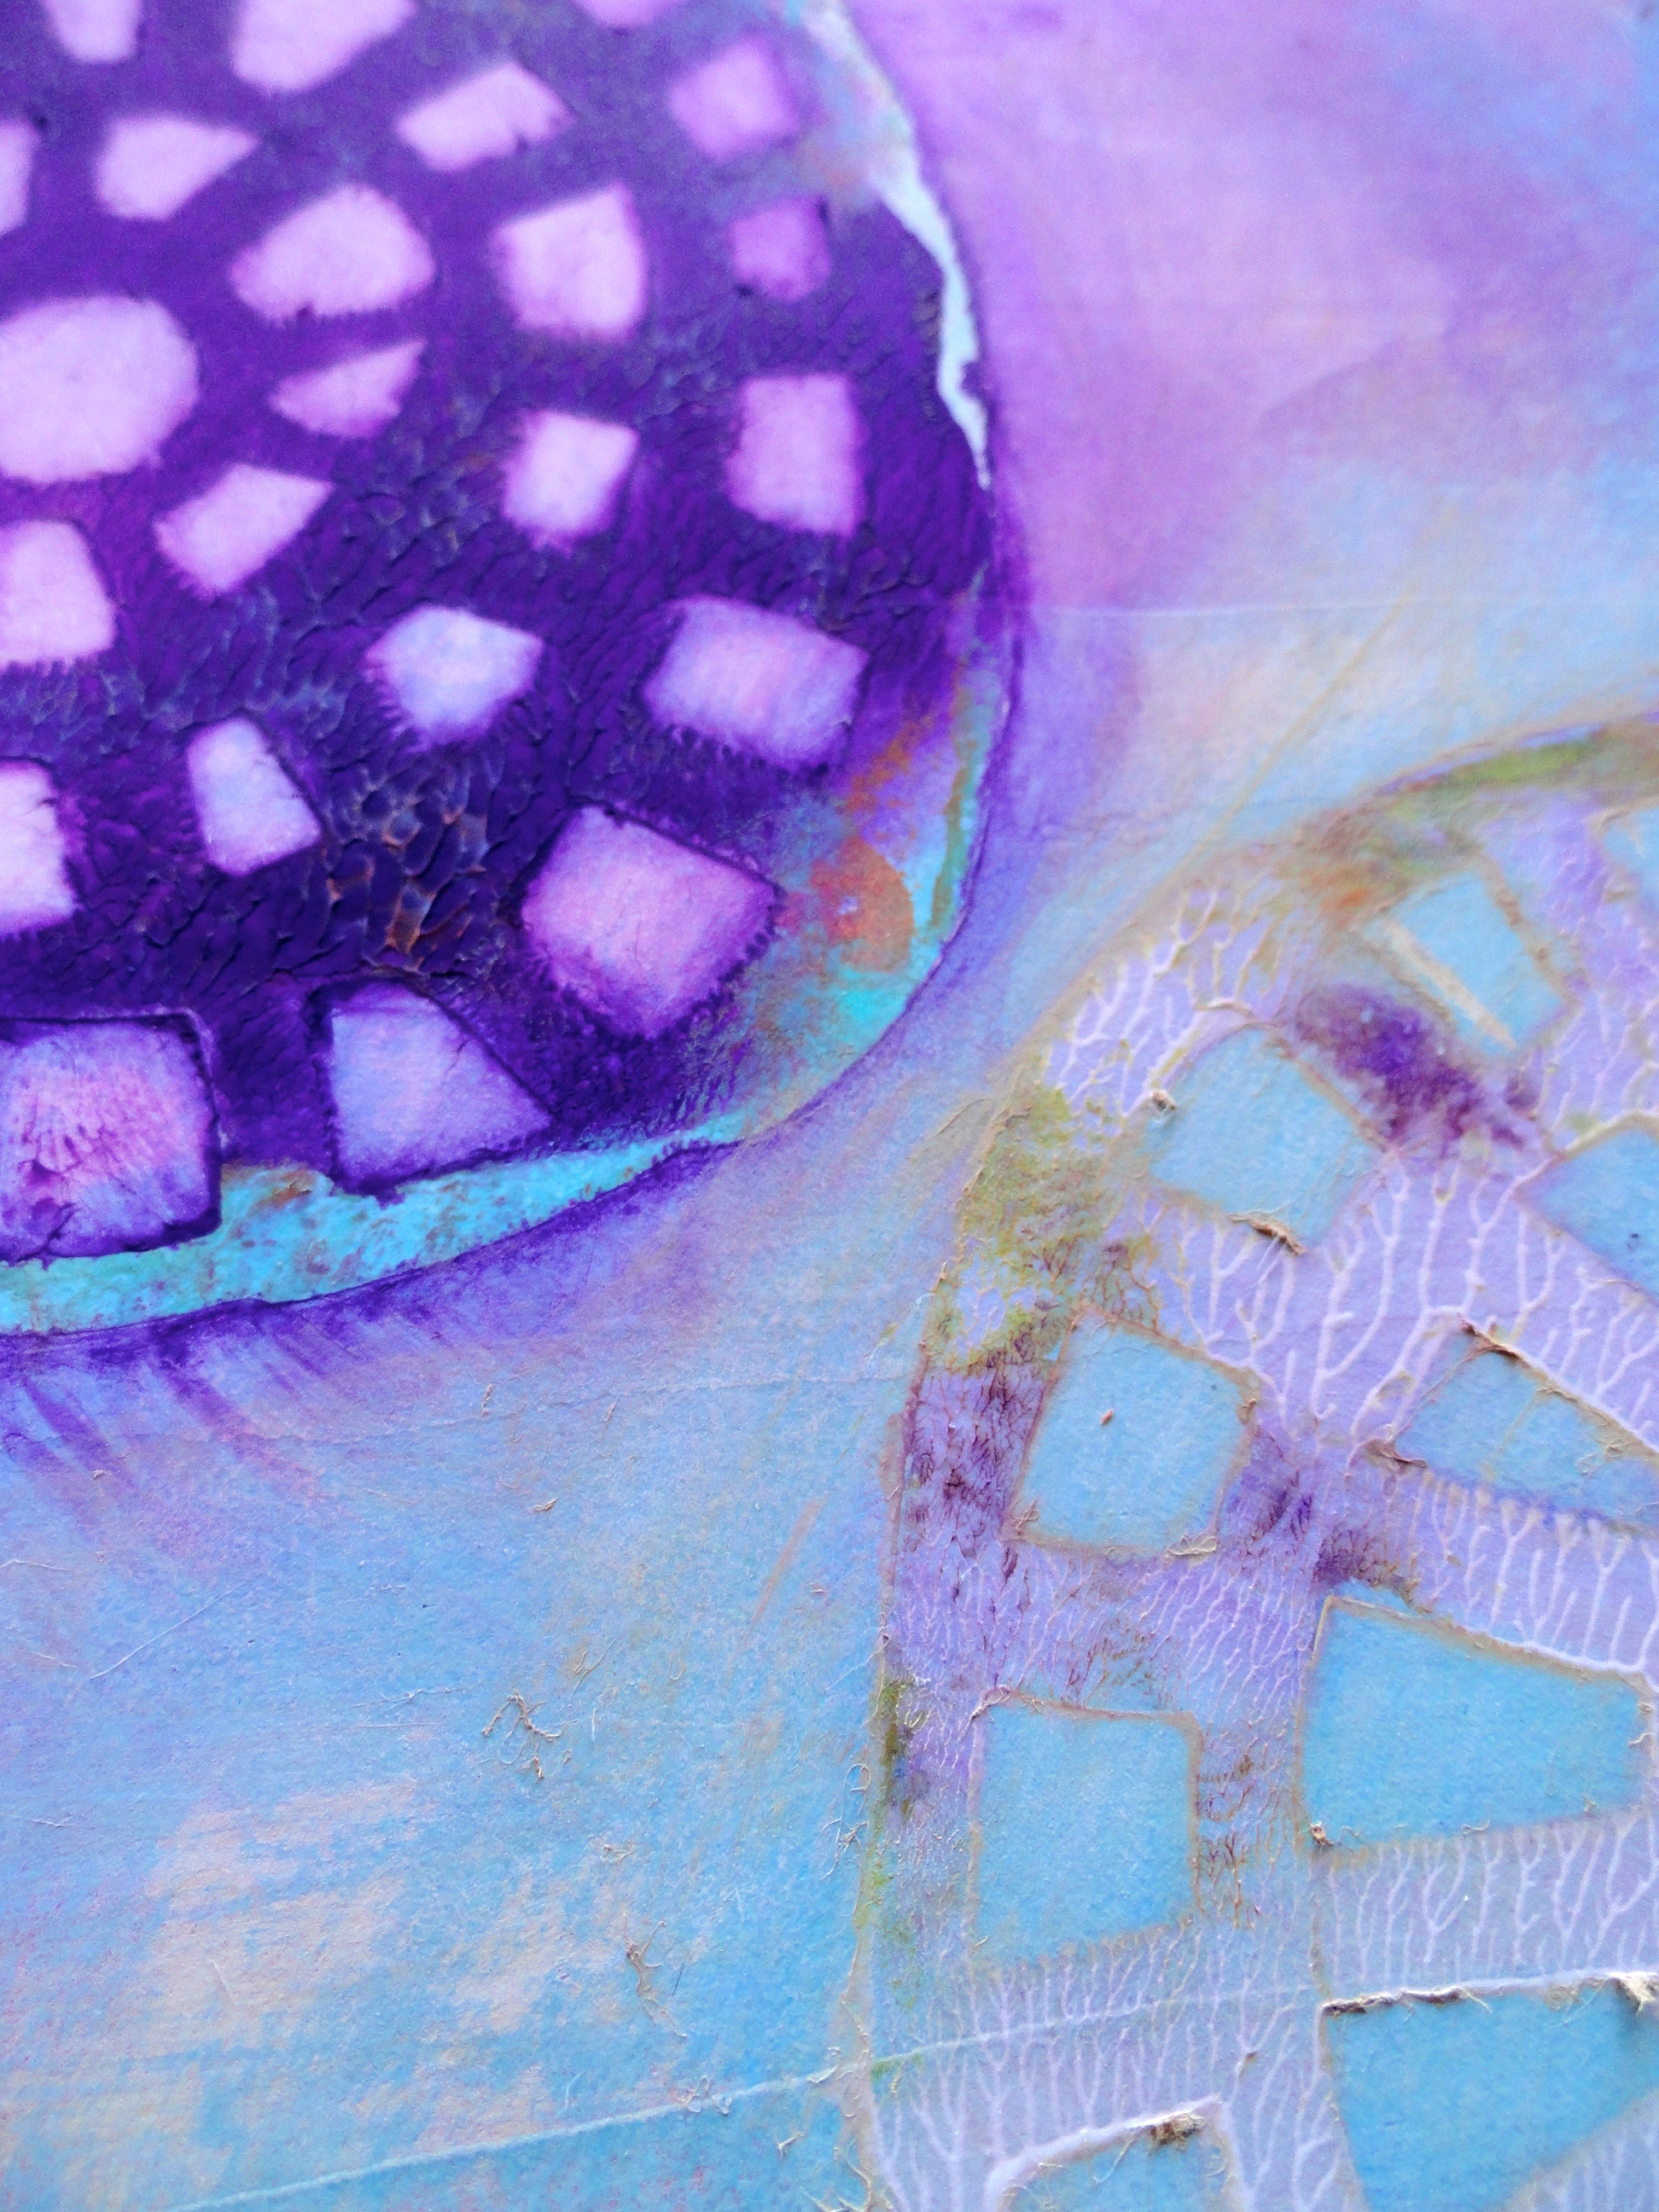
DSC06741Just keep repeating this process until you have as many stencil/mask designs that you want! Make sure you do not clean your mask/stencil as you change from color to color. Part of the coolness of this effect is the color transfer that will happen when you go from color to color!
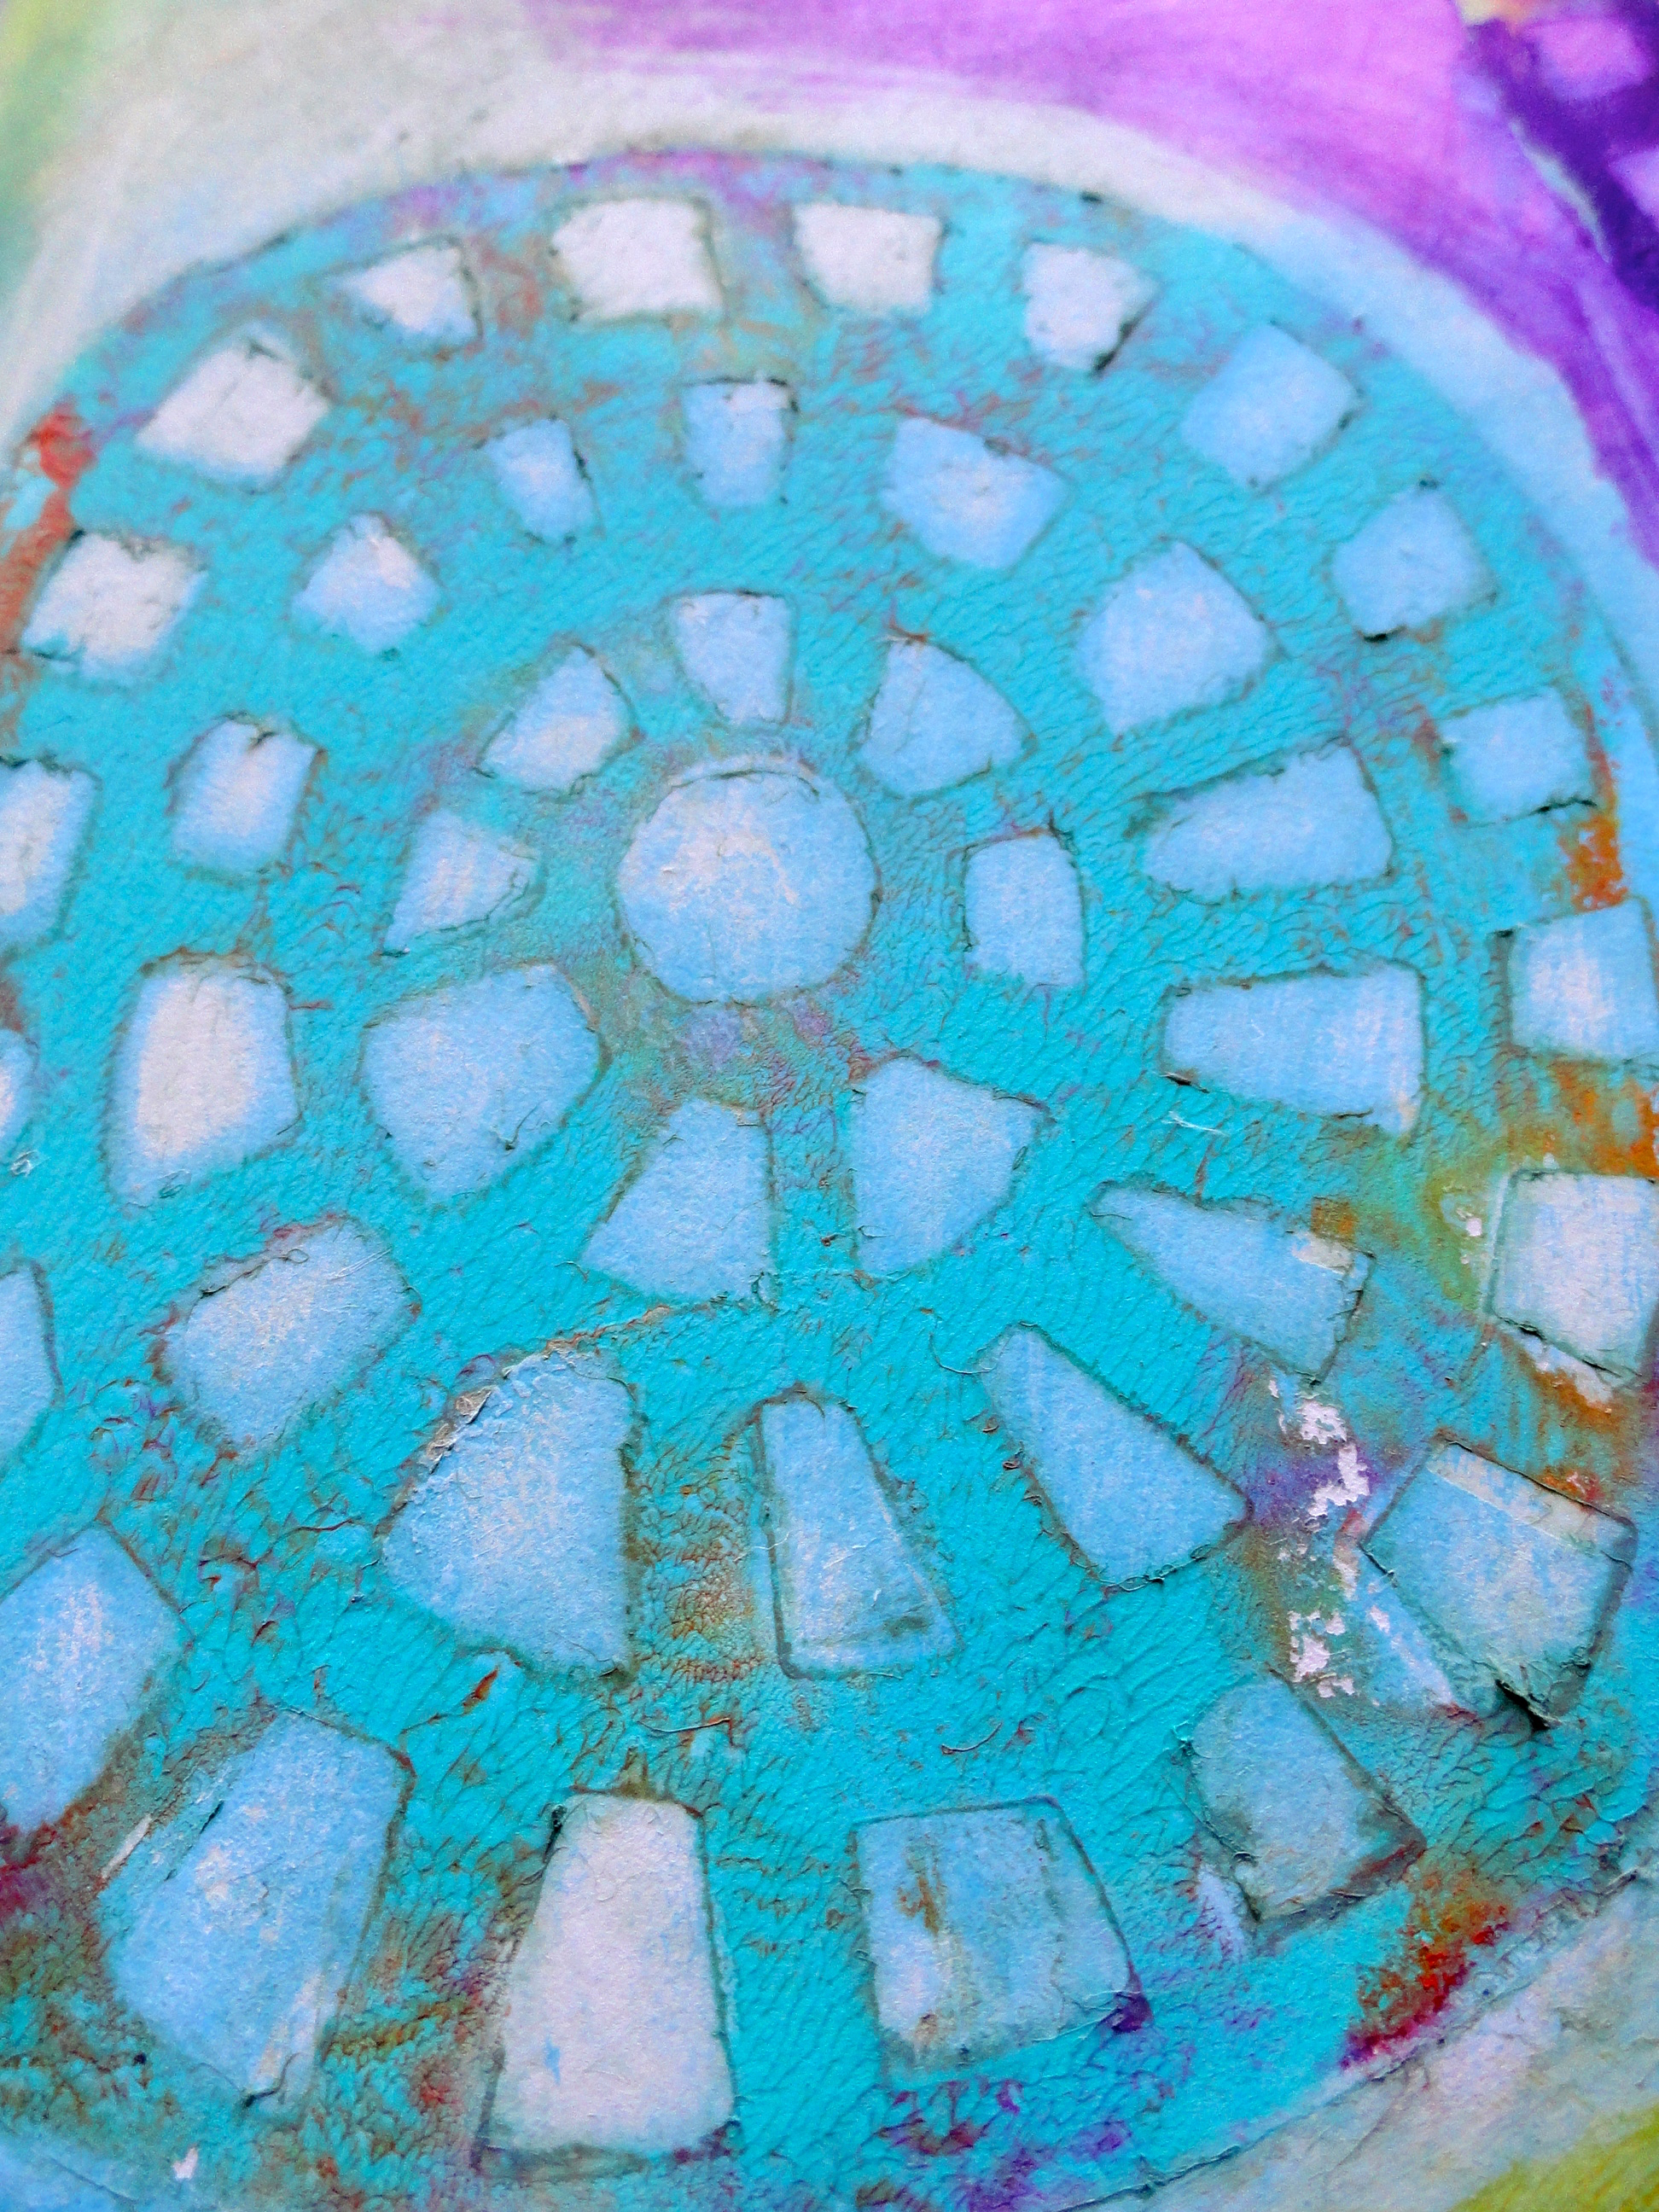
DSC06734I hope you get a chance to give this technique a try!!! I KNOW I will do this one MANY times over!!! 😉
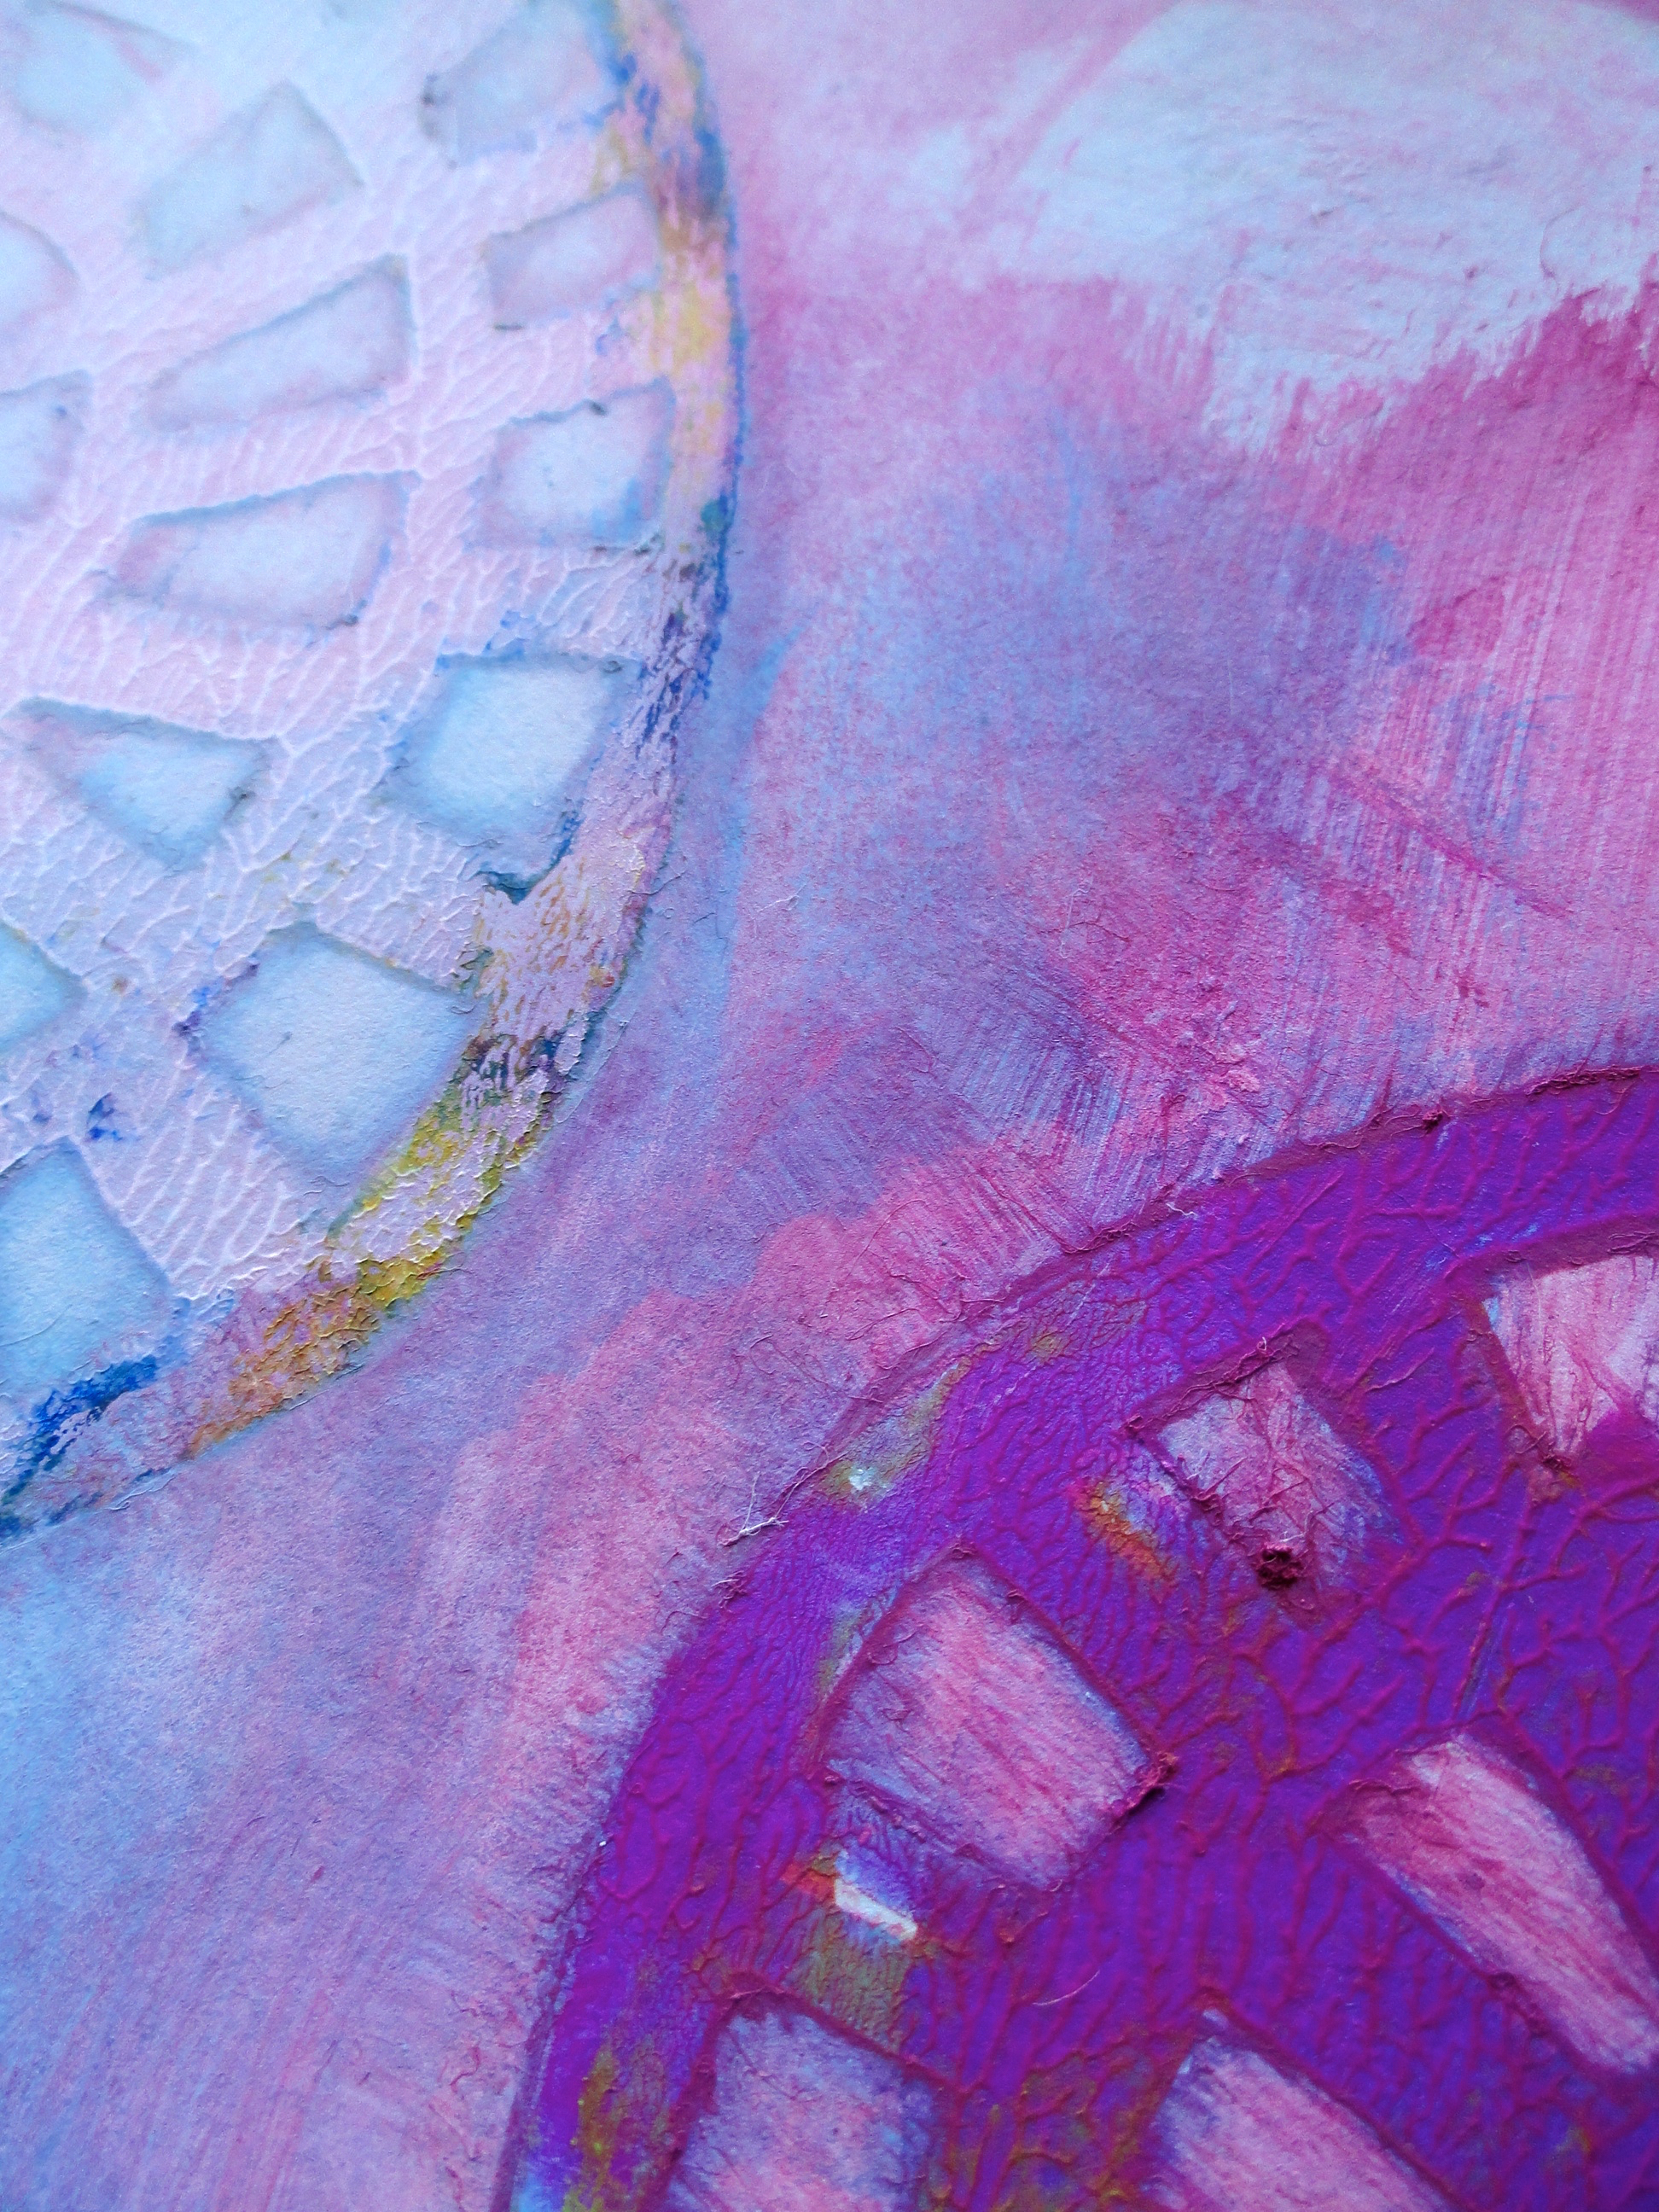
DSC06738What do you think? I would LOVE to hear your thoughts on this week’s art spread!! 🙂

Also, if you have any ideas, or techniques that you might like to see me try in one of my future layouts, please let me know in the comment section and I will see what I can do to be accommodating! Also, I really do LOVE answering any questions you may have about art journaling, mixed-media, or anything you might have seen me do here! Please feel free to ask questions in the comments, and I will try and get back to you in a timely manner!!

Until next time!

Here is to a BEAUTIFUL CREATIVE life!

1 - Signature

If you want a different life, live differently!


Art Journal Thursday #17!

Good afternoon!

I am happy to announce that my Art Journal Thursday #17 video is up on YouTube!! 🙂

The materials I used this week were:

  • Folk Art Acrylic Craft Paint: Medium Yellow
  • DecoArt Crafter Acrylic Craft Paints: Leaf Green, Tuscan Red, Tropical Blue
  • Apple Barrel Acrylic Craft Paint: White
  • Petroleum jelly
  • Paper Towels
  • Card Stock (recycled business cards)
  • Hero Arts Decorate It Letter Stamps
  • Ranger’s Black Archival Ink Pad
  • Aleene’s Quick Grab Tacky Glue
  • Black China Marker

DSC06635

This week I had stumbled upon another YouTube video showing how to do this petroleum jelly resist, which ends up looking like peeled paint, and I just knew that I had to try this in my art journal this week! 🙂

DSC06639One of my favorite artists is Rodney White, and I have 4 of his prints hanging in my house, 3 of those are in my living room! His artwork features a peeled paint effect, and I was determined to figure out how to do this, so I could use it in some of my artwork! 🙂

DSC06653I found a few YouTube tutorials on how to do this, and was determined to give this a try! 😉

DSC06648This technique turned out to be very easy, but there are a couple of things to keep in mind! You will need a lot of clean paper towels, and I mean A LOT!!! 😉 This will also make a bit of mess on your art table, with all of the little peeled paint bits – kind of reminds me of eraser shavings, but other than that…easy peasy!!! 😉

DSC06645This is my new FAVORITE spread in my art journal!!! I ADORE all of the colors, and the final peeled paint effect is SCRUM-DIDDLY-UPMTIOUS!!!! After adding the brown color wash, and wiping it off, all of the layers had so much depth to them, that I could seriously see this being a very cool background on a piece of wall art!!!

DSC06641What do you think? I would LOVE to hear your thoughts on this week’s art spread!! 🙂

Also, if you have any ideas, or techniques that you might like to see me try in one of my future layouts, please let me know in the comment section and I will see what I can do to be accommodating! Also, I really do LOVE answering any questions you may have about art journaling, mixed-media, or anything you might have seen me do here! Please feel free to ask questions in the comments, and I will try and get back to you in a timely manner!!

Until next time!

Here is to a BEAUTIFUL CREATIVE life!

1 - Signature

If you want a different life, live differently!

Weekly Art Journal #10

Good morning!

My Weekly Art Journal #10 is now up on YouTube!! 🙂

The supplies I used today:

  • 4 different wash tapes of different sizes, 2 were Scotch brand, but I don’t know the other two
  • Dylusion Spray Ink: Squeezed Orange, Lemon Zest
  • Acrylic Paints: Folk Art Medium Yellow (455), Ceramcoat Pop Pink (02646), DecoArt Tropical Blue (DCA102)
  • 2 Studio G Stamps: I am unsure of what their names are, but they were both 2010 stamps. One is dots, and the other is 2 different sized circles
  • An XOXOXO Stamp from Delafield Stamp Company
  • Black Pilot Marksall Pen
  • White Sharpie Water Based Poster Paint Pen
  • Uhu Glue Stick
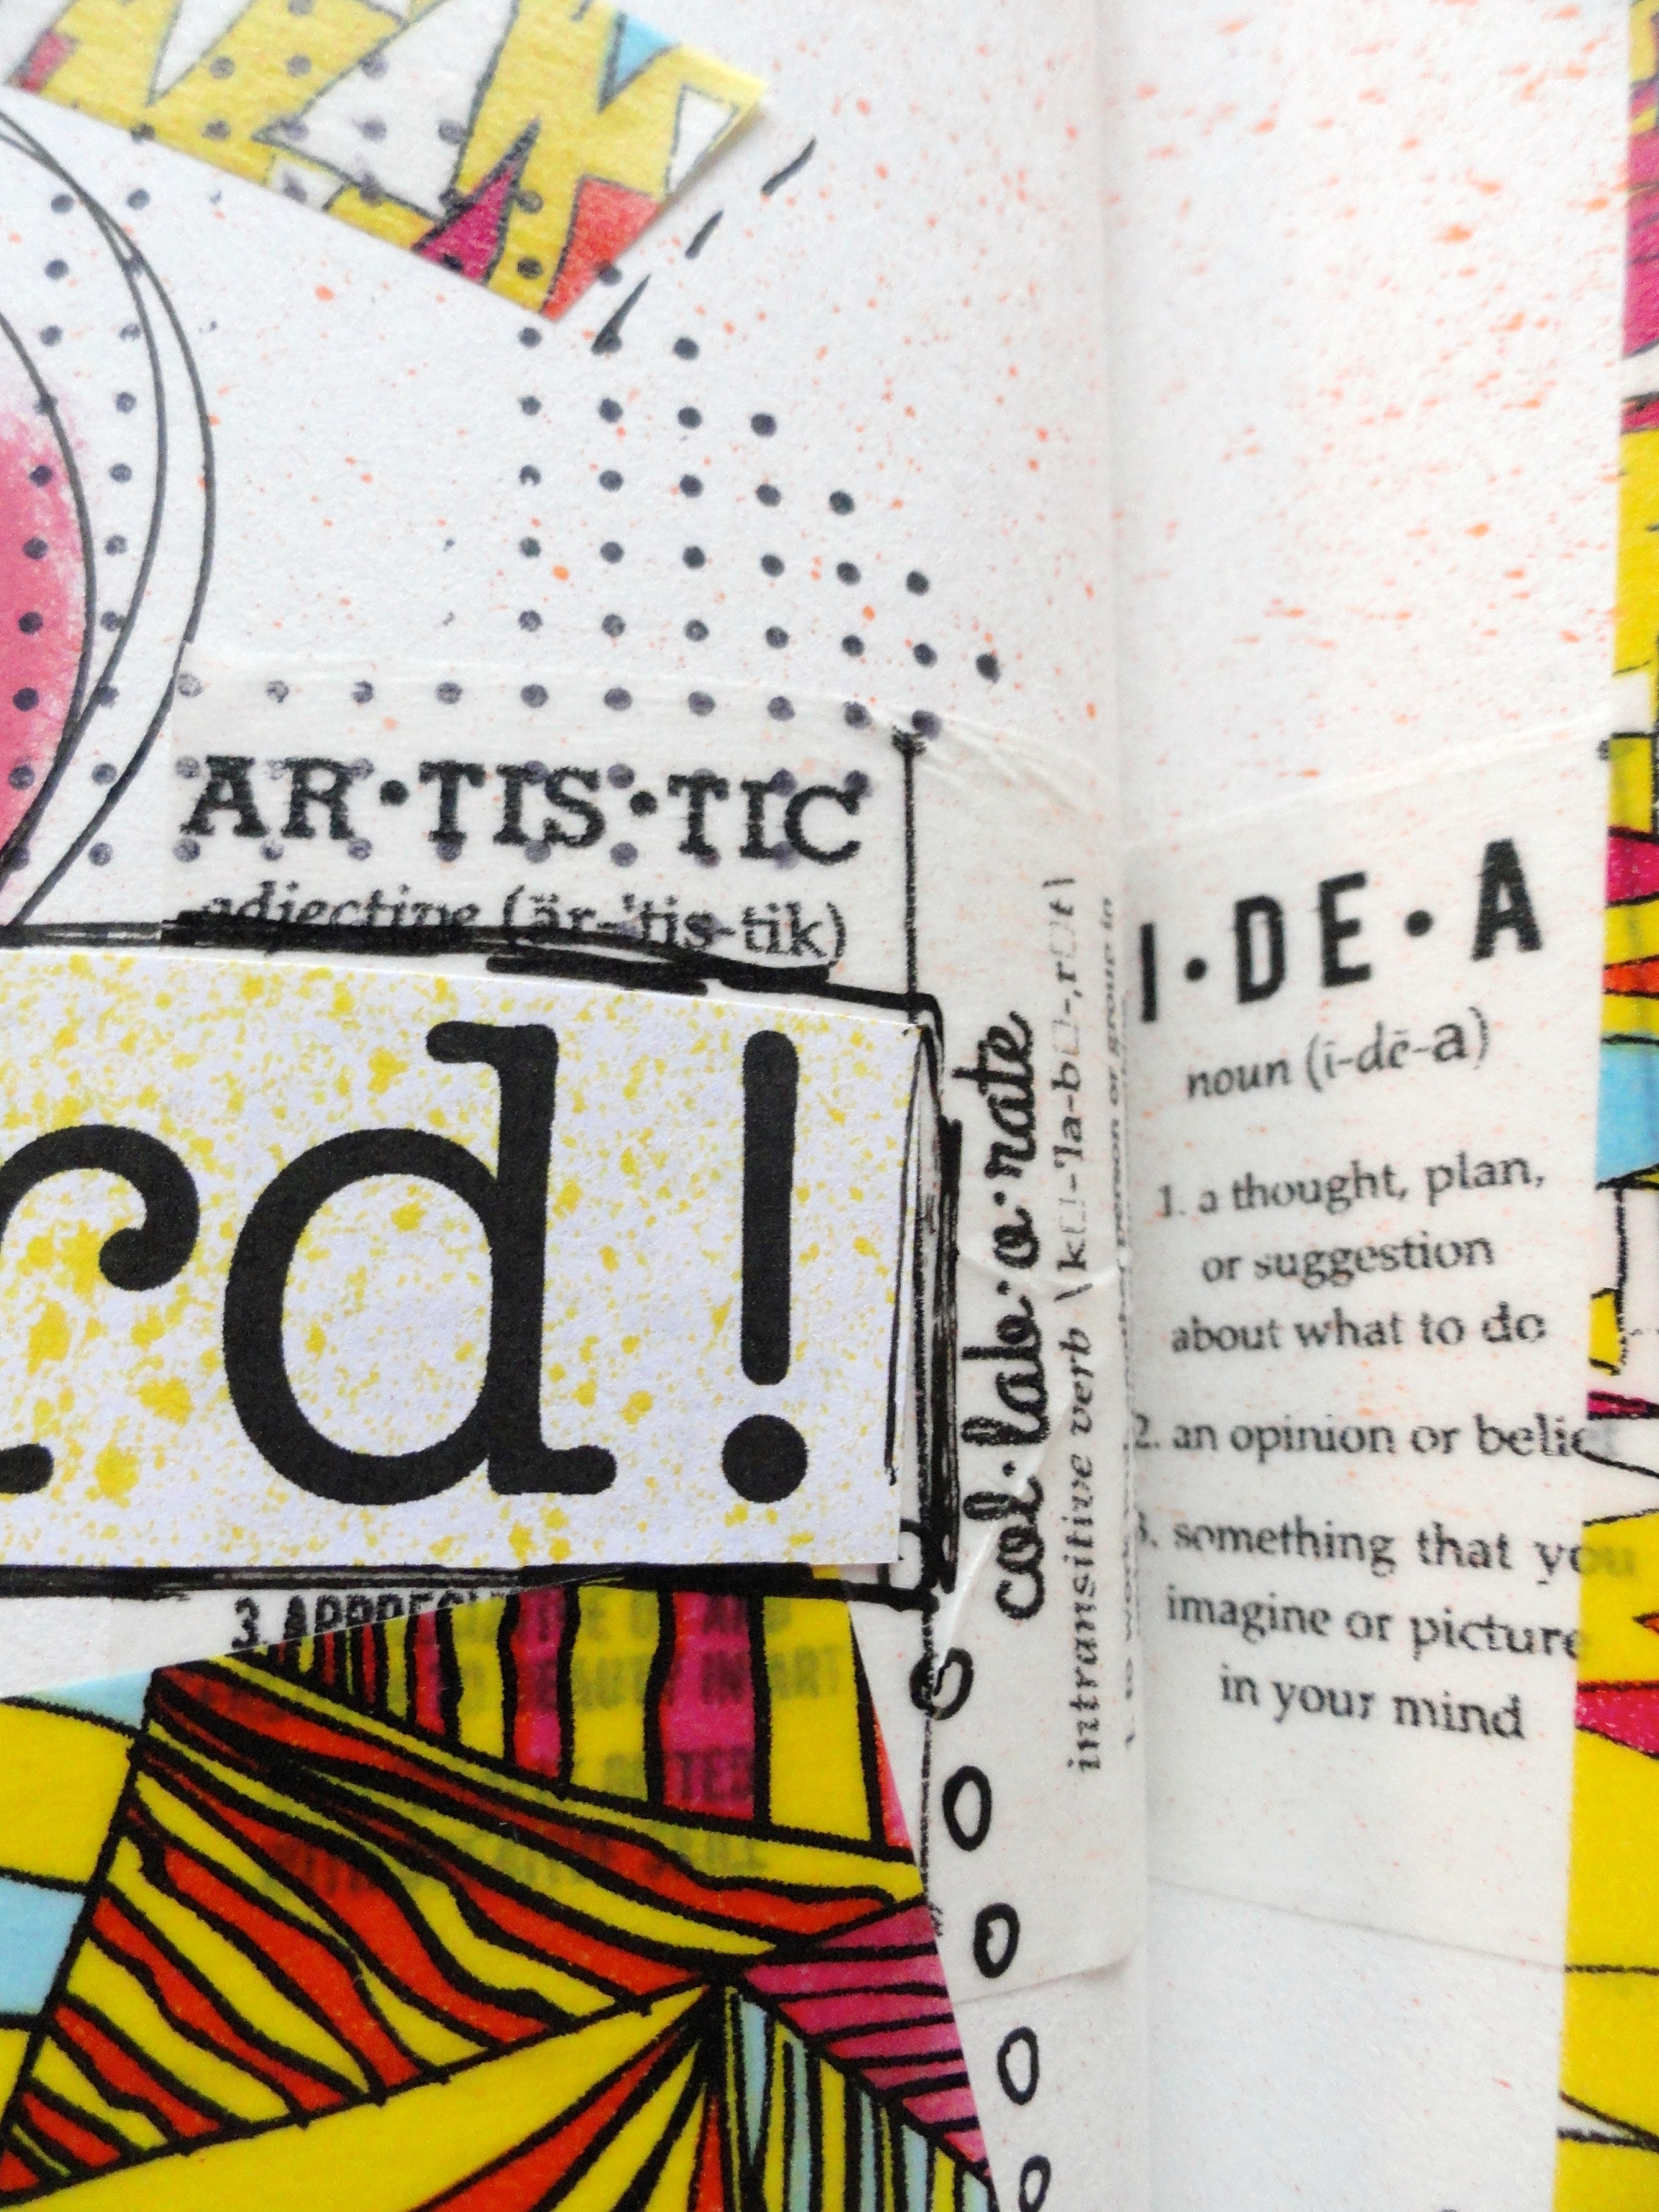
  • Sentiment printed on regular printer paper using my computer
  • Scissors

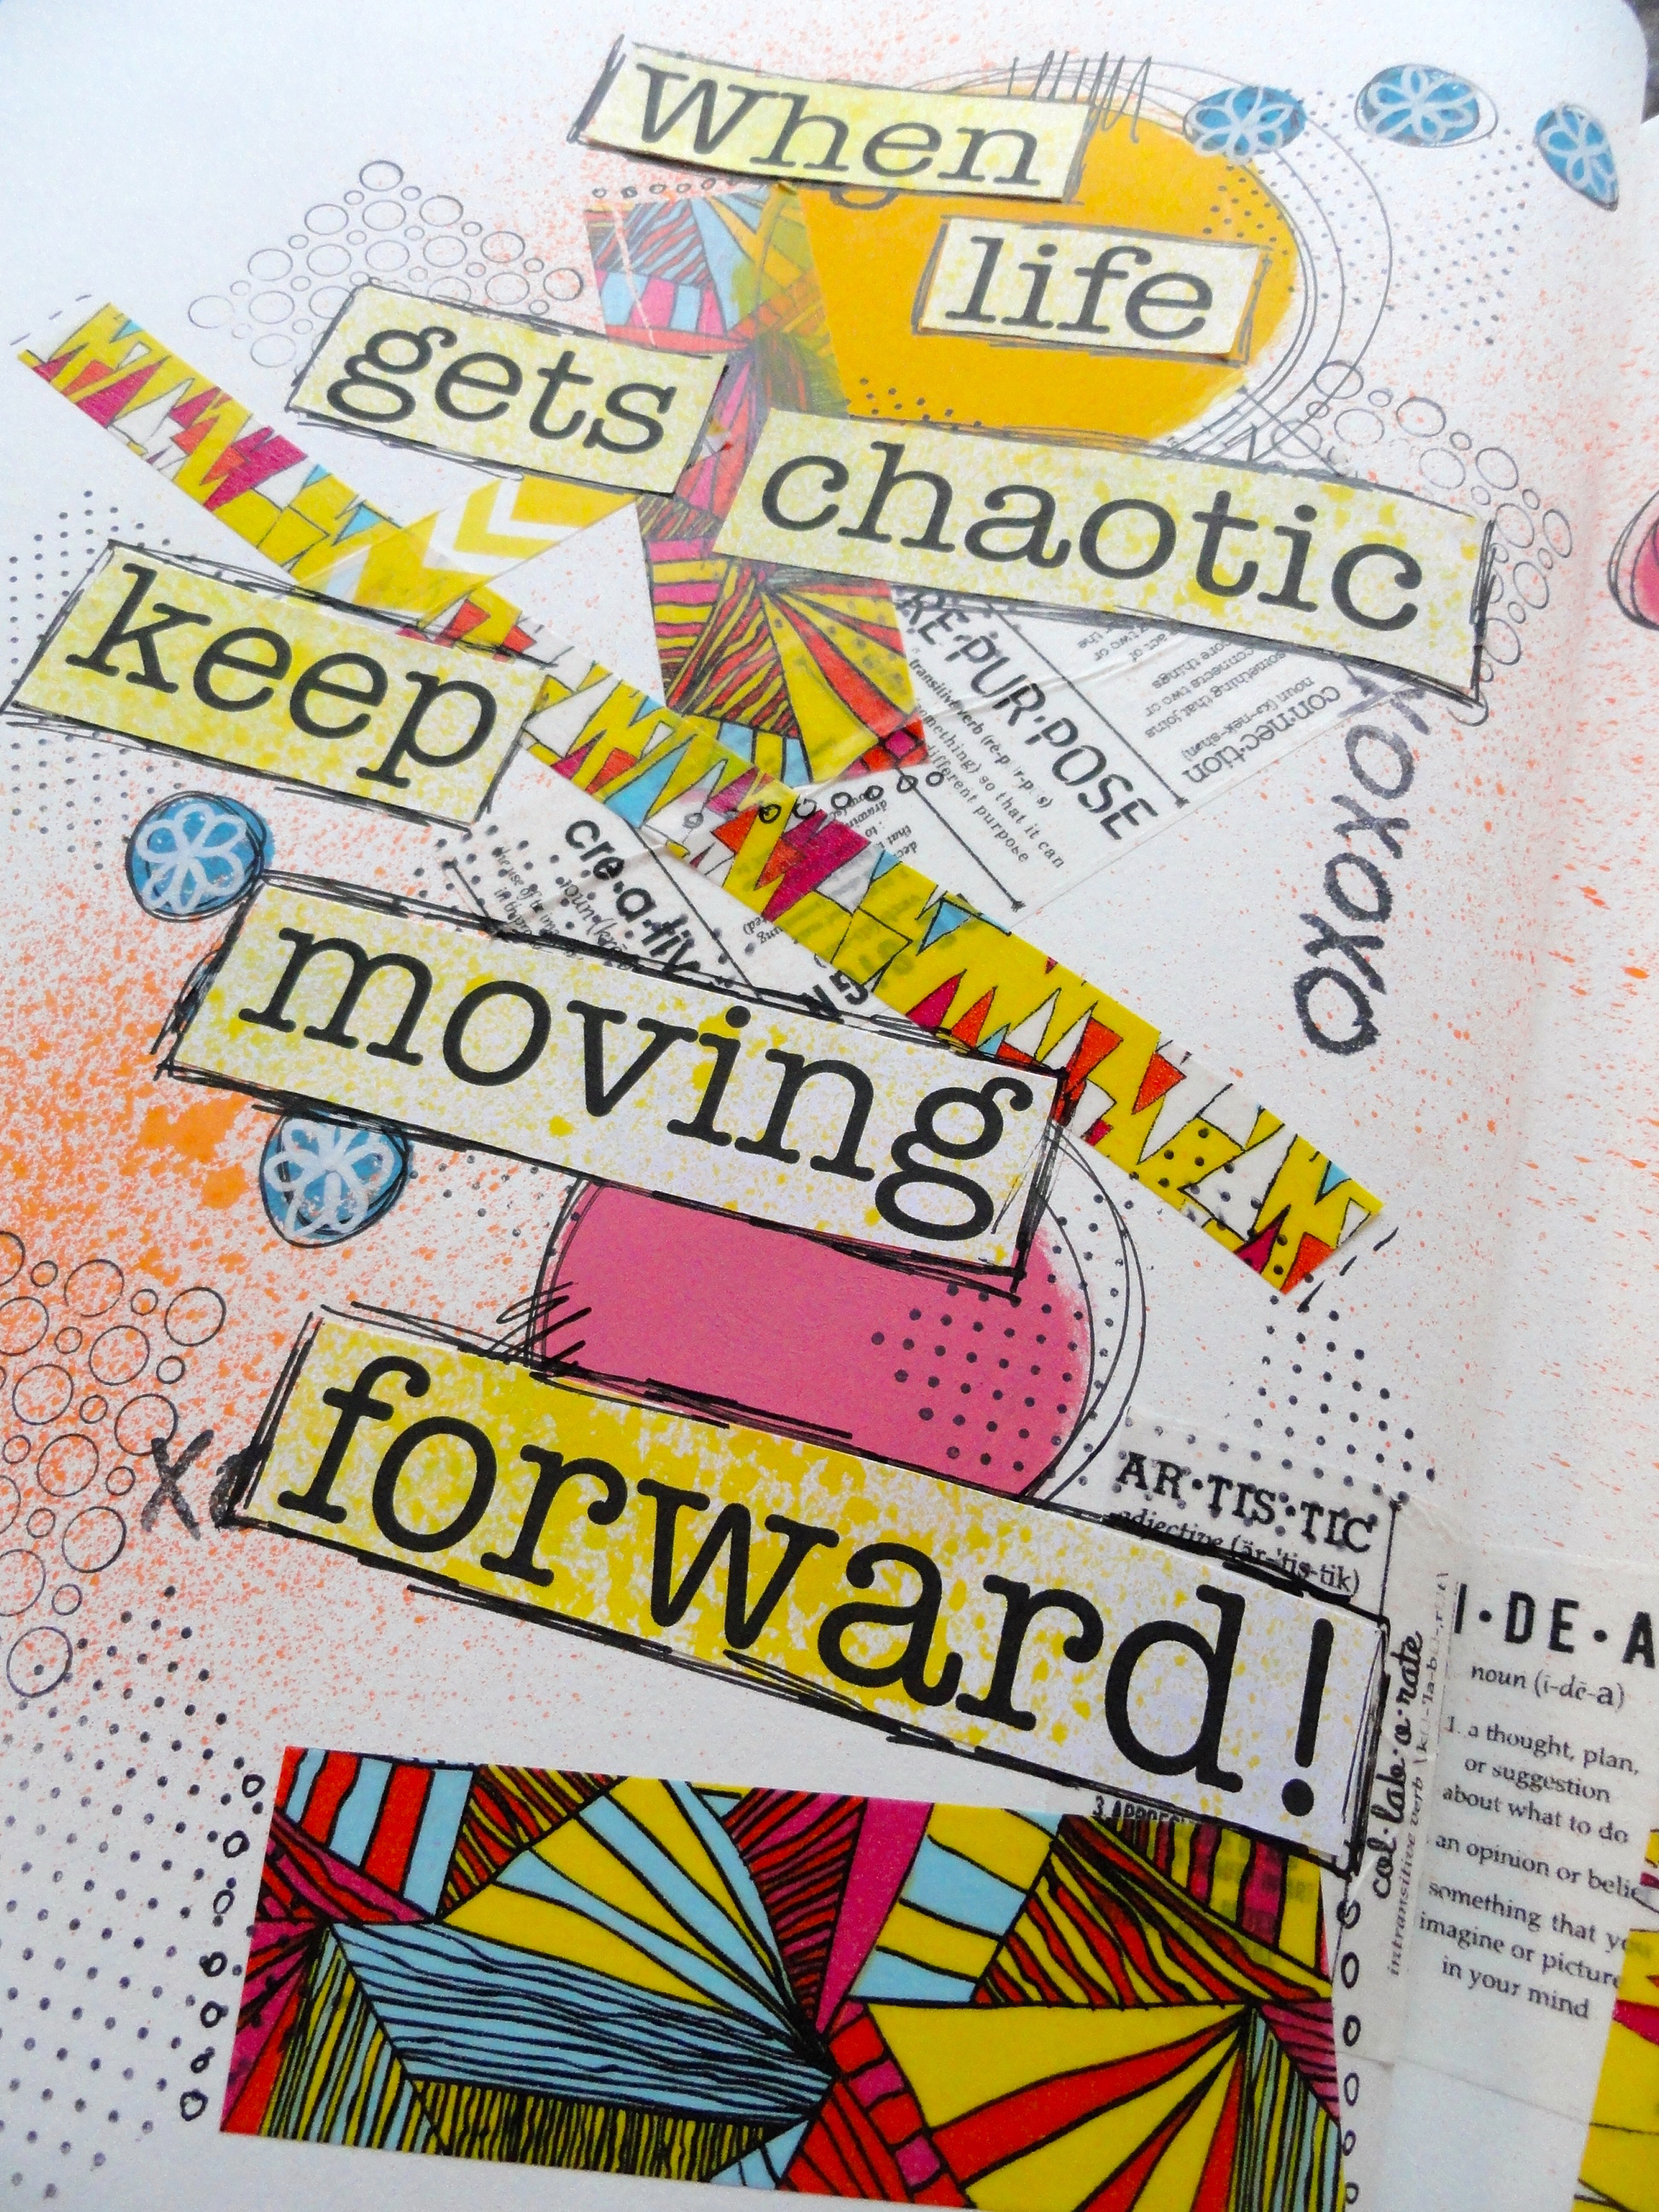
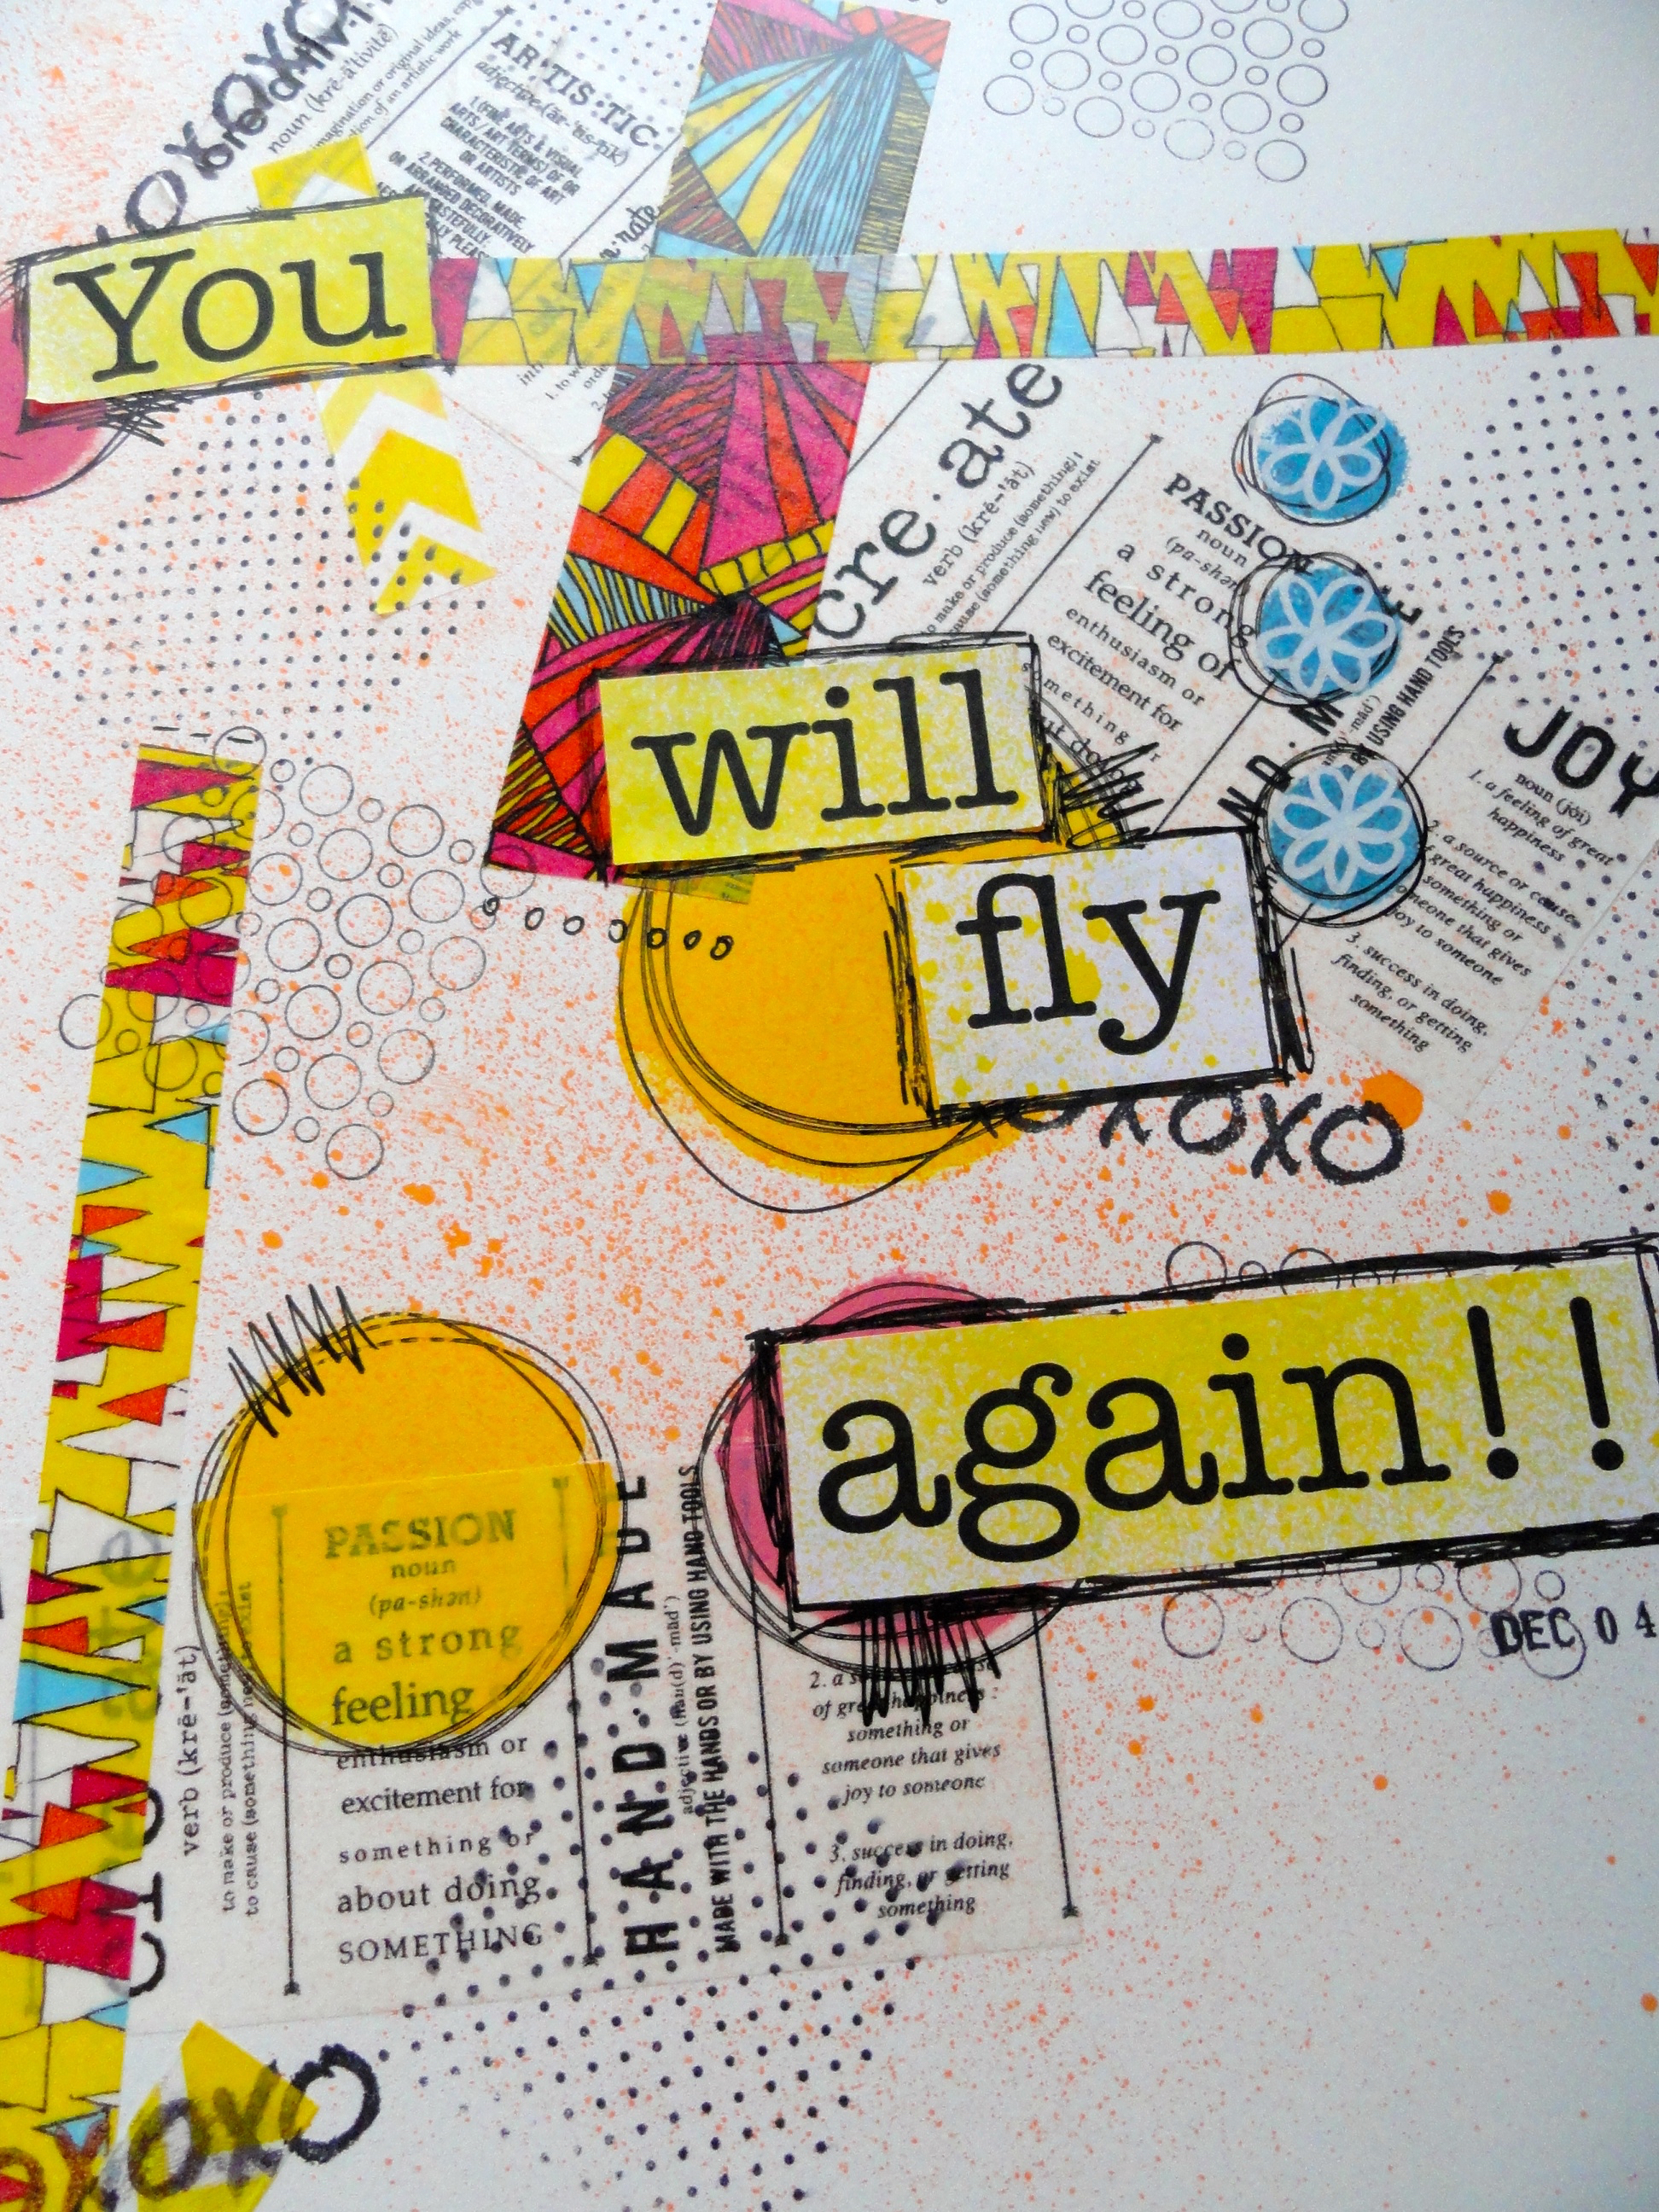
DSC06247As usual, I went into this spread with no real plan whatsoever, except that I knew I wanted to keep some white space on my layout! I have been noticing that I have been covering almost every square inch of my pages leaving very little white space, and this week I wanted to see what white space would feel like if it was done on purpose!

DSC06250Oh, and did you notice??? I actually speak??? I thought since this video was so short, this week, that would be the perfect, and unscary way to dive in and give my new microphone a go! I was pretty happy with that!! Let me know if you like these videos with speaking or without! 🙂

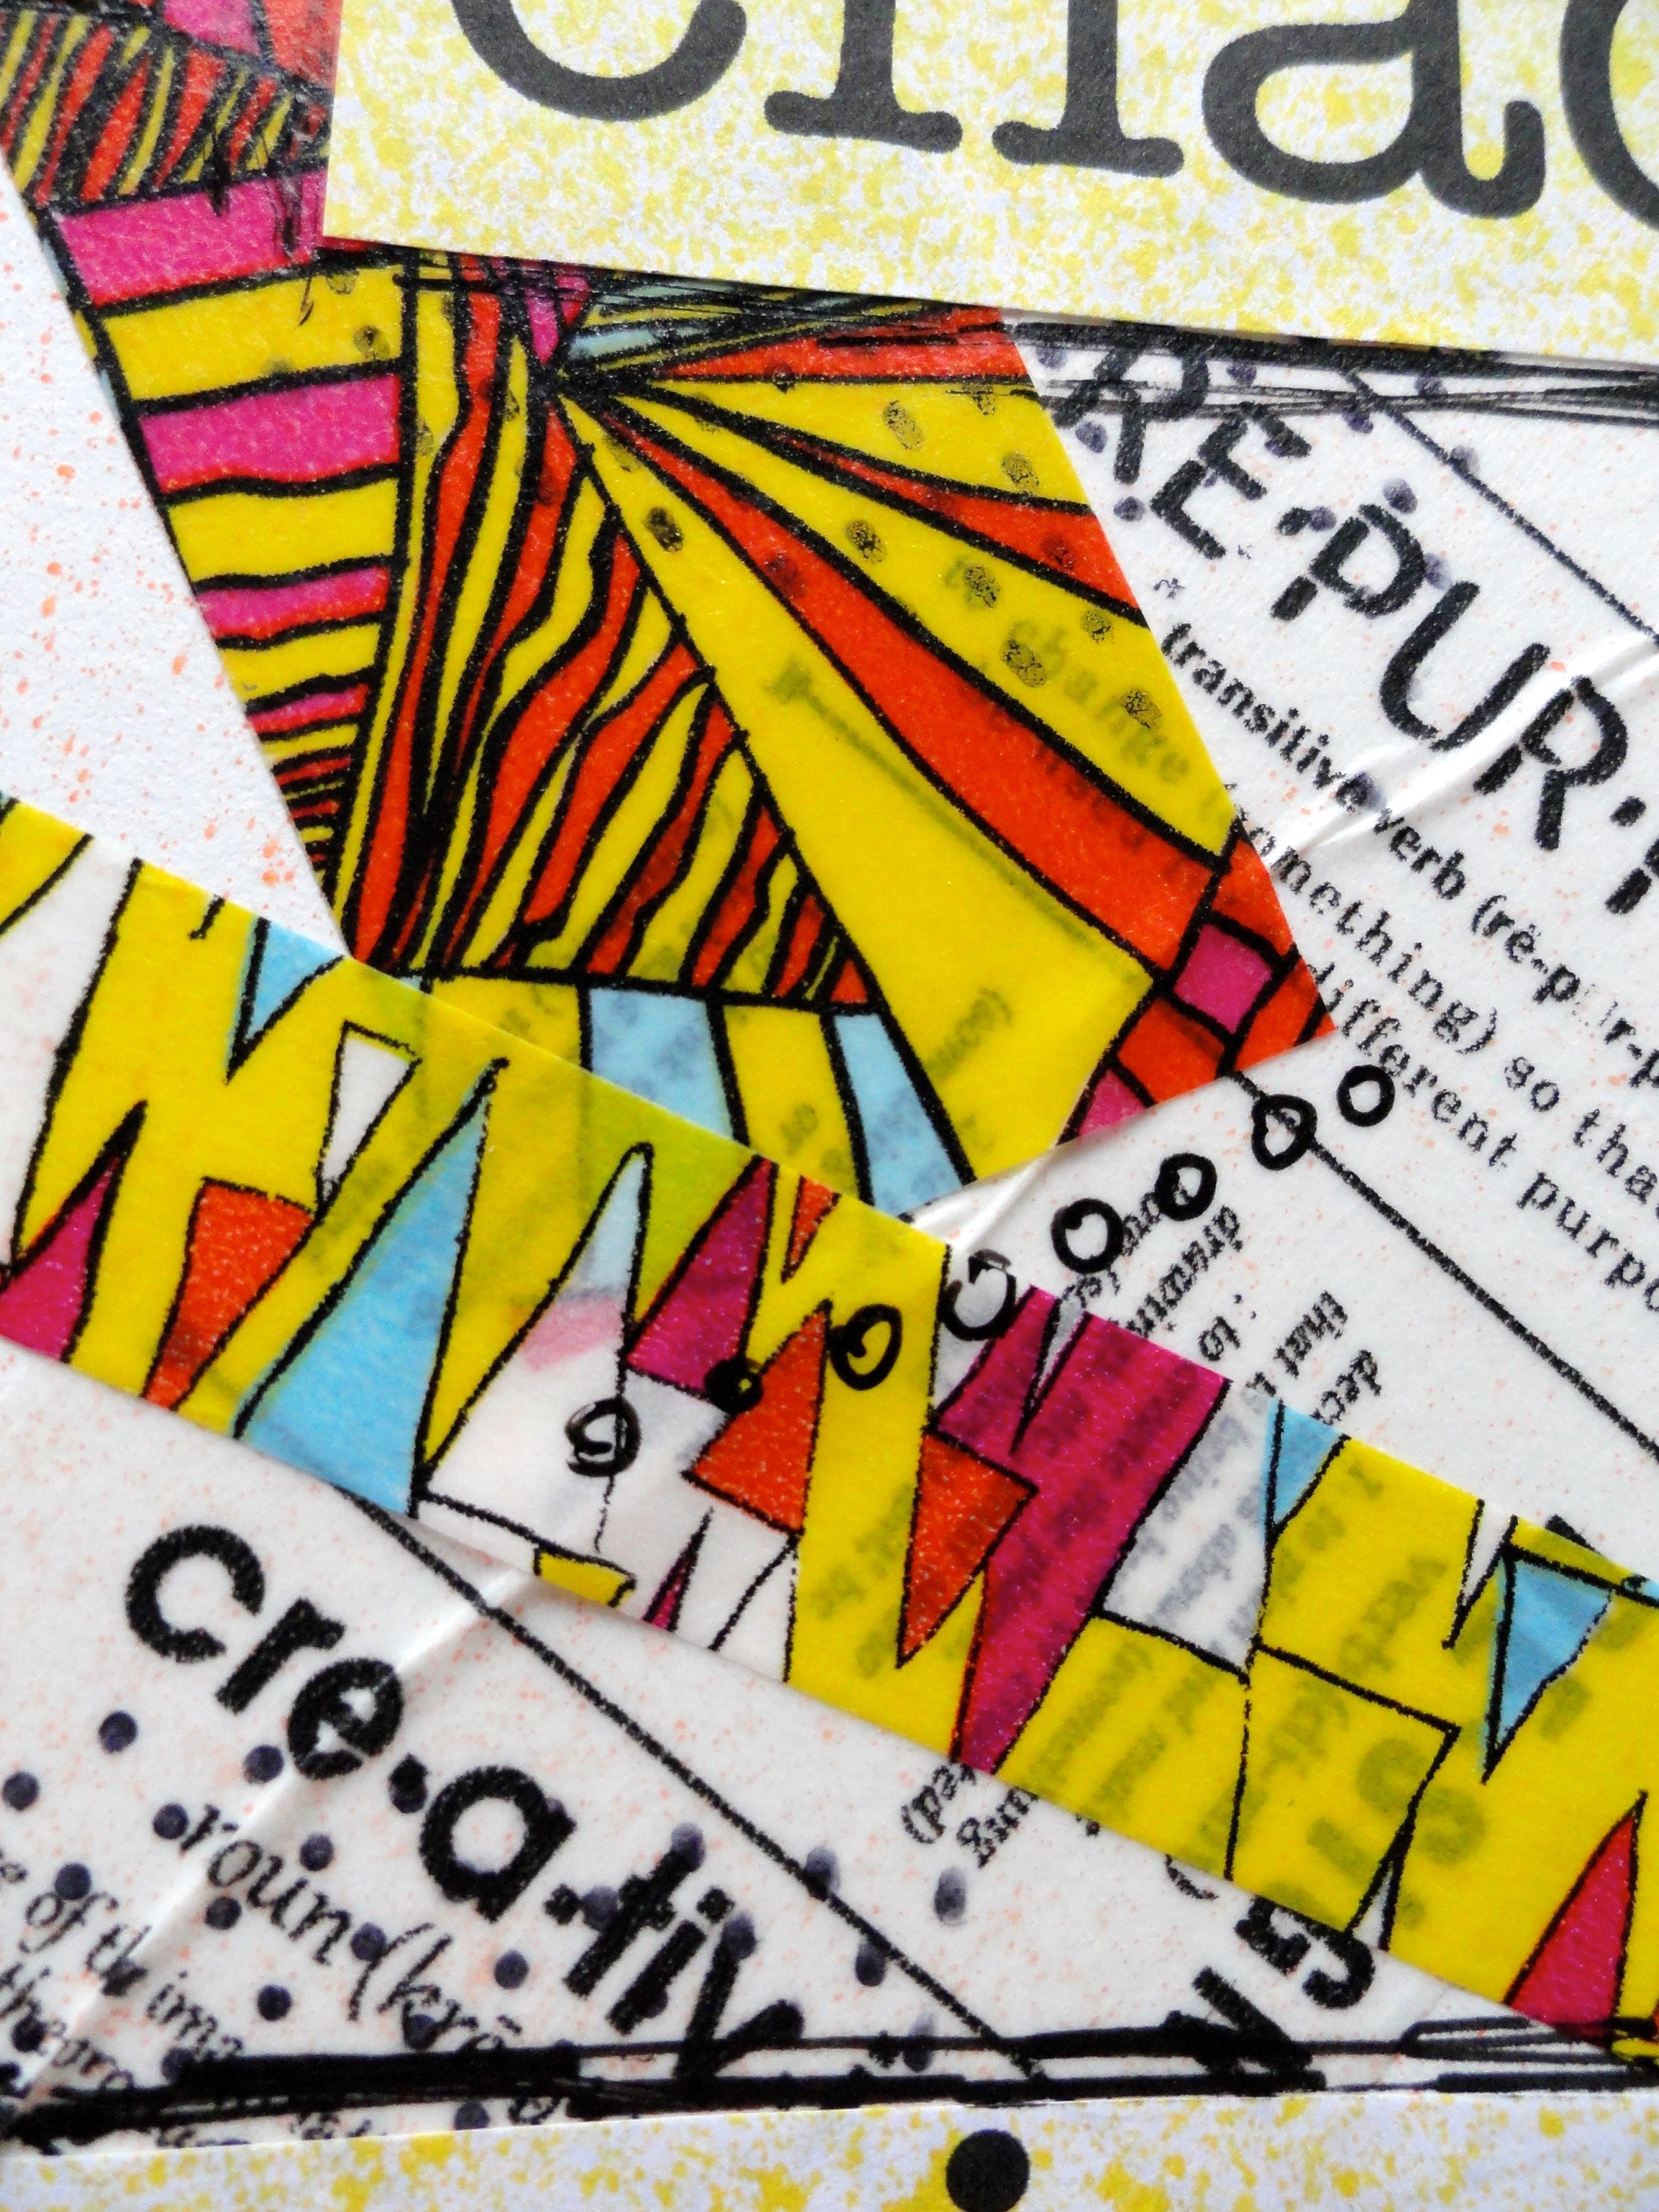
DSC06264I found a bunch of wash tapes on sale at my local Staples so, with the encouragement of my sweetie, I ended up buying at least one of every pattern!! YEAH!!!  Is there a simpler way to add color to a layout???? I LOVE THAT!!! 😉

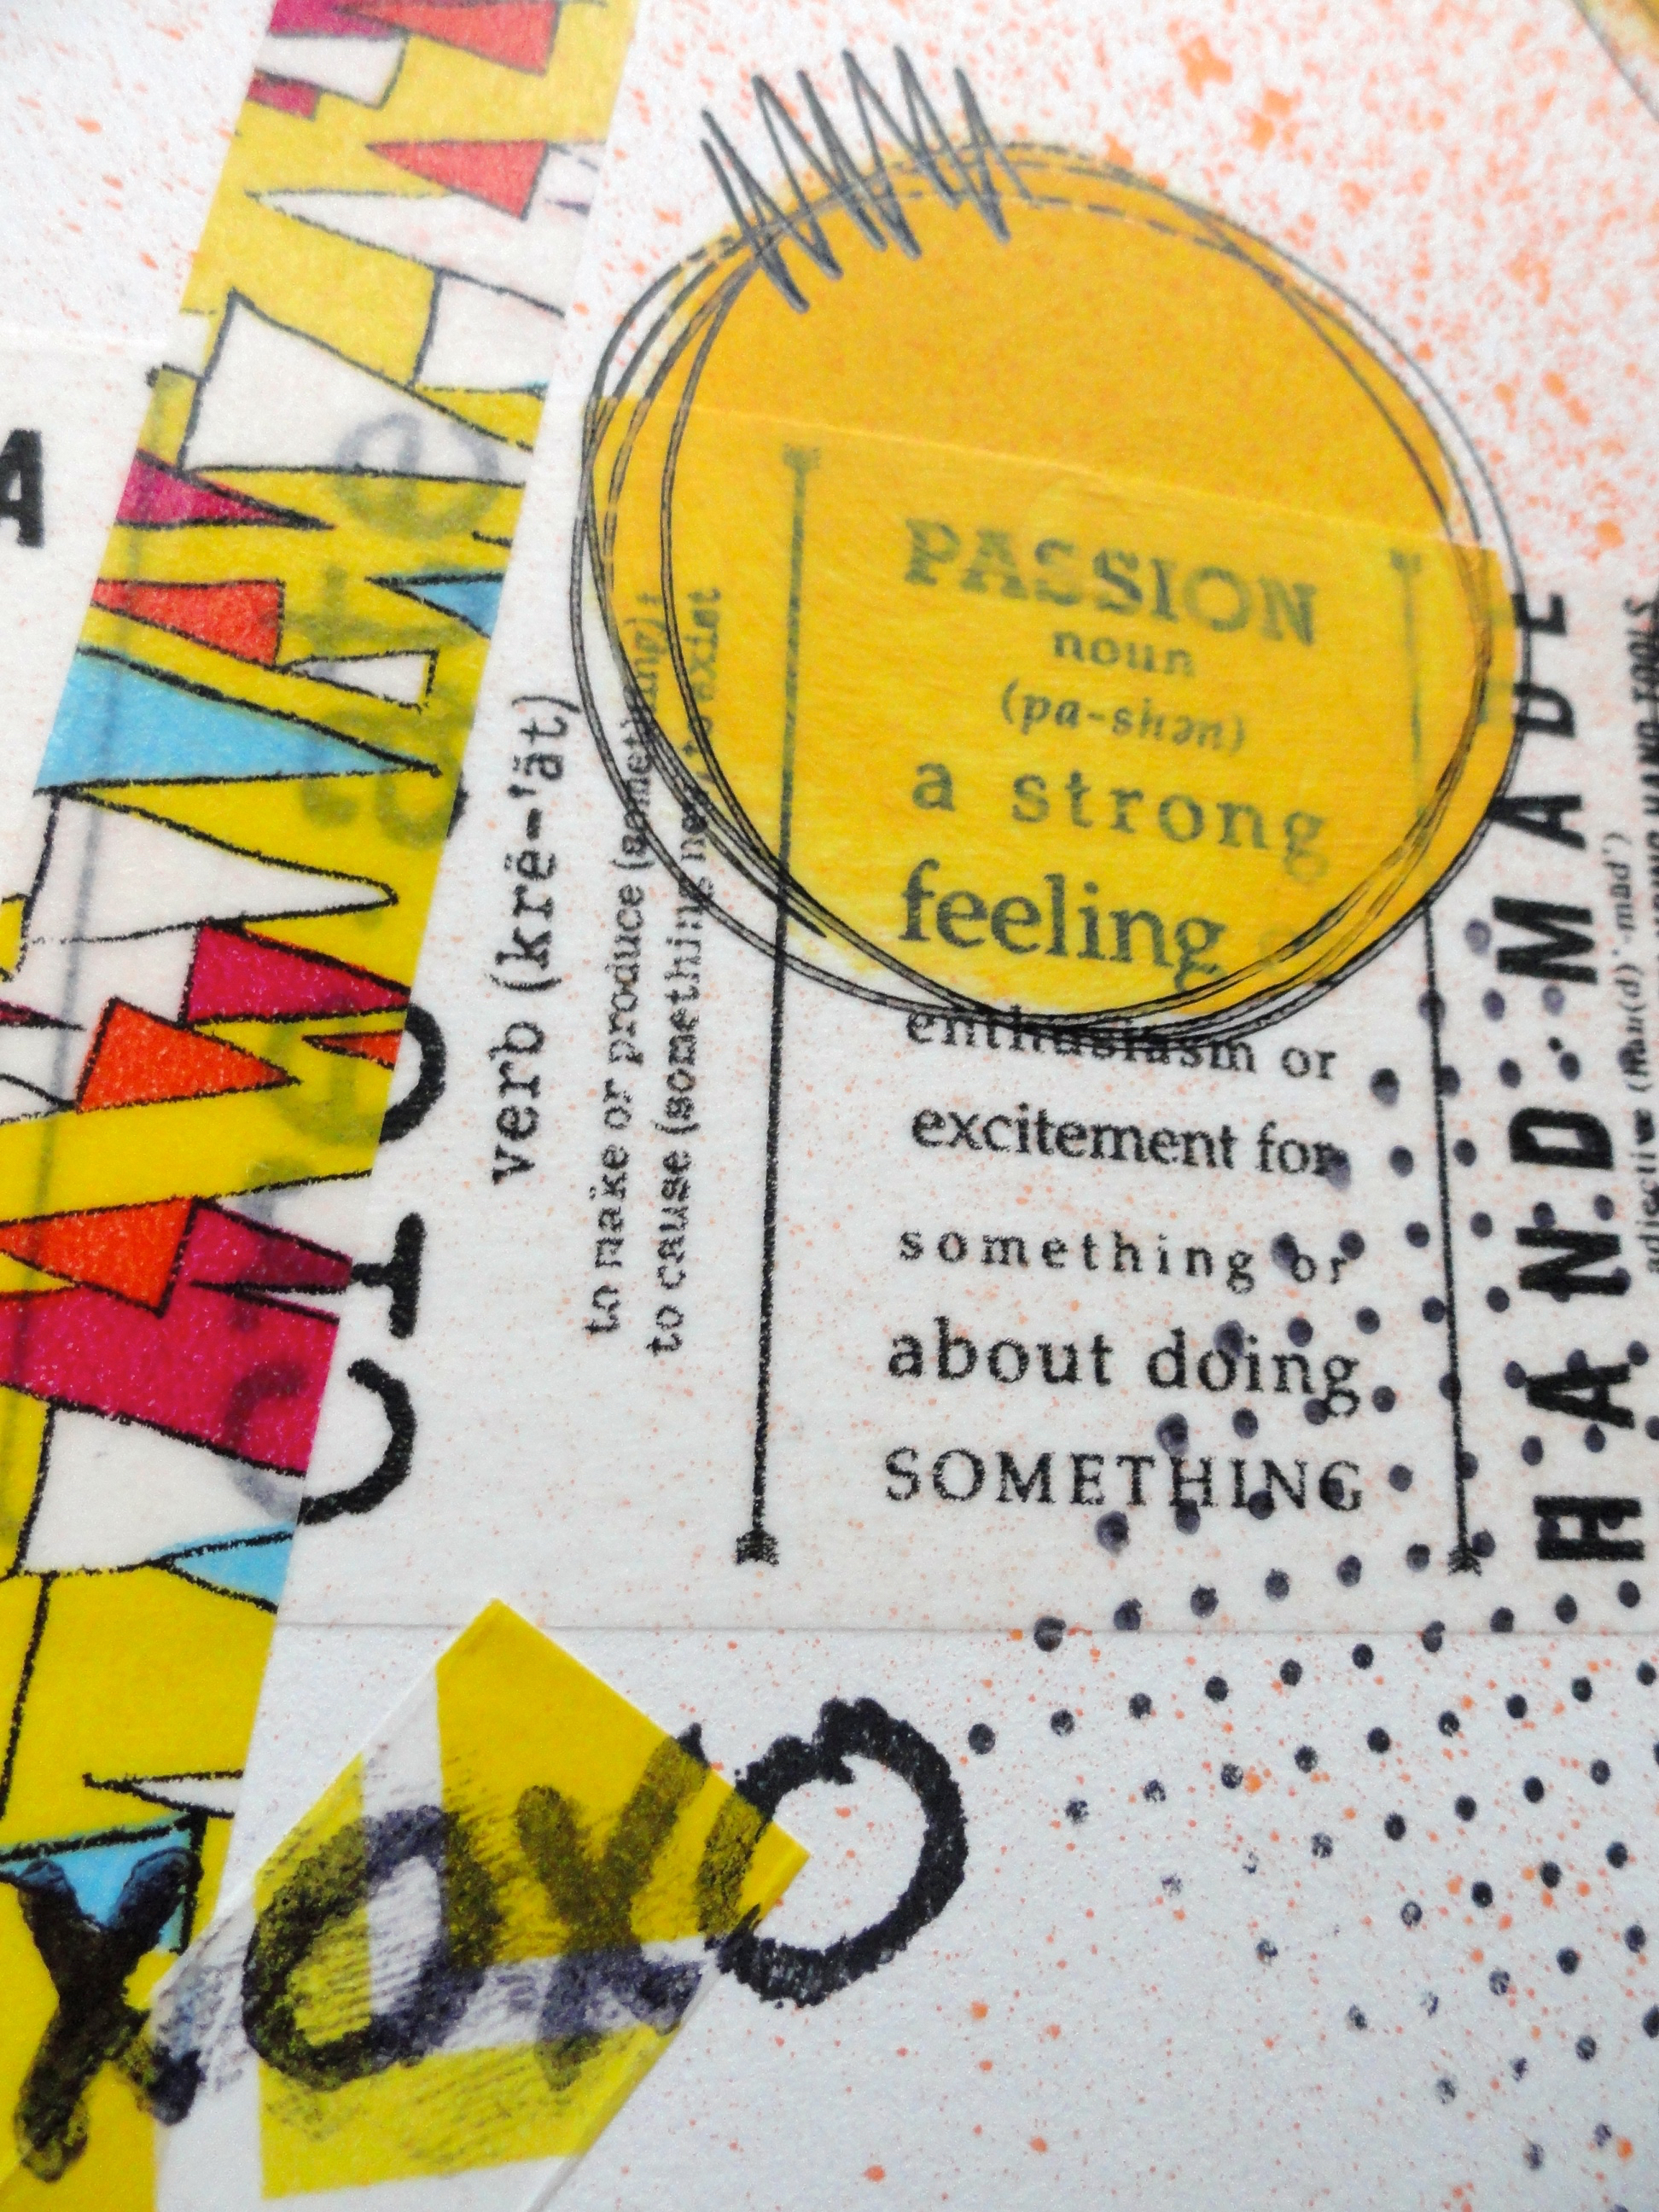
DSC06253Of course I am still on my Dylusions Spray Ink OBSESSION, and could NOT imagine not using some on this layout!!! 😉

DSC06261

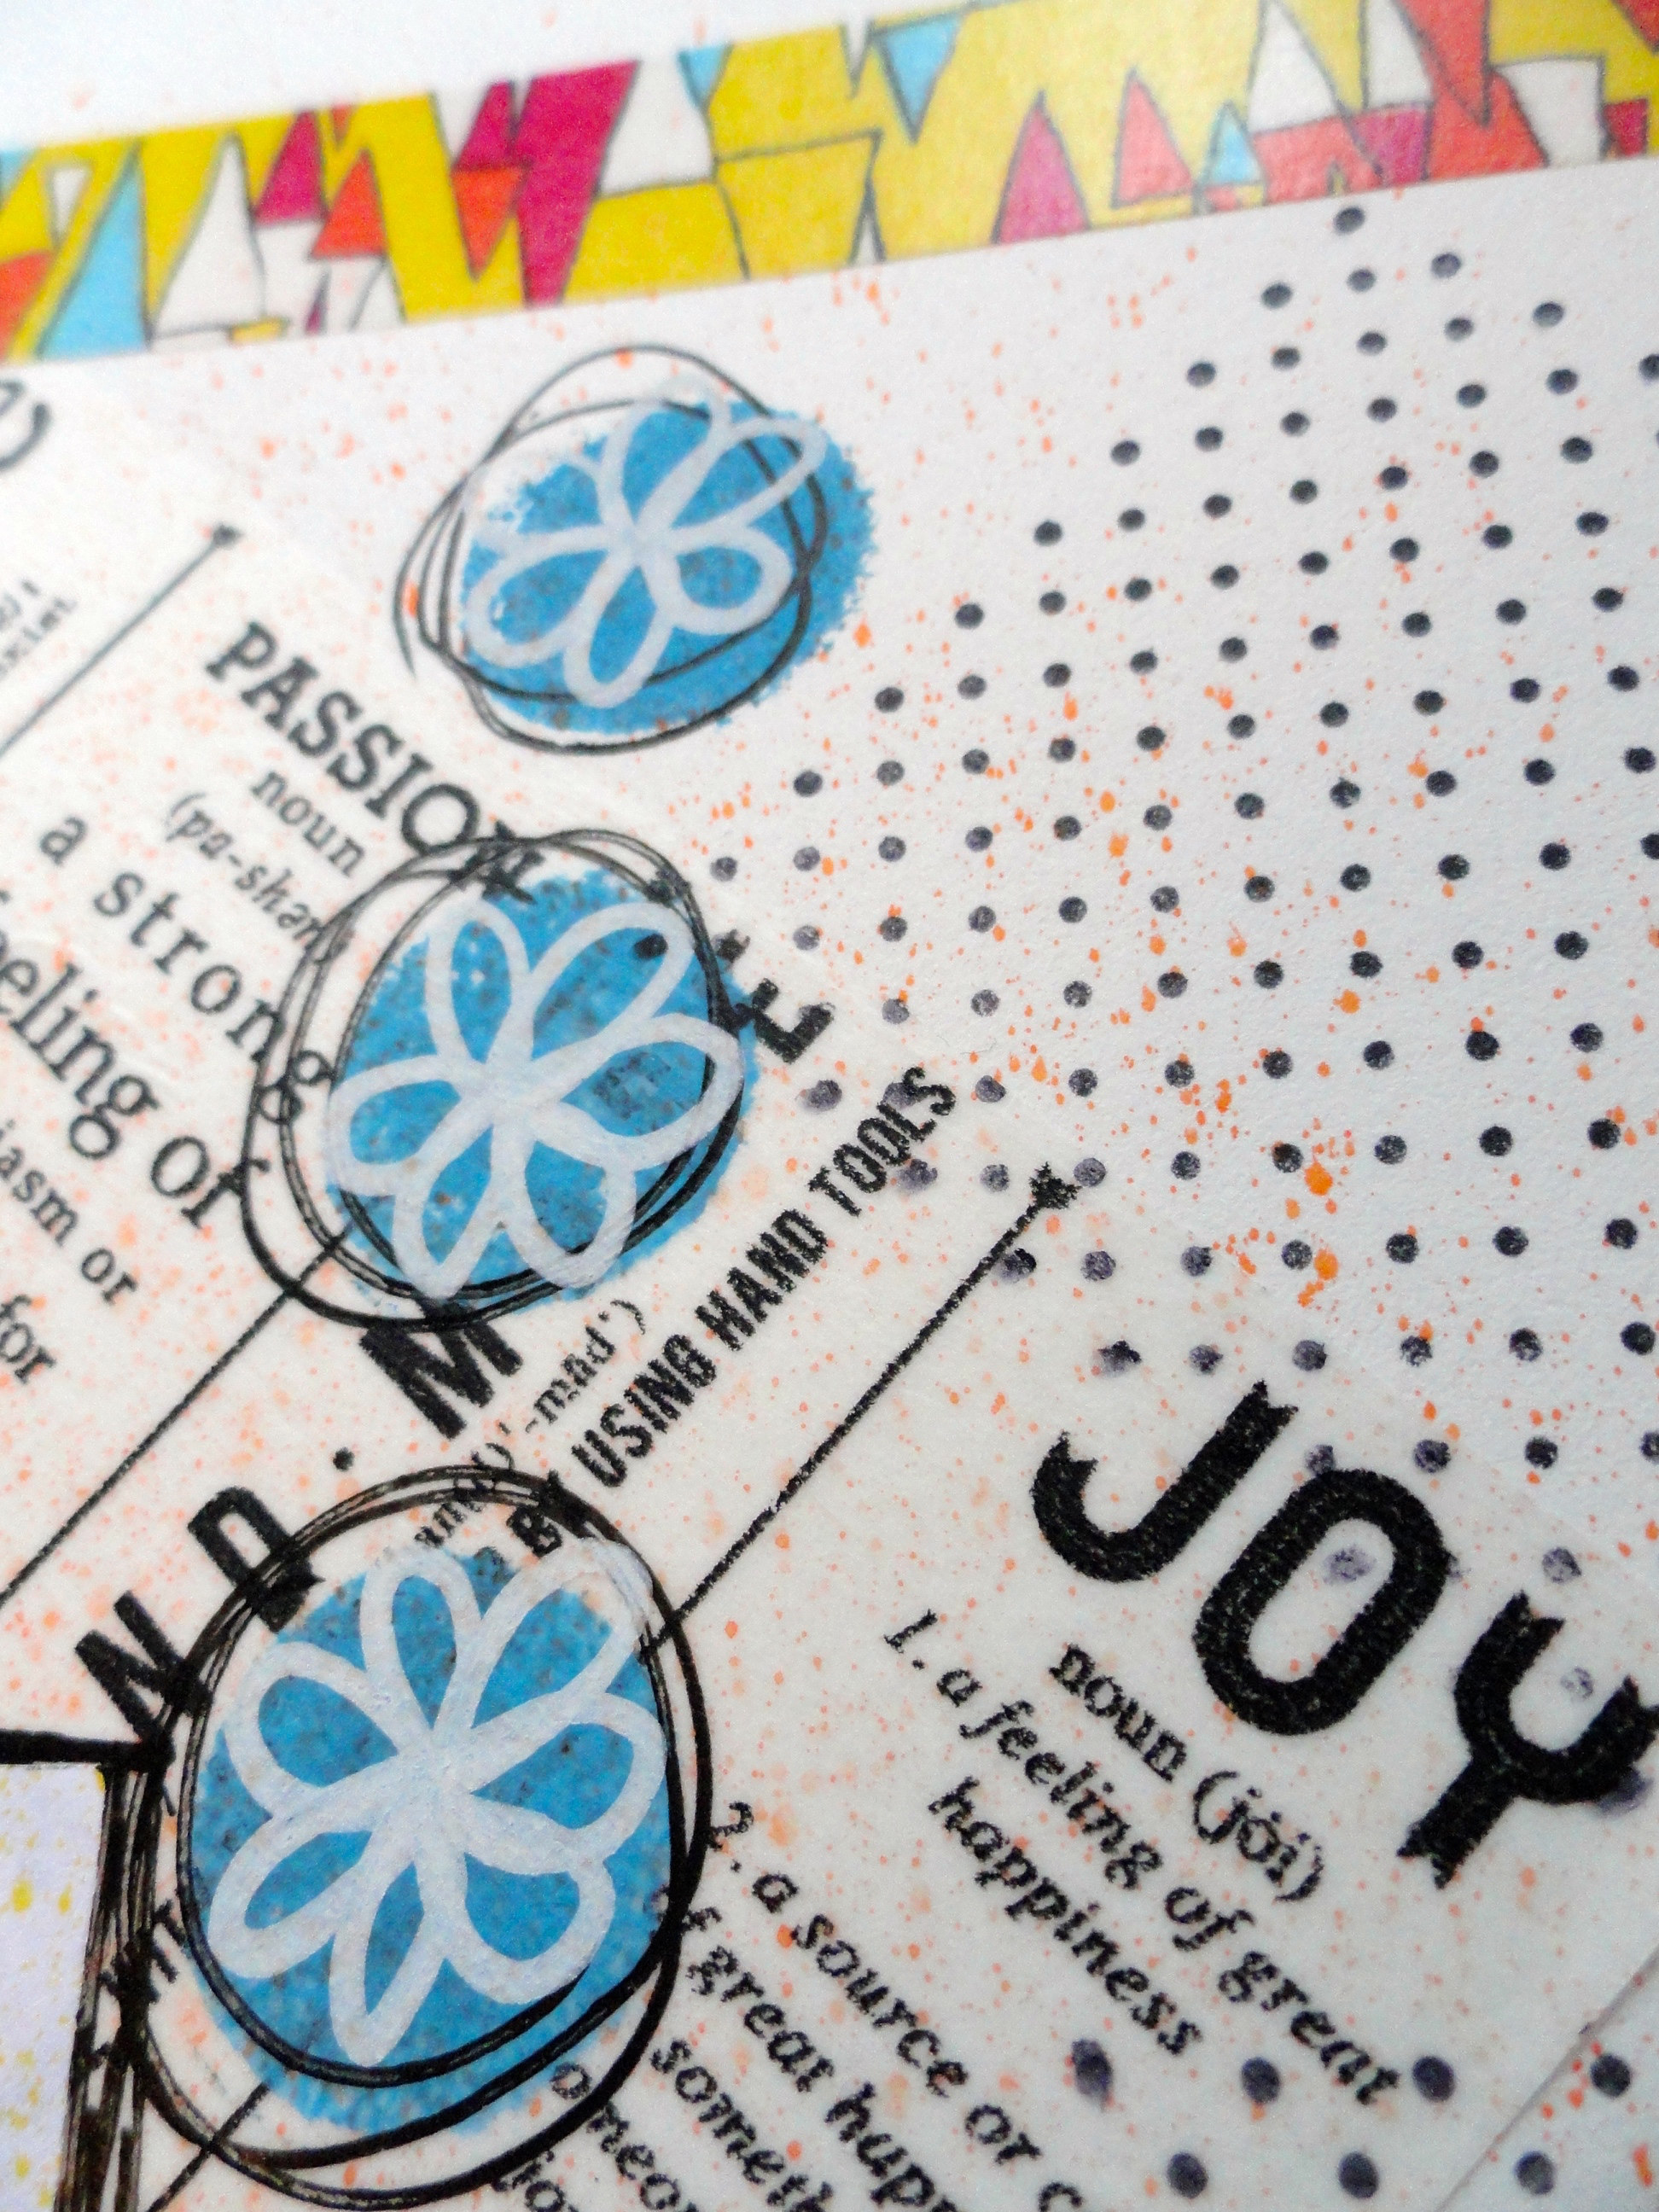
Plus add oodles and oodles of texture stamps and doodles!! I LOVE THIS!!! 😉

DSC06269

I didn’t even mind the occasional wrinkle, fold, or tear that the washi tape might have ended up!! I am really learning to not only embrace the messy, but I am really LOVING the no pressure-ness of it!!! 😉

DSC06258Overall, I am ABSOLUTELY in LOVE with this week’s spread! It is so bright, and happy, and it was so quick and simple to do!! What could be better???

Also, I wanted to make sure that I share that this week’s spread sentiment was totally inspired by a video that I had stumbled on that morning, by Melody Ross from Brave Girls Club:

https://www.youtube.com/watch?v=XRC1GGOgMTM

This was a message that I really, REALLY needed to hear this week! 🙂

What do you think?

If you have any ideas, or techniques that you might like to see me try in one of my future layouts, please let me know in the comment section and I will see what I can do to be accommodating! Also, I really do LOVE answering any questions you may have about art journaling, mixed-media, or anything you might have seen me do here! Please feel free to ask questions in the comments, and I will try and get back to you in a timely manner!!

Until next time!

Here is to a BEAUTIFULLY CREATIVE week! 😉

1 - Signature

If you want to have a different life, live differently!

Weekly Art Journal #8

Good afternoon!

I am happy to announce that this week’s Art Journal Video #8 is now posted on YouTube!

Here are a list of all of the materials that I used:

  • Black Medium Sharpie
  • Faber Castelle Gelatos: Red, Orange, Light Green, Dark Green, Light Blue, Dark Blue
  • Brush
  • Heidi Swapp Circle Lattice Stencil, 12 by 12-Inch
  • Liquitex Gesso
  • American Crafts Black Galaxy Marker – B
  • White Card Stock
  • Aleen’s Tacky Glue
  • Uhu Glue Stick
  • Black and White Washi Tape – I am unsure of brand
  • Black Stabilo pencil
  • Water Brush
  • Black Pilot Ink Pen
  • White Signo Pen
  • Fine Tipped Water-Based Sharpie
  • Fat #2 pencil – the kind that contractors use

DSC05876

Full confession…

I have been really under the weather this past week, struggling through a really bad cold! I think that the state of this spread shows that – at least to me! I really wasn’t feeling like arting at all, but I knew that I wanted to make sure that I kept this commitment, and I am learning that you may not always feel like doing something, but that doesn’t mean you shouldn’t do it just the same! So onward I pushed!

DSC05879

I was completely blank, so I decided to start by filling the spread with positive words! Not being a huge fan of my handwriting, I wanted to do something to hide my writing, and I thought that I could do this by covering the words with Gelatos. Gelatos are these really creamy, gel stick, acrylic paints, that when combined with water turn into a beautiful water color, but dry permanent, which I LOVE!

DSC05886

You may have also noticed that I was struggling with color selection, which is not something I usually struggle with, and let me just say that next week I am going to try and leave some white space on my spread! Anyway, as soon as I put down, what I thought was a dark blue, for my border, I wanted to quit this page! What a MESS!! However, I want to be able to show, not just to you, but to myself, that no matter what a mess you may run in to, there is always a way to work through it! So, I pushed through!

DSC05883

Then I decided to hand write my sentiment out onto card stock, which was fine, but I made a mistake. The pen I used to write the words, although says it is permanent, smudged as soon as I went to smudge the light blue Gelato that I had added to the words’ card stock! WHOOPSIE!!! Always know your tools!! 😉 I just rolled with it and did the same mistake on every word, so that way it might look like it was on purpose! I’m okay with it!

DSC05889

At this point, I just really, REALLY wanted to get this page done, and do it so that it at least looked like it belonged with my other art jouraling pages! I think I did end up doing just that! Even though, I can honestly admit that this is not my favorite spread, I am very happy that I did not give up on it! About halfway through I was ready to gesso the entire thing and start all over again, which I guess is a legitimate fix, but I really didn’t feel like having to start all over!

DSC05891

I also realized that my sentiment was absolutely perfect for this week! If I keep focusing on the good, and keep searching for it, I will find it! Even in this journal spread! So, I have come to the conclusion that even though my physical body is feeling under the weather, my subconscious is still as active as ever and trying to keep me on my creative path!! That puts this tired mind at ease!! It is the simple things in life that are the most important!!

DSC05881

If you have any ideas, or techniques that you might like to see me try in one of my future layouts, please let me know in the comment section and I will see what I can do to be accommodating! Also, I really do LOVE answering any questions you may have about art journaling, mixed-media, or anything you might have seen me do here! Please feel free to ask questions in the comments, and I will try and get back to you in a timely manner!!

Until next time!

Here is to a FABULOUS week! 🙂

1 - Signature

If you want to have a different life, live differently!

Weekly Art Journal Video #6

DSC05831Good morning!

I am happy to announce that my Weekly Art Journal Video #6 is now up on YouTube.

Here is a list of supplies I have used today, and the list is quite extensive! 🙂

  • HB 2 Pencil
  • Liquitex white gesso
  • Ceramcoat acrylic paints: Old Parchment (02092), Maple Sugar Tan (02062), Think Pink (02658)
  • Tim Holtz Distress Stains: Tumbled Glass, Peacock Feathers
  • Art Advantage thick body acrylic paints: Black, Permanent Green Light
  • Brown Stabile pencil
  • White Sharpie Water Based Paint Pen – Fine point

DSC05844

For touching up the face/hair off screen

  • Black pilot pen from Scarlet Lime
  • Faber-Castell PITT artist pen big brush: Light Flesh (132), Medium Flesh (131), Ivory (103)
  • Prismacolor Premier colored pencils: White (PC938), Apple Green (PC912), Greyed Lavender (PC1026), Cobalt Turquoise (PC105), Lavender (PC934), Peach (PC939), Process Red (PC994), Sepia (PC948)

DSC05836Doing these cute long neck girls has been something of a hobby for me! A secret hobby, that not too many people in my life knew about!

DSC05840

Doing them on camera was quite another thing for me though! Talk about SCARY!! 🙂 I was sure that I was going to have some kind of panic attack and chicken out!! Thankfully that didn’t happen!!!

DSC05850

After all is said and done, I am very happy with the way that she has turned out – although, I can see a lot things that I can improve on next time, but that is what practice is for, isn’t it??

DSC05827

This sentiment was sooooo perfect for what was going on in my head while I was working on this little girl! I just kept thinking that “if I quit and started over doing a spread that was easier, no one would ever know!” but that was thing! I WOULD KNOW!!! So, I pushed through the fear and did it anyway!!

DSC05846

All in all, I would say that is a VERY GOOD thing!! I hope you enjoyed today’s video!! 🙂

If you would like to see my try anything specific in my art journal, like a new technique, or color scheme, or whatever, let me know and I will see what I can do! Also, if you have any questions or comments for me, just leave them in the comments section! I would be happy to hear from you!!

Here is to a FABULOUS day!! 🙂

1 - Signature

If you want to have a different life, live differently!

Weekly Art Journal #4 Video

Good morning!

I am happy to announce that my weekly Art Journal video #4 has been posted to YouTube for your perusal!

http://youtu.be/QUh6p97oz1Y

I have a bunch of pictures to show you, but first the supplies I used this week are:

  • Art Advantage Acrylic Paints: Cadmium Yellow Medium Hue, Cerulean Blue, Permanent Green Light
  • Lumiere Acrylic Paint Pearlescent Magenta (573)
  • Folk Art Acrylic Paint Neon Pink (2850)
  • Apple Barrel Acrylic Paint White (20403)
  • Liquitex Acrylic Ink Vivid Lime Green
  • Ranger Stickles: Purple (SGG20615), True Blue (SGG29052), Waterfall (SGG20639)
  • Hero Arts Wood Mounted Stamp: Painted Circle (E5784), Old French Writing (H2365)
  • Inkadinkado Wood Mounted Stamp: K-Paper Artsy Tre’port Postal
  • Cosmo Cricket Wood Mounted Stamp: Cluster Border (PS0647)
  • Ranger’s Black Archival Ink Pad
  • Golden’s Gel Medium
  • Liquitex White Gesso
  • Black Stabilo Pencil
  • Water Brush
  • 1-1/2 inch brush
  • Pink tissue paper (I had gotten in a birthday present gift)
  • Silver Butterfly wall decal – I am not sure the brand, but I found it in a set on clearance at Wallmart for $1
  • Aleen’s Tacky Glue

DSC05758

I had a lot of fun doing this spread this week! Unlike most weeks, where I am just winging it, this week I had a vague idea about what I wanted to do, but had really no idea what my thought was going to be, or how to pull it all together. It wasn’t until I was finally spending time arting in quiet, while I was actually doing these art journal pages, that it finally seemed to come together!

DSC05760

Did you notice how much gesso I used? ACK!!! I was very heavy handed, which means it really took forever to get that layer to dry! Matter of fact, it never did completely dry until the next day!! Too much gesso +  an immediate layer of gel medium + another layer of thick body acrylic paint = mamma-has-no-time-for-this-drying-craziness-so-I-had-best-be-careful-not-to-mess-this-up!!! 😉

DSC05755

I don’t really have any hard and fast rules for art journaling, or for mixed media in general, except for one, always ALWAYS let your layers dry thoroughly!! Unless you want them to blend together, smear, run, slide off, or flake off, than that is a different story, but I was having a heck of a time sticking to this rule for this spread! What can I say, patience is NOT one of my virtues! 🙂

DSC05763

As you may have probably noticed – I have a heck of a time getting drips to look right! I think I know how to do it, but when I am in full on “art mode”, the proper way to do this seems to slip my mind, and I find myself struggling to get the look right! Not to worry, though, this is all a learning process for me, and I know I will continue to get better! That is the point, right??? 🙂

DSC05754

I also have been wanting to find a really good quality neon fluorescent paint set! I did purchase a cheapie set this past week, but it was not a high quality brand, so there isn’t much pigment in the paint, which means I have to use A LOT of it to get the rich pop of color I am wanting, so I will keep looking! If I find a really good one I will let you know! ( I should’ve known – you get what you pay for!)

DSC05772

So, when I was stamping, to get more texture, I stamped right into a big glob of wet green thick body acrylic paint. This happens, and it is fine, and can add a lot more texture because it causes peaks and valleys in your acrylic paint if you let it dry that way, but make sure you stop what you are doing and clean your stamp thoroughly, right away! II have an old toothbrush on standby for just such occasions.) If you leave the acrylic to dry on your stamp, it will ruin your stamp, because it changes the shape of the stamps ridges. NOT what you want! I’m just saying’! 🙂

DSC05773

Anyway, although this may not be my favorite layout – I am not sure how I am digging this silver butterfly decal – it was a learning process, which is the point, as well as stopping just to listen to what your soul is saying to you, so in that way I LOVE this spread!!

Now for your input, do you have any questions, or comments for me? Is there any kind of mediums or techniques you would like me to use in future videos? Just let me know in the comment section of either my blog, here, or at my YouTube channel, and I will try and get a timely response to you! 🙂

Until next time!

Here is to a FABULOUS day!! 🙂

1 - Signature

If you want to have a different life, live differently!

Weekly Art Journal Video #3 Posted!

DSC05406Good morning!

I am happy to announce that my new weekly art journal video has posted! I would love for you to check that out here:


DSC05407

Materials used:

  • Acrylic paint colors:
    • Americana: Carousel Pink (DA274), Turquoise Blue (DA268)
    • Folk Art: Wicker White (901)
    • Apple Barrel: Canary Yellow (20586)
  • Black and white papers from Deco Page
  • 2 miscellaneous scrap book papers (unknown source)
  • Golden’s Matte Medium
  • Black medium point Sharpie
  • White Signo pen
  • Black Stabilo pen
  • Black Scarlet Lime Pilot pen
  • #2 pencil
  • Inexpensive 1 1/2 inch paint brush
  • 1 inch brush
  • Aleen’s tacky glue
  • Wood mounted letter rubber stamps
  • White card stock
  • Black Archival ink
  • Punchinella

DSC05410

As usual, I went into this journal spread without any real idea about what it was I was wanting to journal! I did, however, know that I wanted to use the color pink.

DSC05412

After I had gotten a wash of the color pink down, all I could think was “This page is VERY Pepto Bismol”! I knew it was time to pull out some more paint colors to add to the mix! Thankfully, out came my turquoise and Canary Yellow! After those colors were laid down, I was much happier with where this spread was heading!

DSC05413

Every week, I try to change things up just a little by adding a newly discovered technique, or a new product to the spread! This week I had added marks using a black Stabilo pencil! I LOVE this pencil!! I now want to find one in brown!!! It sounds like it writes on all sorts of surfaces, but for my art journaling page, it writes like a charcoal pencil, but add water to it, and it smudges up nice and dark – as you might have noticed in the video. I noticed when I dried it with my heat tool, it did dry a bit more transparent than what I had expected, but overall I still really love this product!

DSC05419

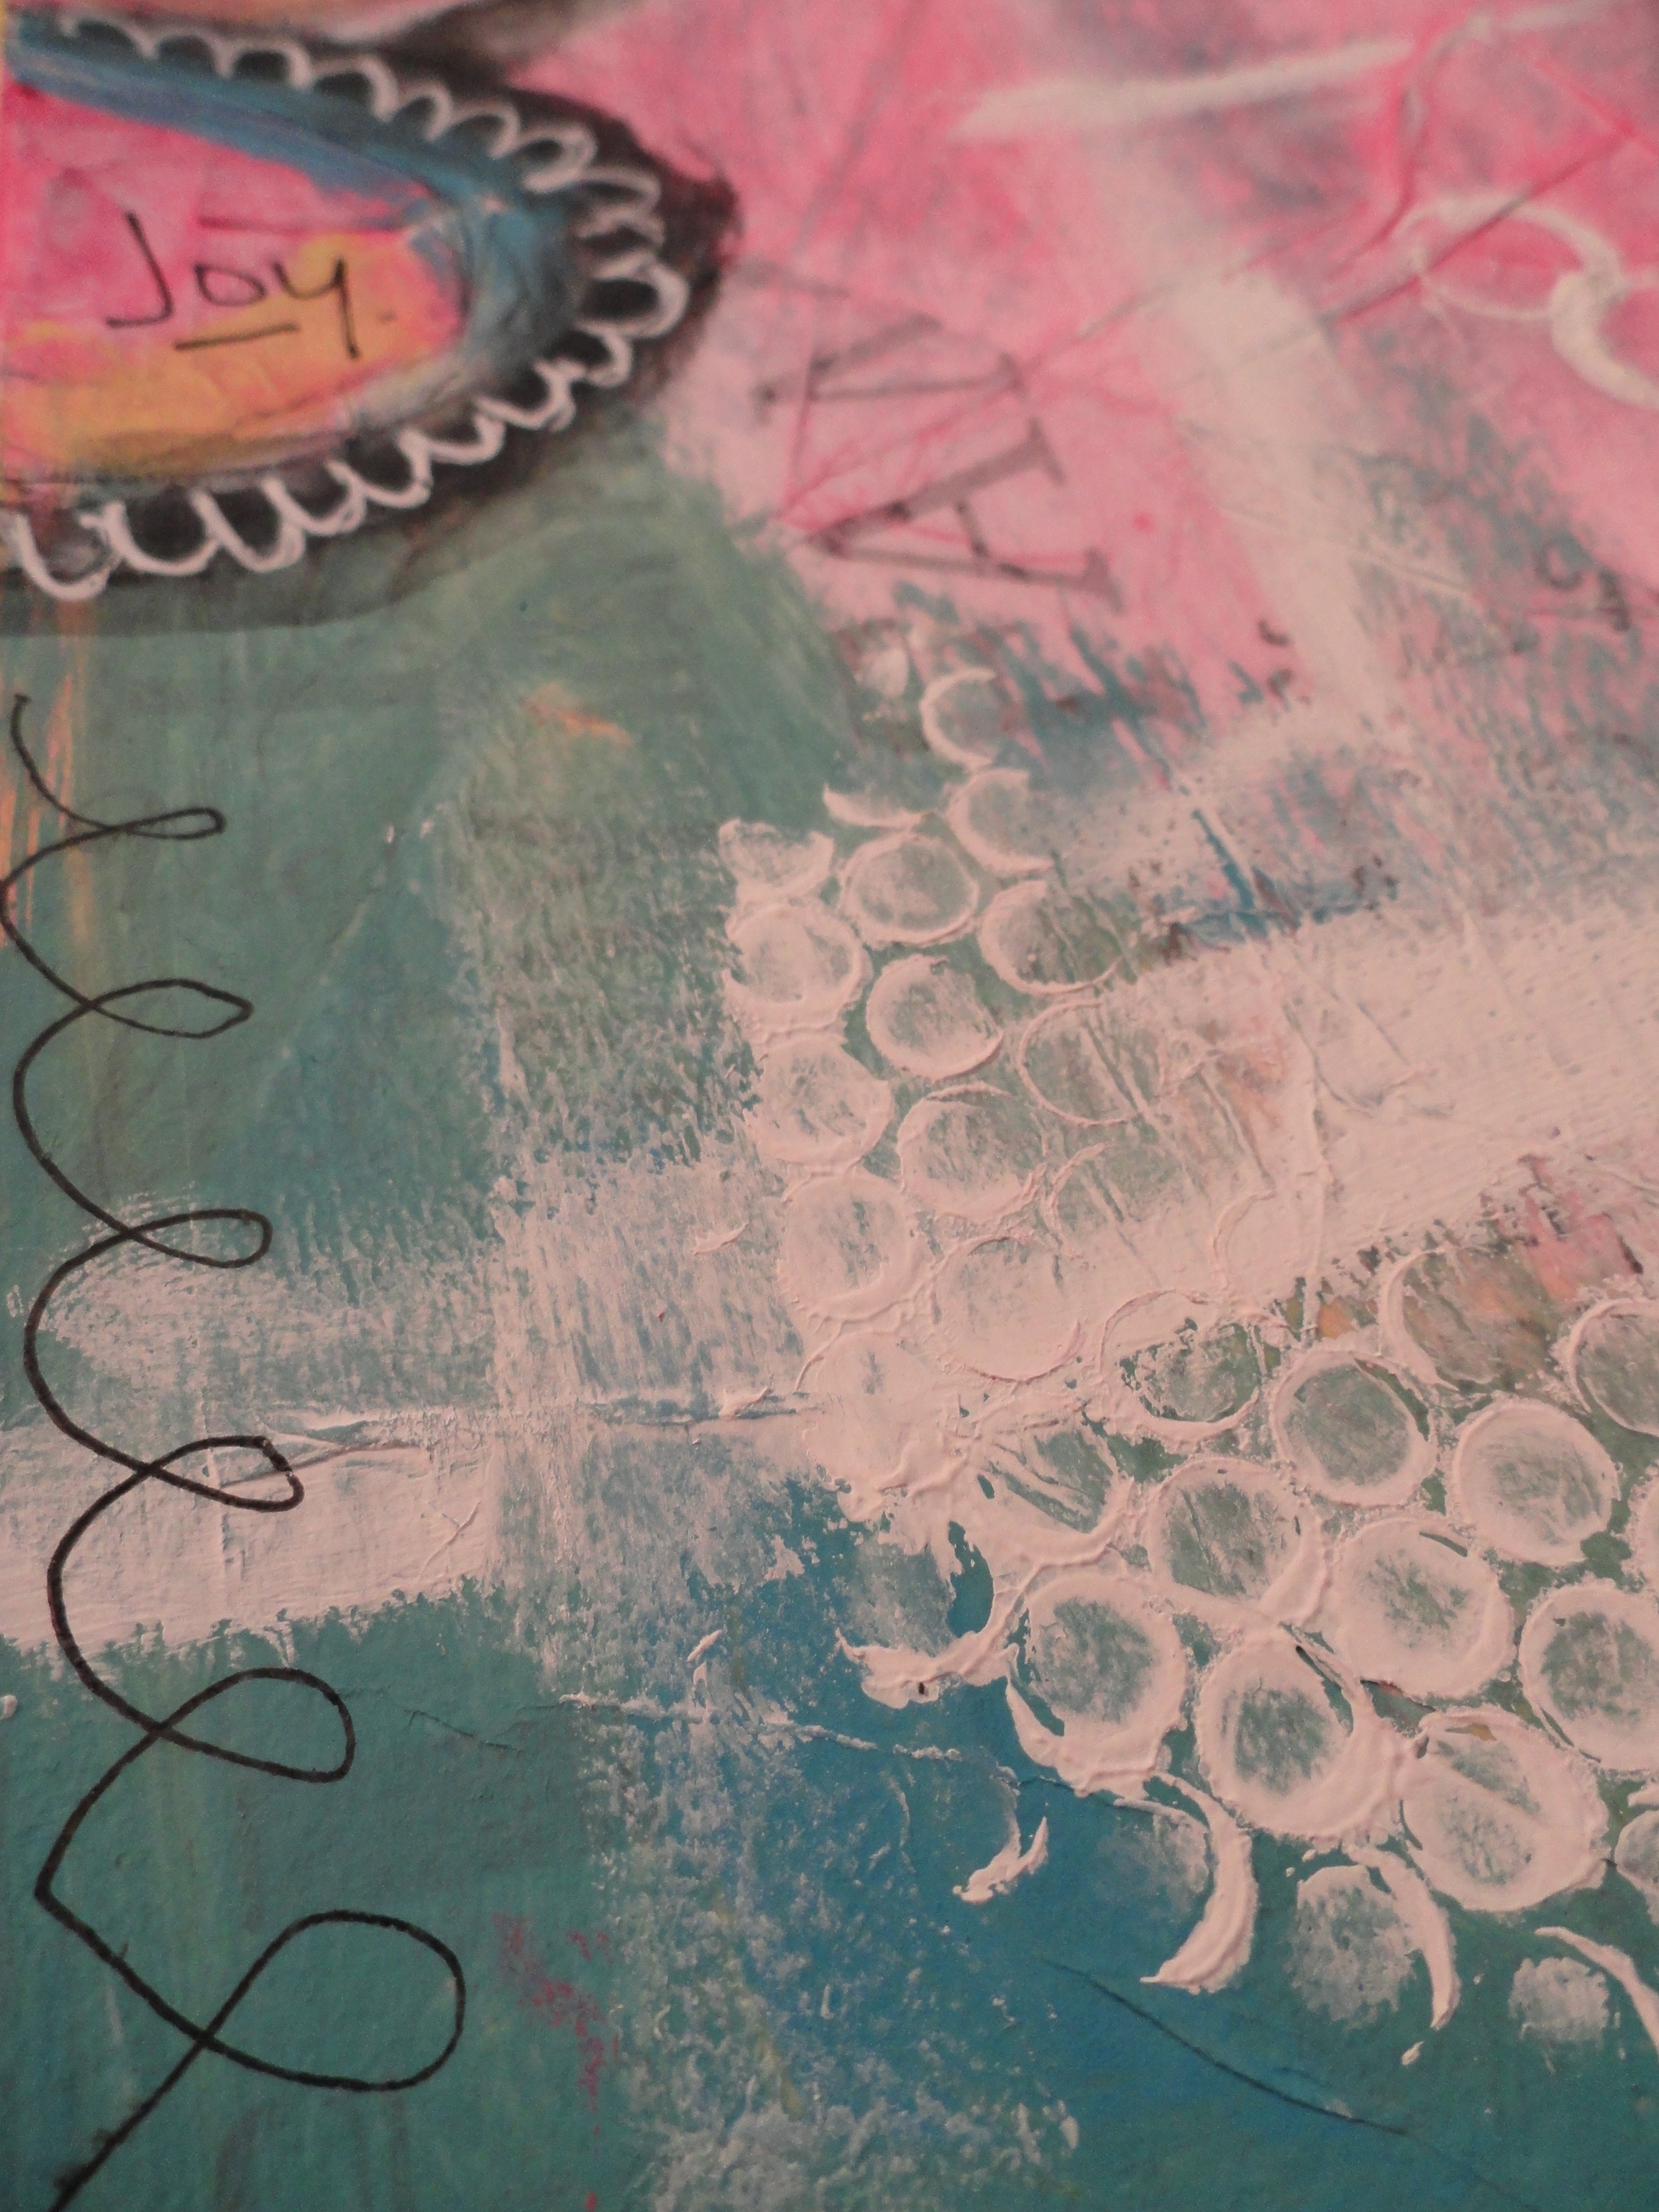
This week, I really wanted to grunge up my spread a little more than normal, giving it more of an antique-ey/aged looked. I did this by adding various marks with Stabilo pencil, black ink with a pen, and a #2 pencil! I really like the way that this turned out and I am thinking that this technique is going to stick around!

DSC05427

I also really like to add highlights using my white Signo pen, especially when you want something to pop off of dark areas of your spread! 🙂

DSC05420

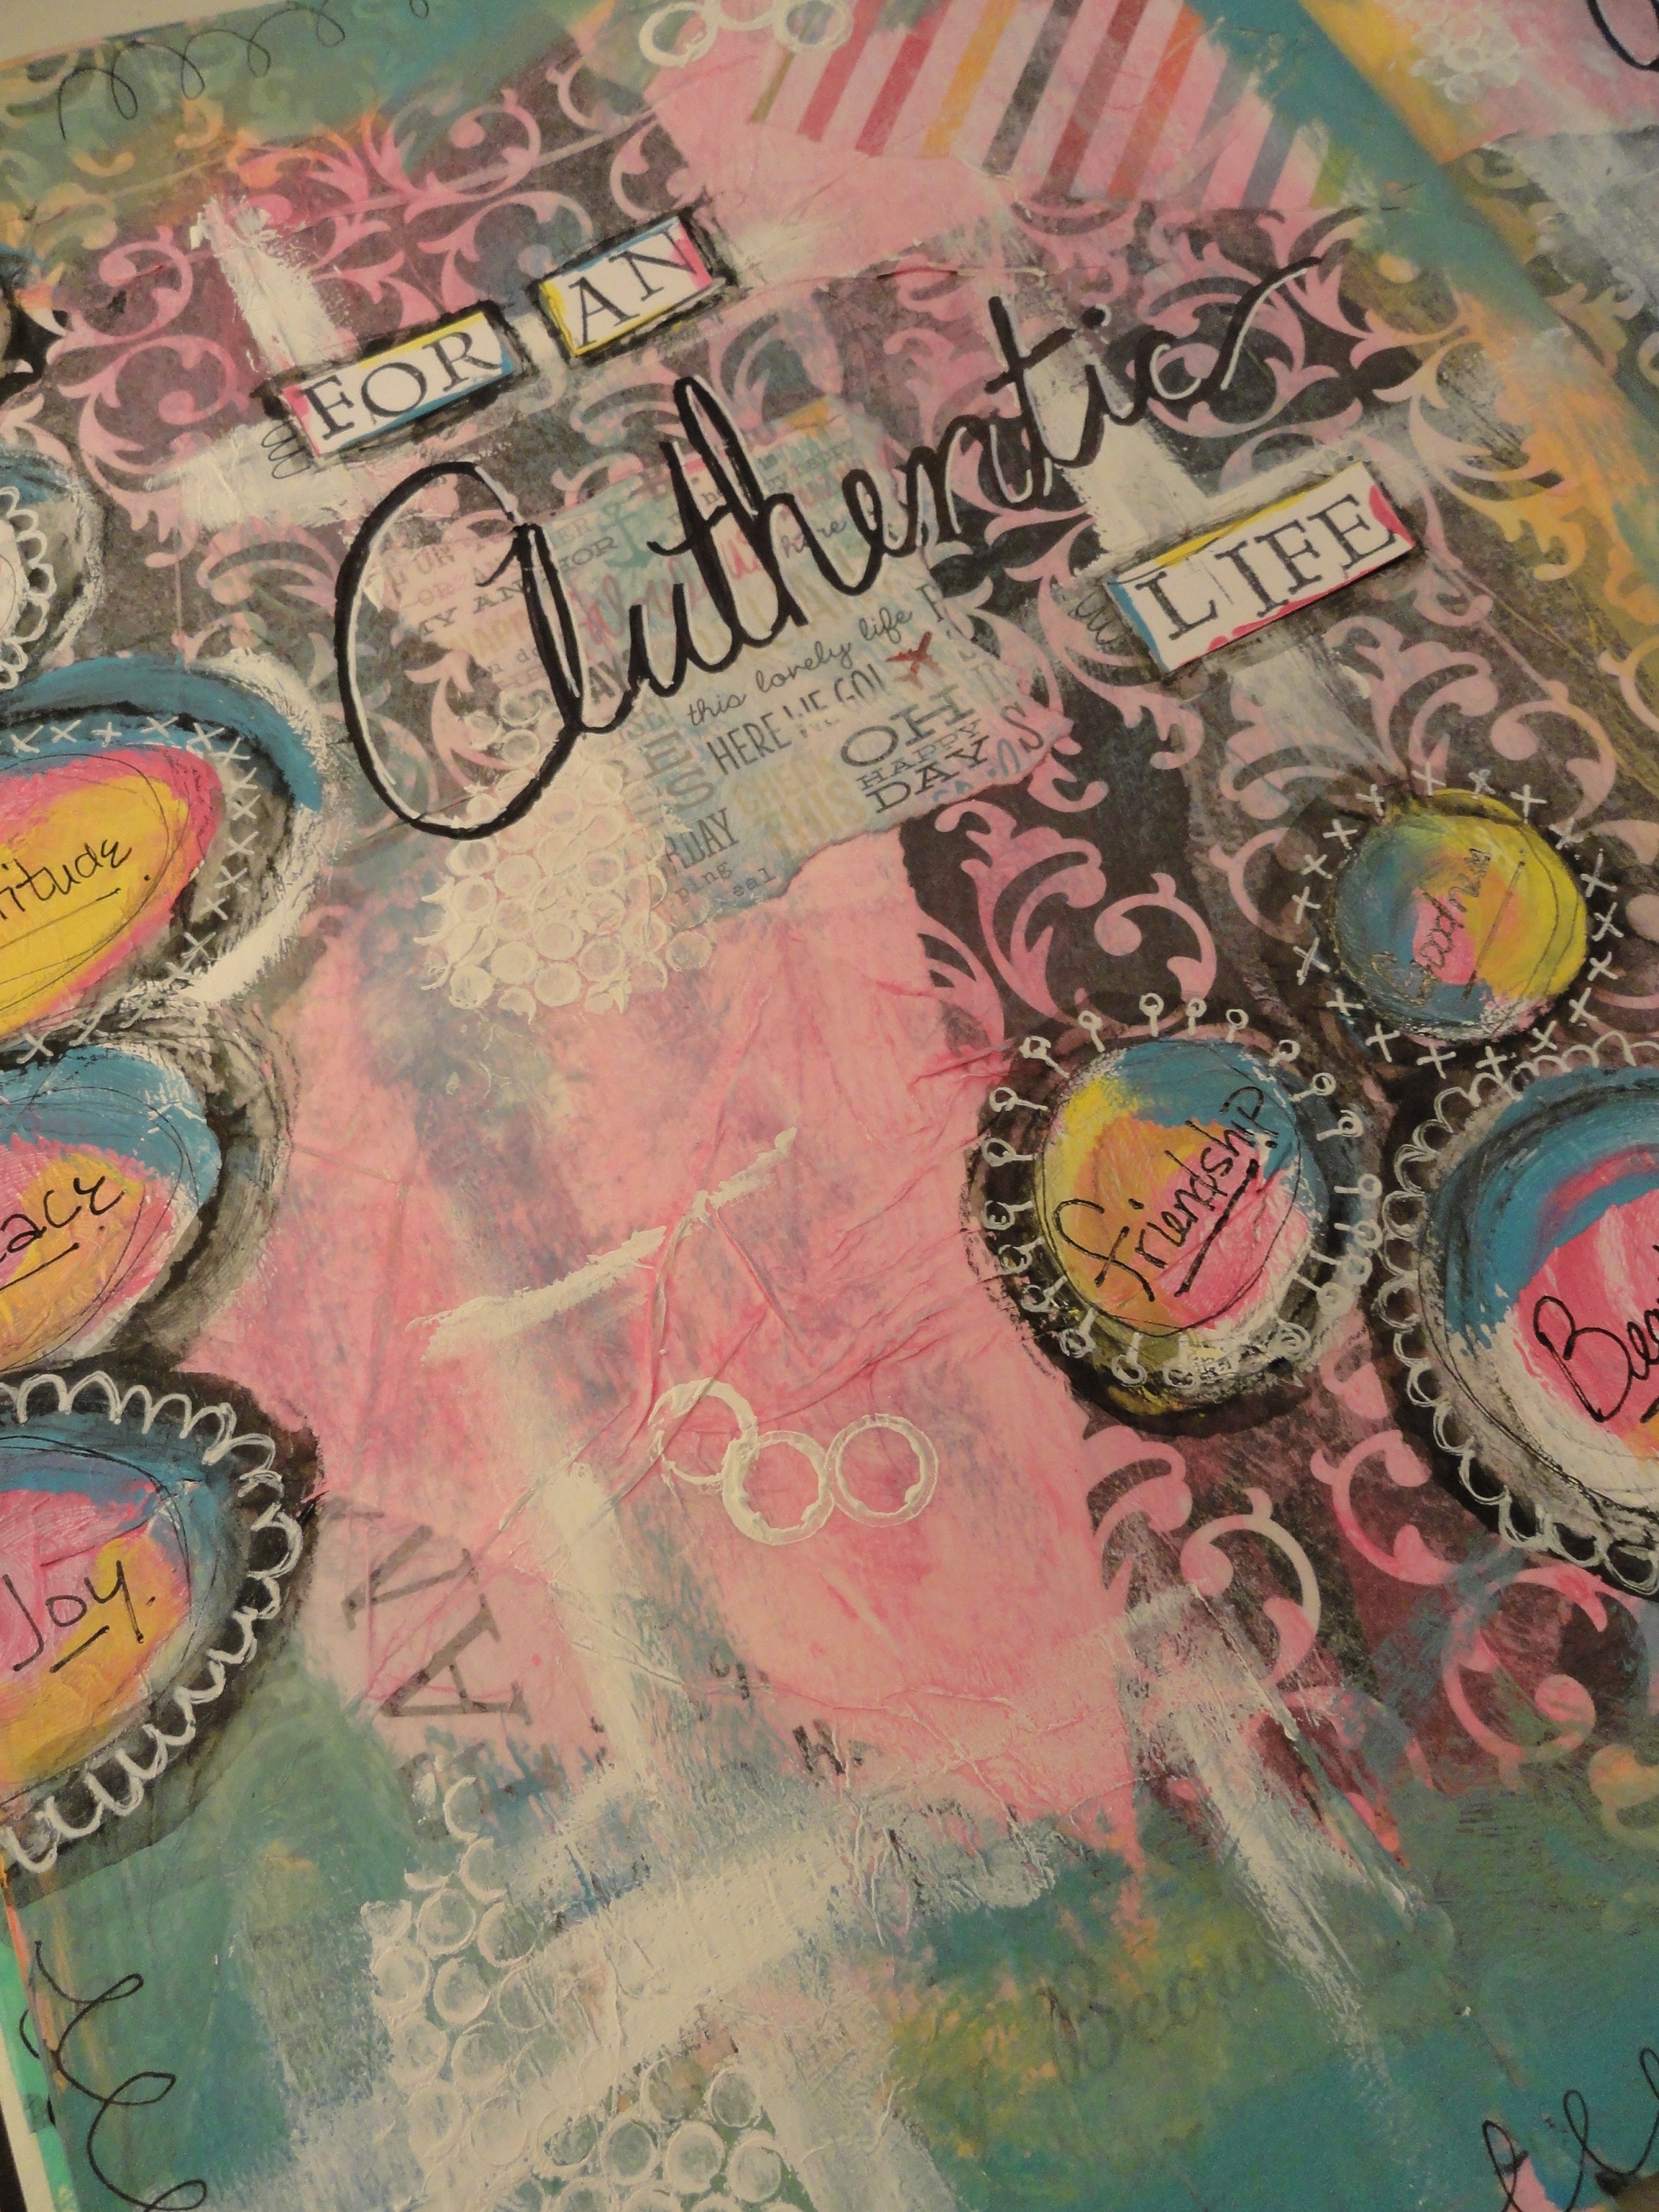
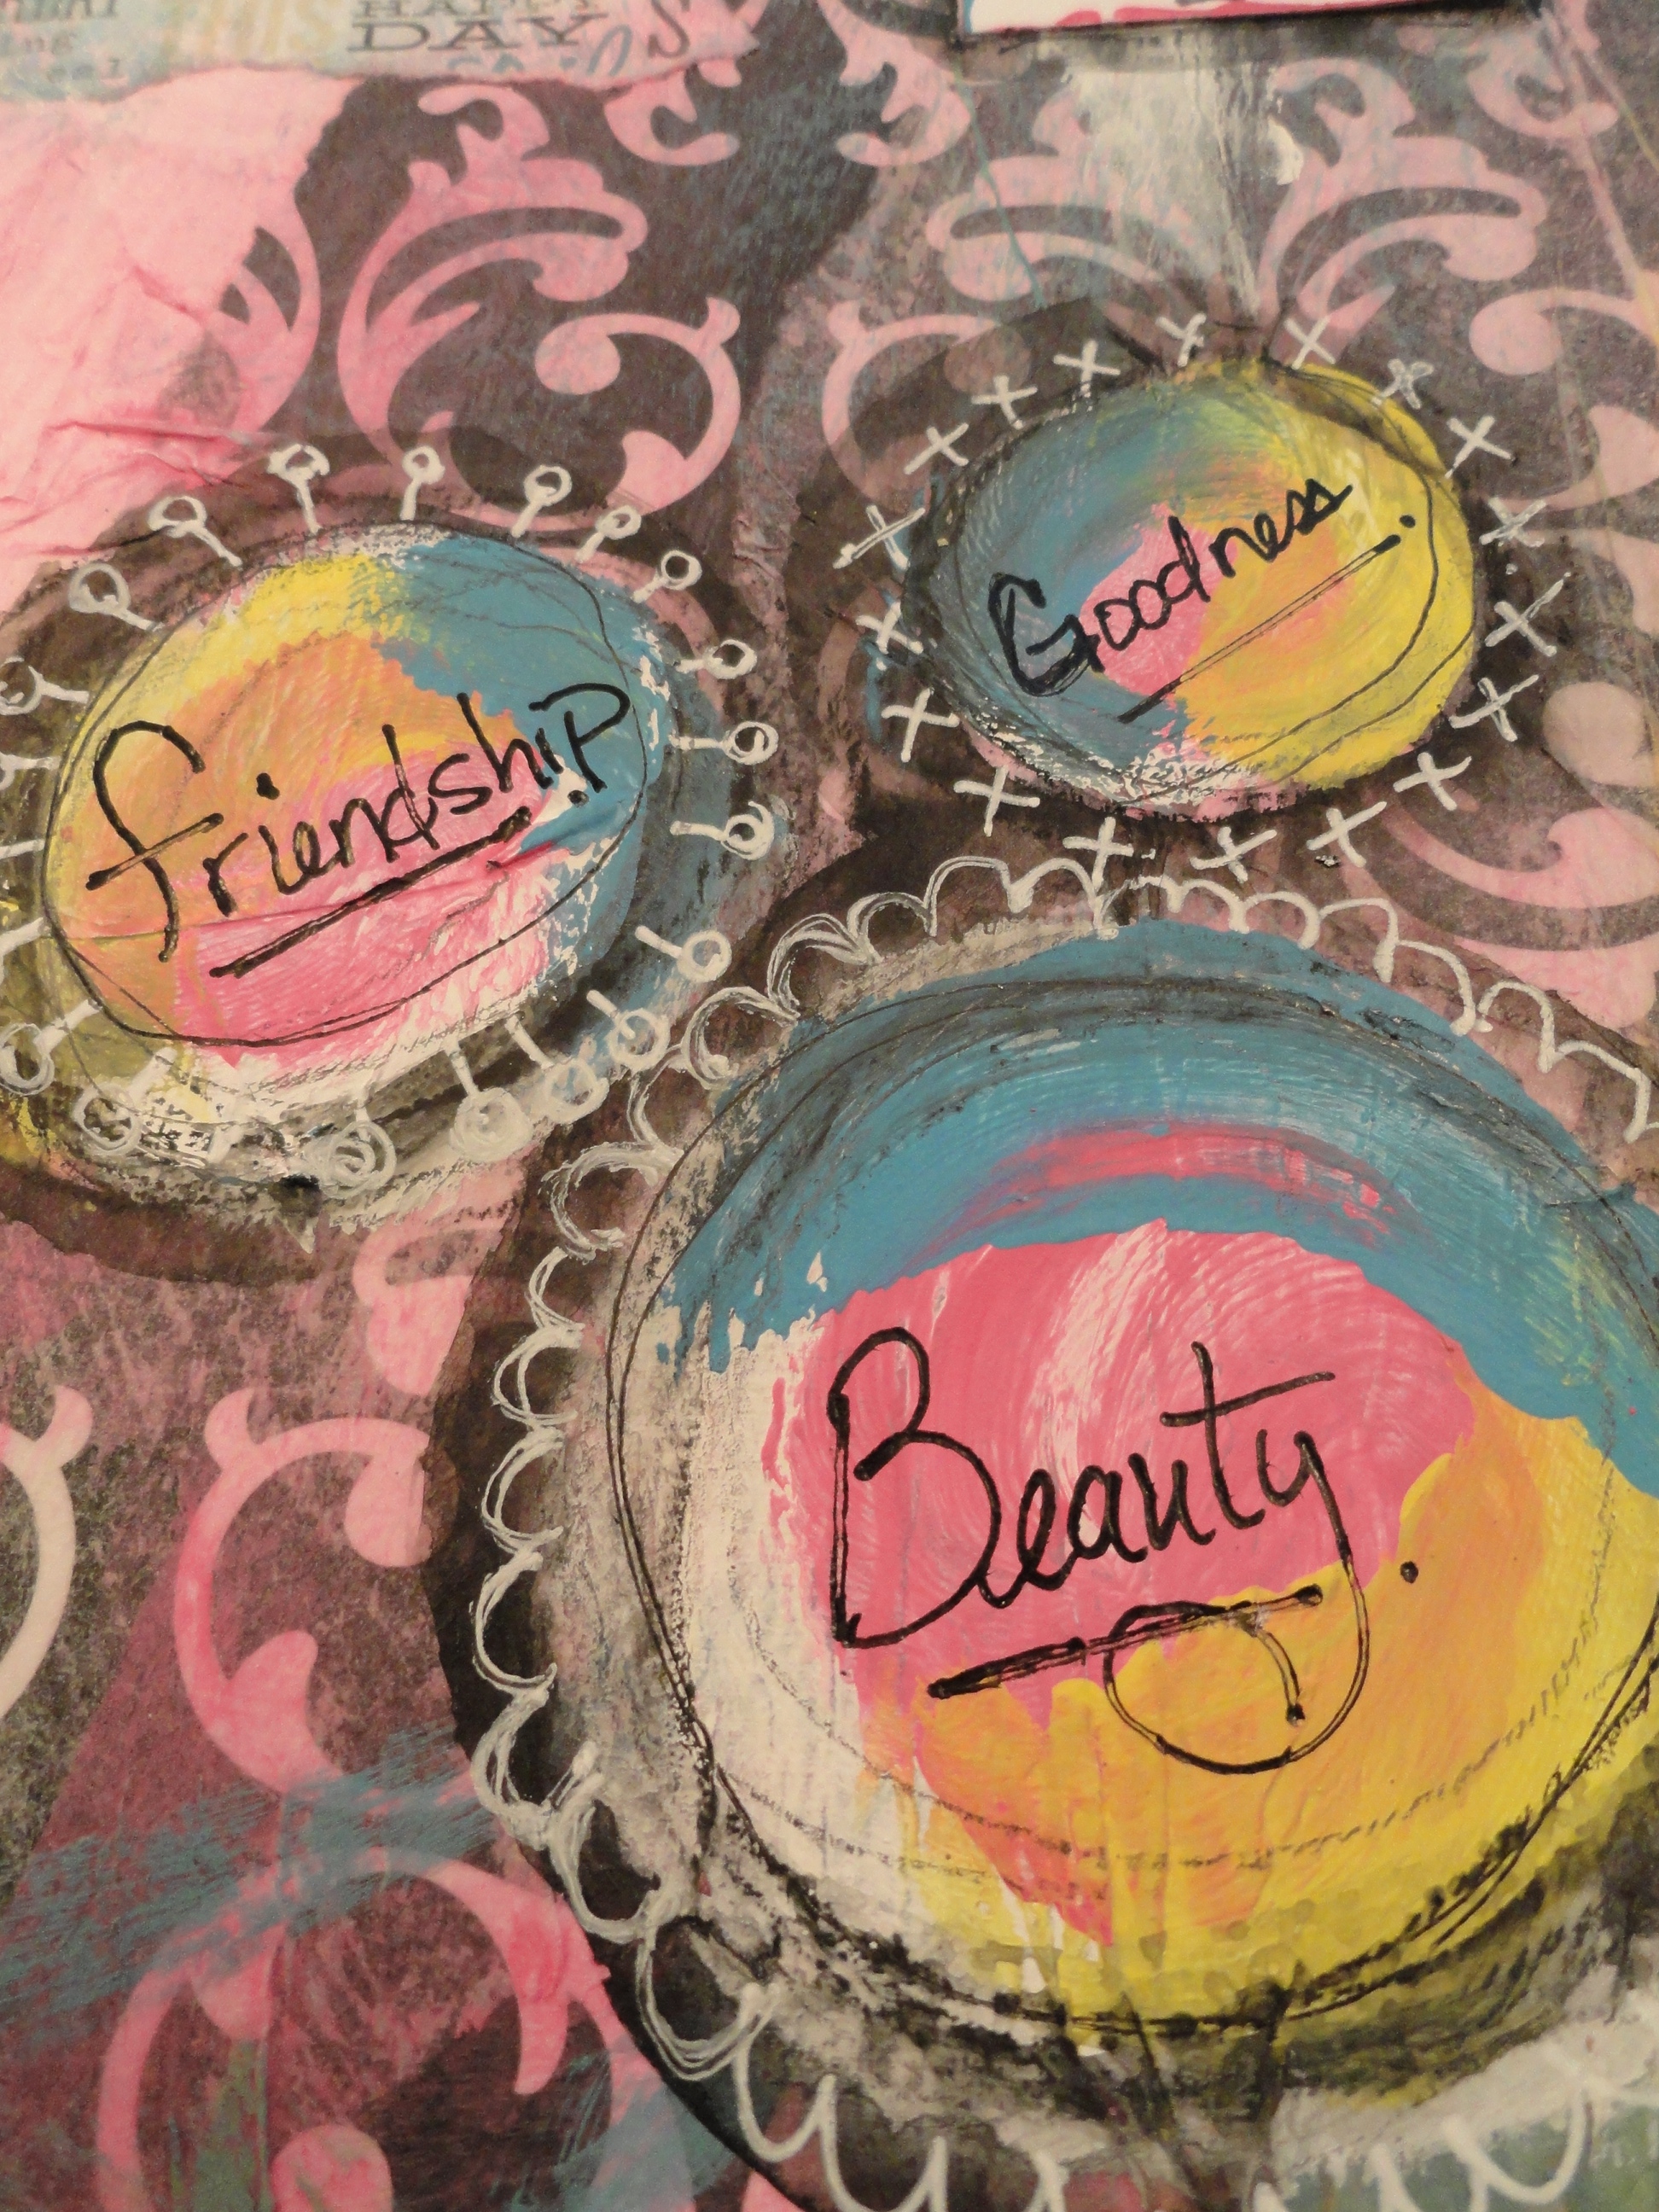
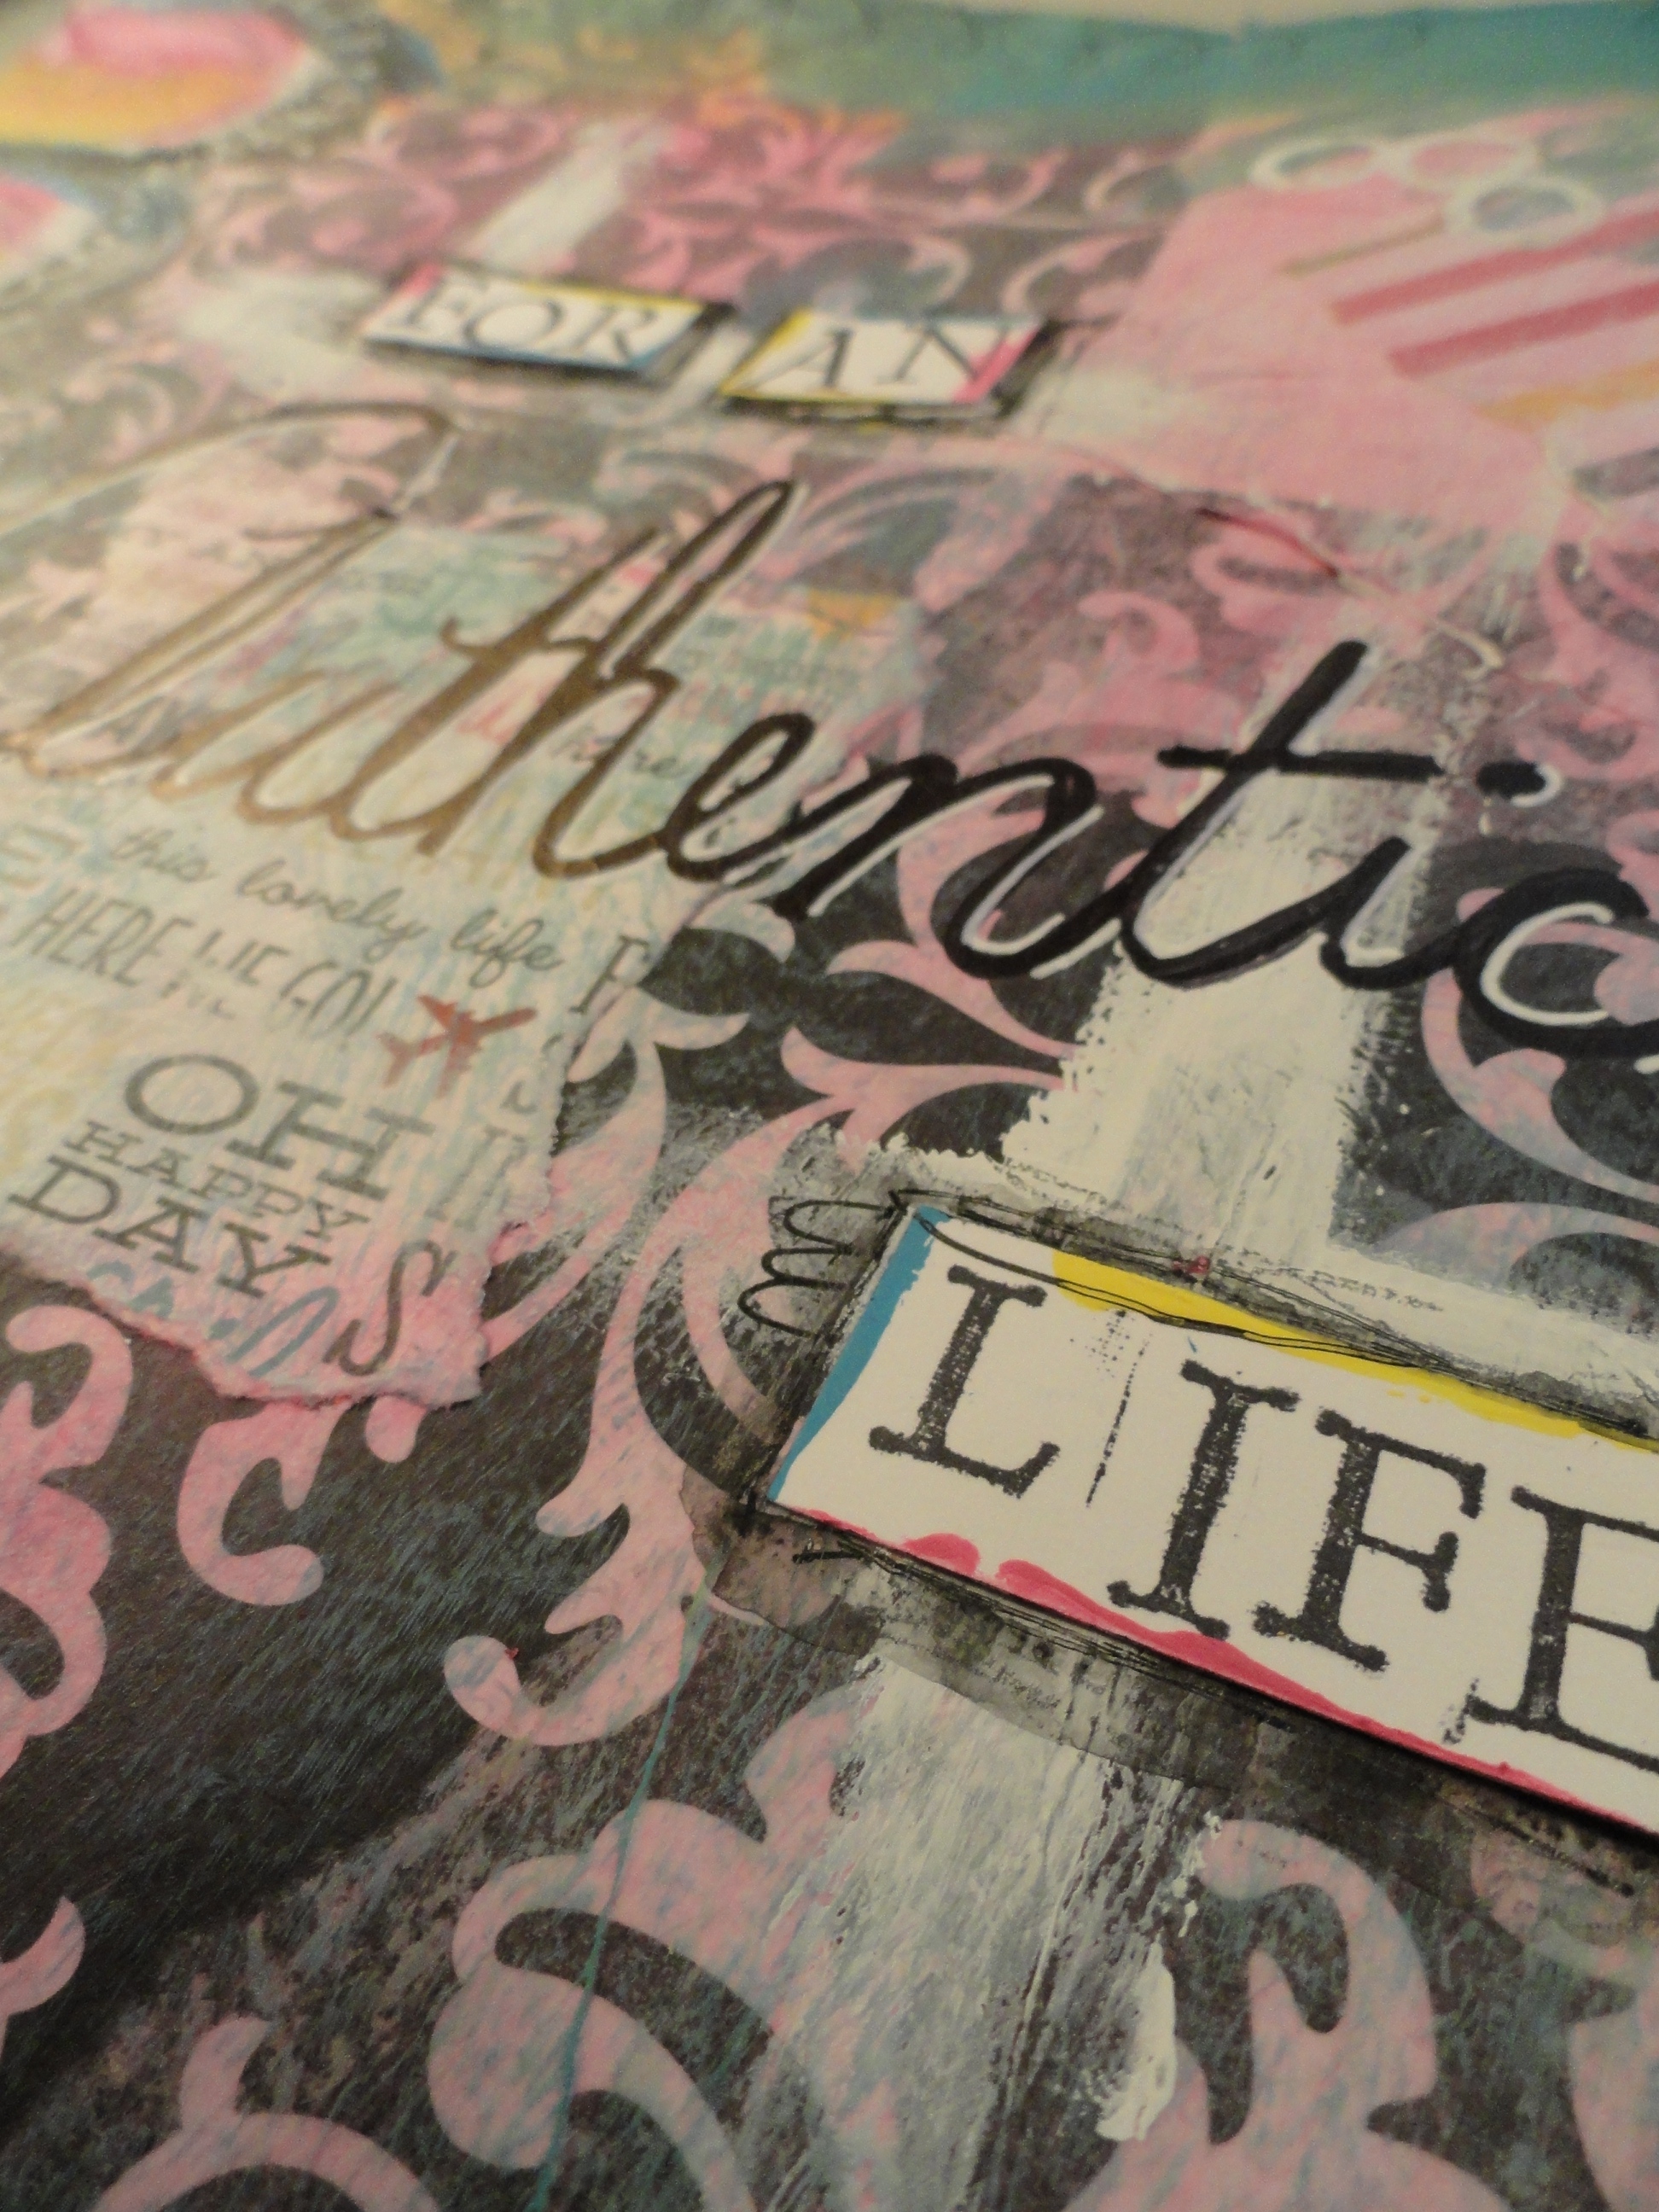
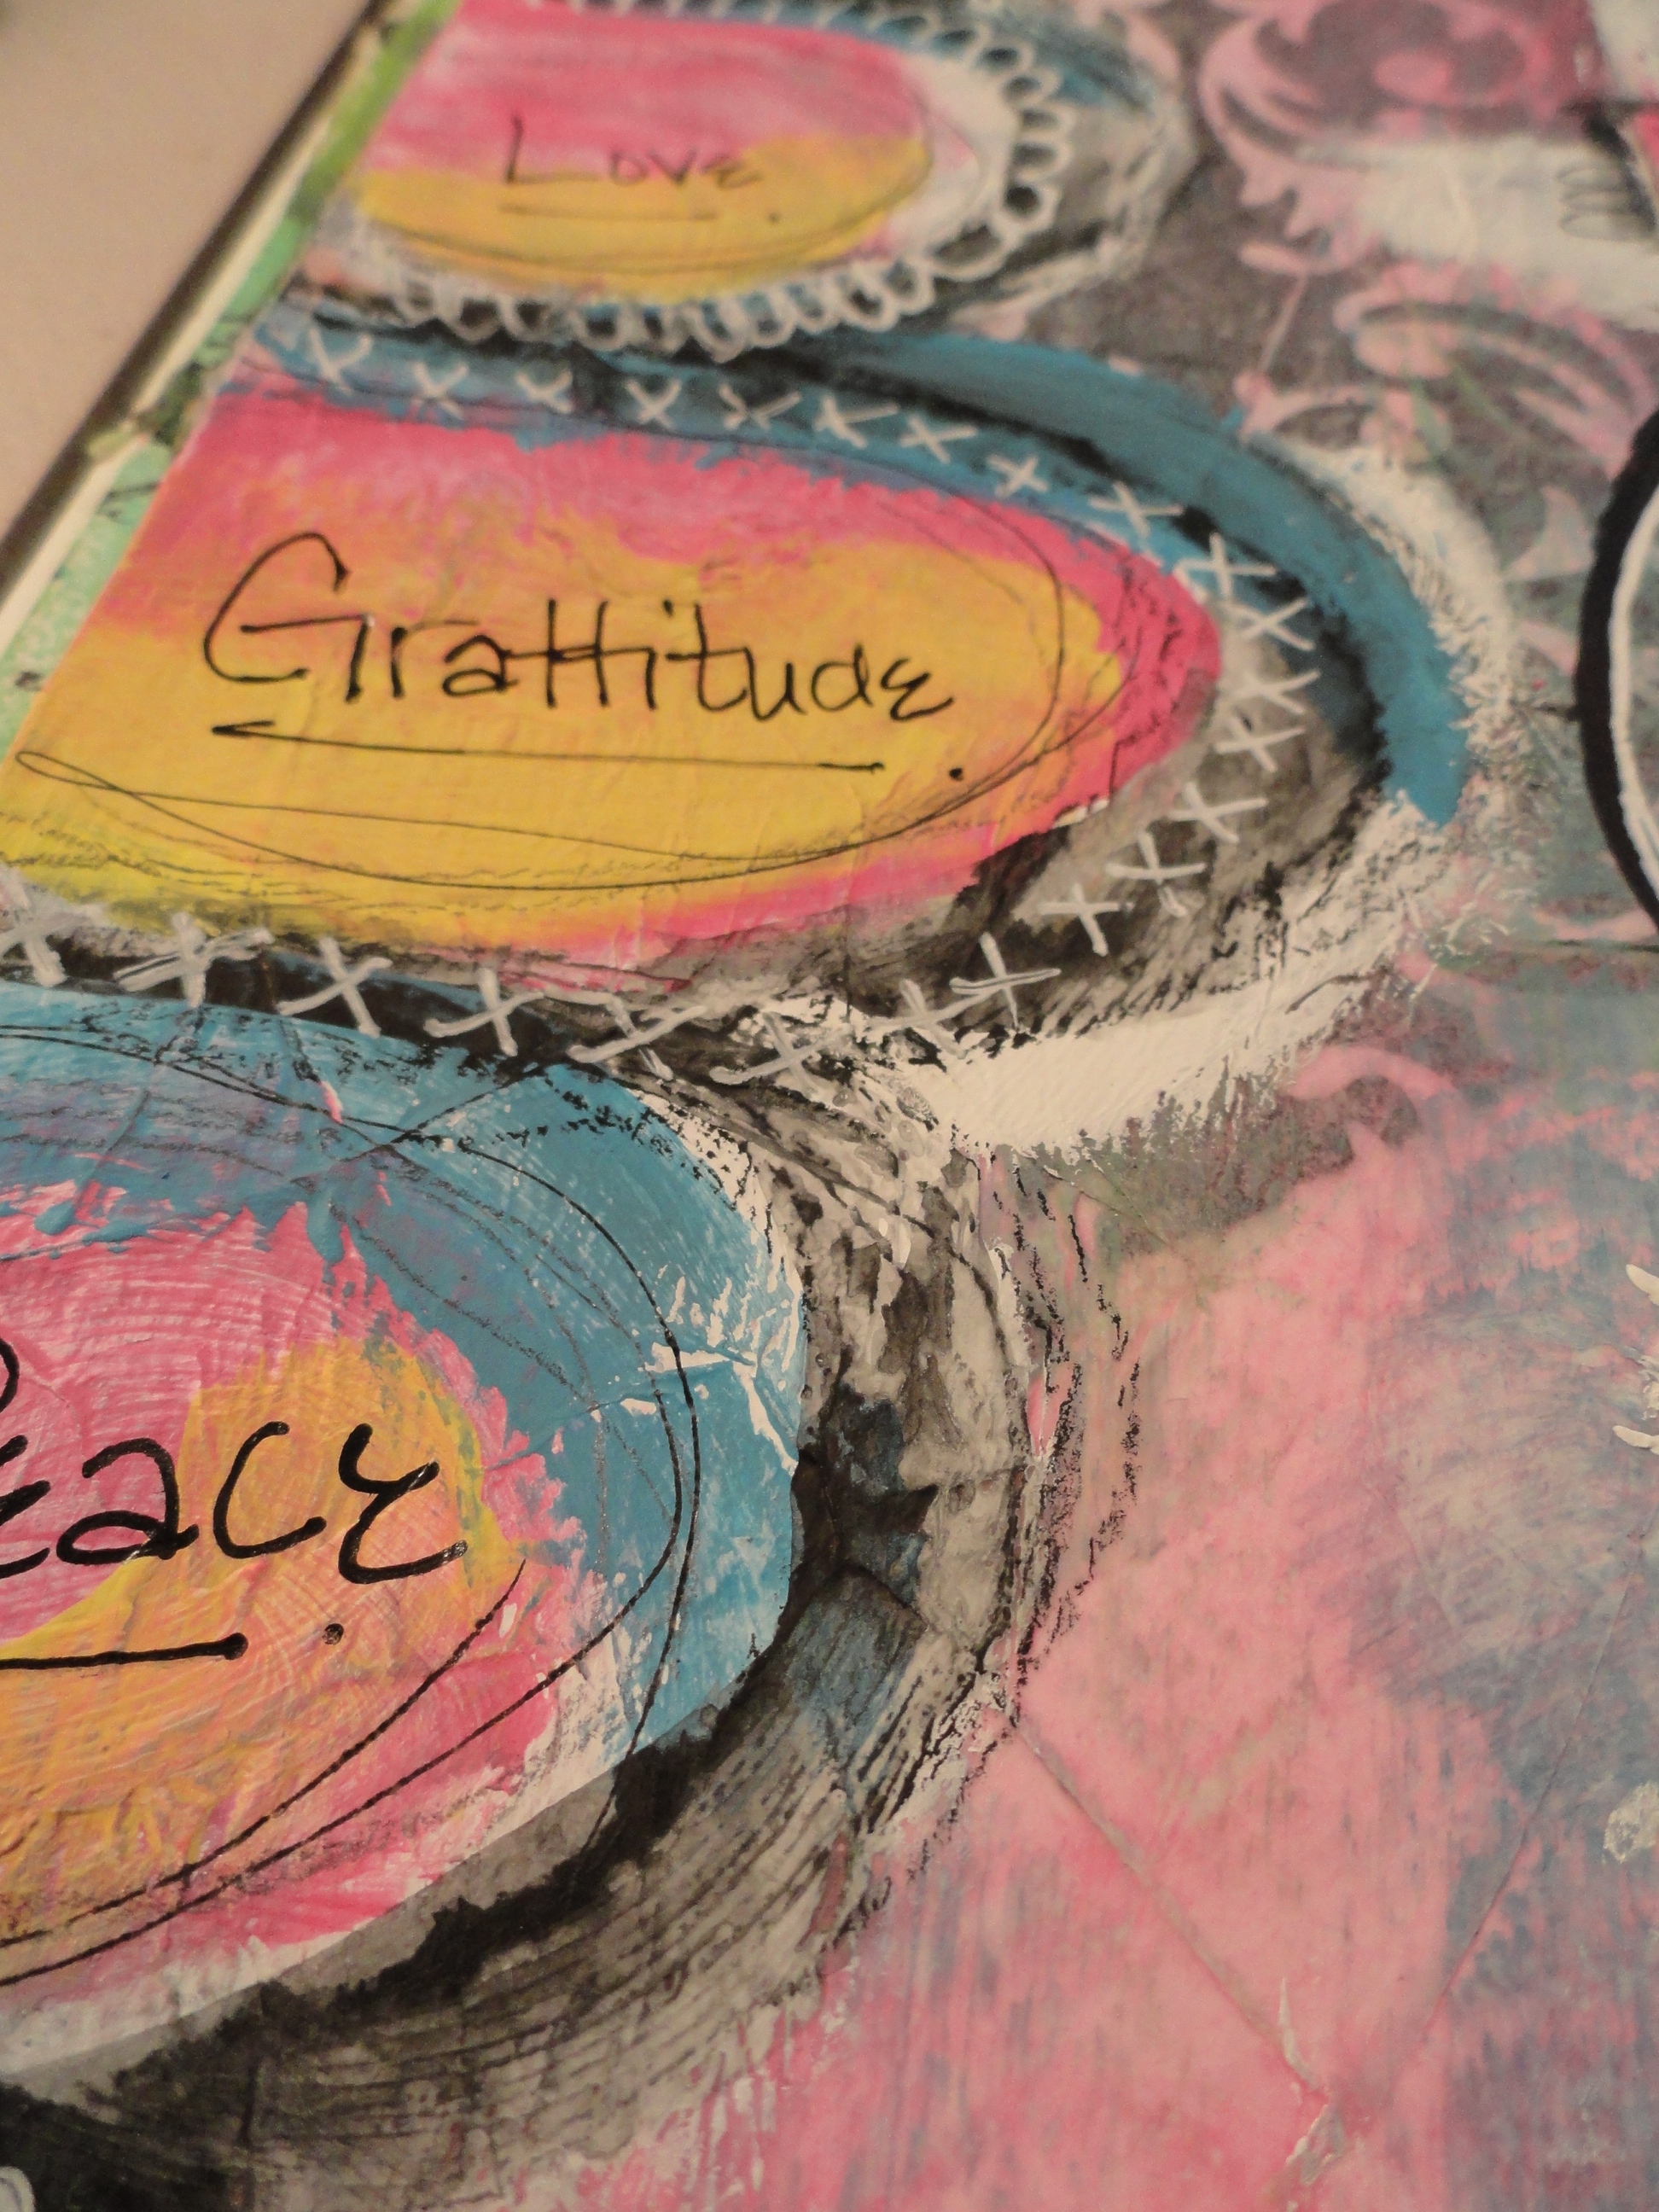
You may already know this, but while I am doing my weekly spreads, I make it a point not to try and stay in quiet so that I can hear what message my soul is trying to tell me, so that I can share it on my journal spread. This week was no different! I also added some of my words of truth throughout my spread in various places using my Scarlet Lime Pilot pen, and then I heard this message loud and clear, and just new that I needed to share this as my main message for this week:

“For an authentic life, remove anything that does not honor you.”

This is a thought that I have been trying to consciously implement in my life over the past 6 months!

DSC05423

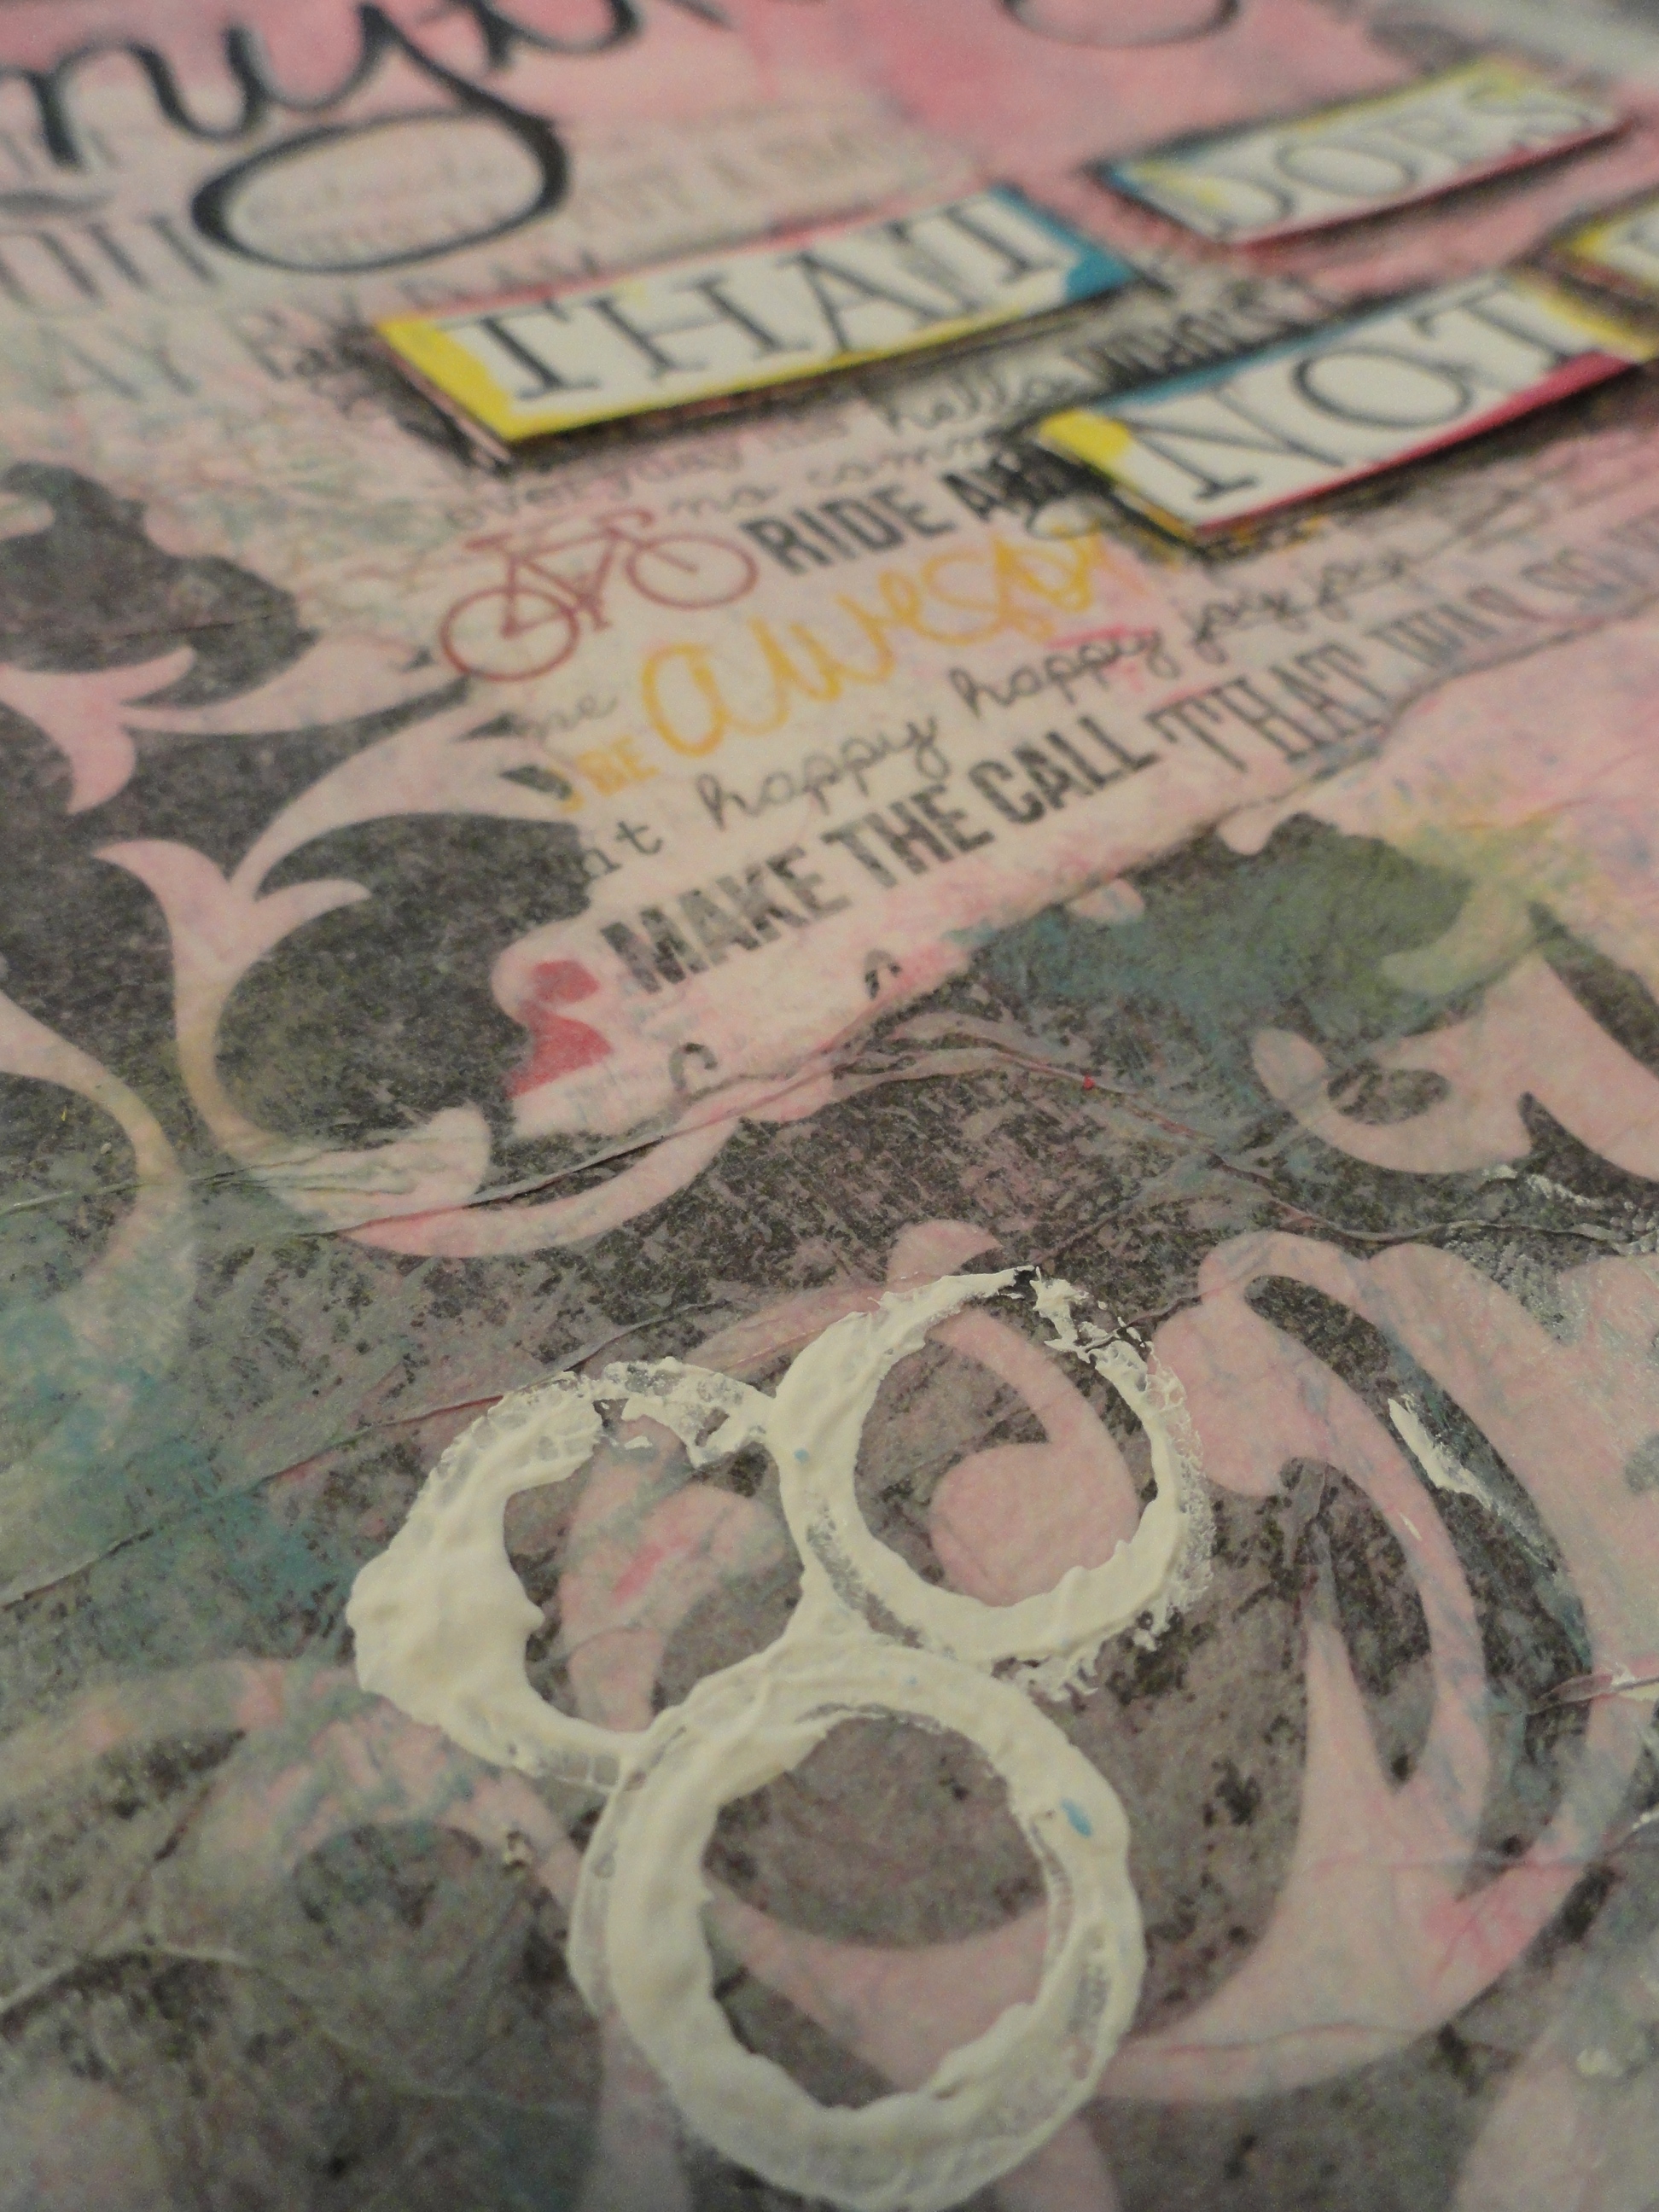
As you may have noticed, I LOVE adding words to my spreads using rubber stamps, Archival ink and card stock, which are actually recycled business cards – I bet you didn’t know that!! 🙂 Anyway, this week I wanted to change that up by adding some of my own handwriting! I don’t normally like my handwriting, but I thought I would ’embrace the messy’ and just go for it!!  I like the way that it turned out!

DSC05428

This week’s art journal spread is my favorite so far! I am really loving this weekly challenge that I have placed on myself, and cannot wait to see how my technique evolves over the next few weeks!! If you would like to follow along, please subscribe to this blog, and my YouTube channel!

DSC05426

I would also LOVE to hear anythings thoughts, comments, or questions you may have!! Maybe we can learn more together!! 🙂

Here is to a FABULOUS day!! 🙂

~Chrissie 😉

If you want to have a different life, you have to live differently!


My First Ever Weekly Art Journal Video!

Good morning!

As promised yesterday, here is some close up pics and details about my first ever weekly art journal video!

That video can be found here.

As with all of my art journal pages, I always go into the project with no real idea on what it is I want to create. I sometimes have a vague idea about maybe what colors I want to use, or maybe an inspirational thought, but for this spread, I was essentially going in with no expectations of any kind.

I was having a hard time getting quiet, or spending time in any kind of quiet, which meant I had been constantly surrounding myself with random noise; the television, music, the background noise at a coffee shop, etc, etc. I also am a firm believer in signs from my Truth teller, and I kept seeing the message,

“Get quiet so you can hear what I am trying to tell you!”

Well, in all honesty, I had been blatantly ignoring it. You see, I was afraid that if I were to get quiet I would make the realization that I had completely ruined my life by walking away from my career a few months ago, and that by spending my time doing everything and anything that I wanted to do, maybe somehow I was being absolutely and completely selfish – HOW DARE I???


DSC05358


So, I had started this journal page, with my camera set to record, not knowing what my page was going to turn out looking like, but knowing that it was going to be my very first video to post on YouTube. I had NO IDEA how to do that! I have had no experience recording videos, editing them, how to upload them, or anything! I was pretty scared. However, I wanted to make sure that when I recorded that there wasn’t any background noises that I would have to fight with. (I didn’t know that I could mute all of those out!) So this forced me to spend a few hours in absolute silence, just focusing on arting.DSC05360

Well, the message of getting quiet so I can hear my voice kept popping up again, over and over. I wasn’t sure why, but by the time I got to the part of my journal page where I needed to wrap it up with a thought – I KNEW that was the thought that I had to get down on to paper!

DSC05367

“Don’t be afraid of silence,

for that is where you will find your voice.”

DSC05362

When I had finished this page, I was so happy with it! It really made me happy, and it said something to me that I knew, from the bottom of my soul, was a truth that I needed to hear right now!


Now getting it ready for uploading was another story all together! I had no idea how I was going to edit it, get music behind it, upload it, or anything. So, I started Googling for help like a crazy person!! 🙂 Little did I know I had everything I needed to do this already in my possession!!DSC05364

It took me longer than I had expected – about three days longer, to be exact, but I did it!! I did a great big ol’ happy dance, and told all of my peeps to go check it out!!! WHEW!!! 😉

Anyway, I look at this page now, almost a week and half after actually creating it and I realize that it is the exact perfect message that I needed to hear in that moment. Silence is something to anticipate and to fully be present to yourself and your Truth teller whenever you have the opportunity to embrace the silence!!

I hope you like this spread, and if you have any questions or comments, please let me know in the comments section! I would love to hear your thoughts!!

Much love to you!! Here is to a FABULOUS day! 😉

~Chrissie

If you want to have a different life, live differently!

Tutorial Tuesday – Textures with Spackling Paste!

Good evening!

Tonight, for Tutorial Tuesday I thought I would share one of my favorite texture techniques, and that is texturizing with spackling paste! I know, that may sound crazy, but hear me out!! 🙂

What you will need for tonight’s project is:

Some spackling paste from your local hardware store.

Spackling Paste Textures - 1

Various stencils. I have a bunch of different styles that I enjoy using! 🙂


Spackling Paste Textures - 2


Various random tools for marking up AKA texturing the spackling paste.

Spackling Paste Textures - 3

You will need a palette knife, as you can see I have many different sizes, styles that I can choose from.

Spackling Paste Textures - 4

Some acrylic paint. I used some inexpensive craft paints for this, but you could use high pigmented paints such as Golden’s fluid acrylic, or other tube paste. Either would work just great!


Spackling Paste Textures - 5

and finally, you will need some acrylic gel medium, or Mod Podge will do too!

Spackling Paste Textures - 6

For this sample project, I started with an inexpensive plaque that I picked up at my local craft store for a dollar. I painted a solid color – any color will work!

Spackling Paste Textures - 7

I used sequin waste for my texture on this project. Position the sequin waste at the top of the plaque. Note: I had covered the holes of the plaque with painters tape before I started, so I would not fill the holes with the spackling paste.

Spackling Paste Textures - 9

Place a dollop of the spackling paste out onto your work surface – mine just happens to be freezer paper for easy cleanup.

Spackling Paste Textures - 10

Using a palette knife, spread some of the spackling paste over the top of the sequin waste.

Spackling Paste Textures - 11

To create a gradual gradient design, I decided to add yellow acrylic craft paint to my spackling paste.

Spackling Paste Textures - 12

Mix thoroughly.

Spackling Paste Textures - 13

Reposition sequins waste to cover the middle section of the plaque.

Spackling Paste Textures - 14

Apply the now yellow spackling paste, making sure to blend in with the overlapping white.

Spackling Paste Textures - 15

Do the same thing again, but this time adding orange acrylic craft paint to your yellow spackling paste.

Spackling Paste Textures - 16

Mix thoroughly.

Spackling Paste Textures - 17

Reposition sequin waste to cover the lower portion of the plaque.

Spackling Paste Textures - 18

and remove sequin waste.

Spackling Paste Textures - 19

Remove the painters tape that was covering the holes – do not worry about the areas that have no spackling compound. When I knot the ribbons that will be used to hang this plaque, those blank areas will be hidden! 🙂

Spackling Paste Textures - 20

Cover the whole thing with the acrylic gel medium, or Mod Podge, to seal it and there you have it. Isn’t that easy?? And really economical too!

Can you see a theme in all of my art tutorials??? Let’s just say mama doesn’t have a lot of patience!! 😉

Here are a few other examples of how I have used this technique in the past:

This is white spackling compound used over one stencil.

Spackling Paste Textures - 21

Here is the spackling paste, turned blue, over a painted and torn paper background (another one of my favorite techniques!)!

Spackling Paste Textures - 22

And finally, here is a project where I basically frosted the plaque with white spackling paste, and drew in the still wet paste. Once it was completely dry, I painted blue over the top of it, and wiped the excess off with a paper towel, leaving more paint in the recesses.

Spackling Paste Textures - 23

This “create” was created using the tip of a butter knife, the stripes were made using the tines of a fork.

Spackling Paste Textures - 24

Here are more of those fork tine lines, and the swirls were created with the blunt end of a skewer! 🙂

Spackling Paste Textures - 25

There you have it! I hope this inspires you to go to your local hardware store and give this simple, but fun technique a try!! Please make sure to share your results with me, I would LOVE to see how you put your own spin on this fun technique!!

Here is to a FABULOUSLY ARTSY evening! 😉

Signature Line

If you want to have a different life, you have to live differently!!